How do I create and manage 'Invitations' for my event?
In getregistered®, we offer the ability for you to send 'Invitation' emails to your attendees. 'Invitation' emails can contain a personalised message, and provides the attendee with a direct link to your event site to begin registration. To begin interacting with 'Invitations', click on the 'Invitations' tile on your Event Dashboard.
Once you are in the 'Invitations' area, you can begin to create new invitations individually or import a set of bulk invitations from a CSV file. To begin creating an individual 'Invitation', simply click on 'Create New Invitation' option or the 'New Invite' button.

You will then see the following options available to you:
- Email Address - the email address of the attendee you wish to invite to your event. This is a mandatory field.
- First name/Last name - the name of the attendee to be invited (these are mandatory fields).
- Invitation Track - if you have registration tracks added to your event registration form, you can select an 'Invitation Track' - when an 'Invitation Track' is selected, when the attendee follows the invitation link from their email notification, they will automatically land on the registration form the specified track.
- Invitation Email Language - this option will only be present if you have select to enable 'Event Translations' in your Event Settings (see this article for more details on enabling 'Event Translations'). When 'Event Translations' are enabled, you are able to select the language you would like the email to be translated to - please note that this will not auto-translate any messages added to the invitation, but all other text will be translated to the selected language.
- Subject/Message - these optional fields allow you to add a subject and/or individual message to your invitation to add a personal touch. These are optional fields.
- UTM Source/Campaign - these fields allow you to add a UTM code to your invitation, allowing you to track your event invitations as part of a UTM campaign.
- Invitation Status - allows you to preset the status of your invitation. This is set to 'Pending' by default, and the purpose of this field is to allow you to change the invitation status of the invitee for scenarios such as, the attendee has already registered for the event directly from your event site (without following the link contained in their Invitation email).
- Send Email Invitation - this toggle determines if you wish to send the invitation to the attendee as soon as you save your current invite. This is unchecked by default, so make sure you toggle this on if you wish to send your invitation immediately!
- Invitation expires in (days) - this field allows you to set the number of days the invitation will remain active for. By default, no expiry is set, but if you do set an expiry, the invitational link contained in the email notification will no longer work once the number of days have passed.

If you wish to preview the invitation email, click on the 'Preview Invite Email' button to see it displayed in a new window. Finally - as mentioned earlier, before you select to 'Save Invite', enable the 'Send Invitation Email' checkbox to automatically send the invitation when you submit!
How do I import invitations for my event?
You can add bulk invitations by downloading a CSV template from the Invitation Imports area and adding your invitations to it, one invitation per row. If you have tracks enabled in your registration form, you will be asked to select the track appropriate for the list of invitees you wish to import. You also have the ability to send invitation emails to all imported invitees once you have submitted your CSV file.
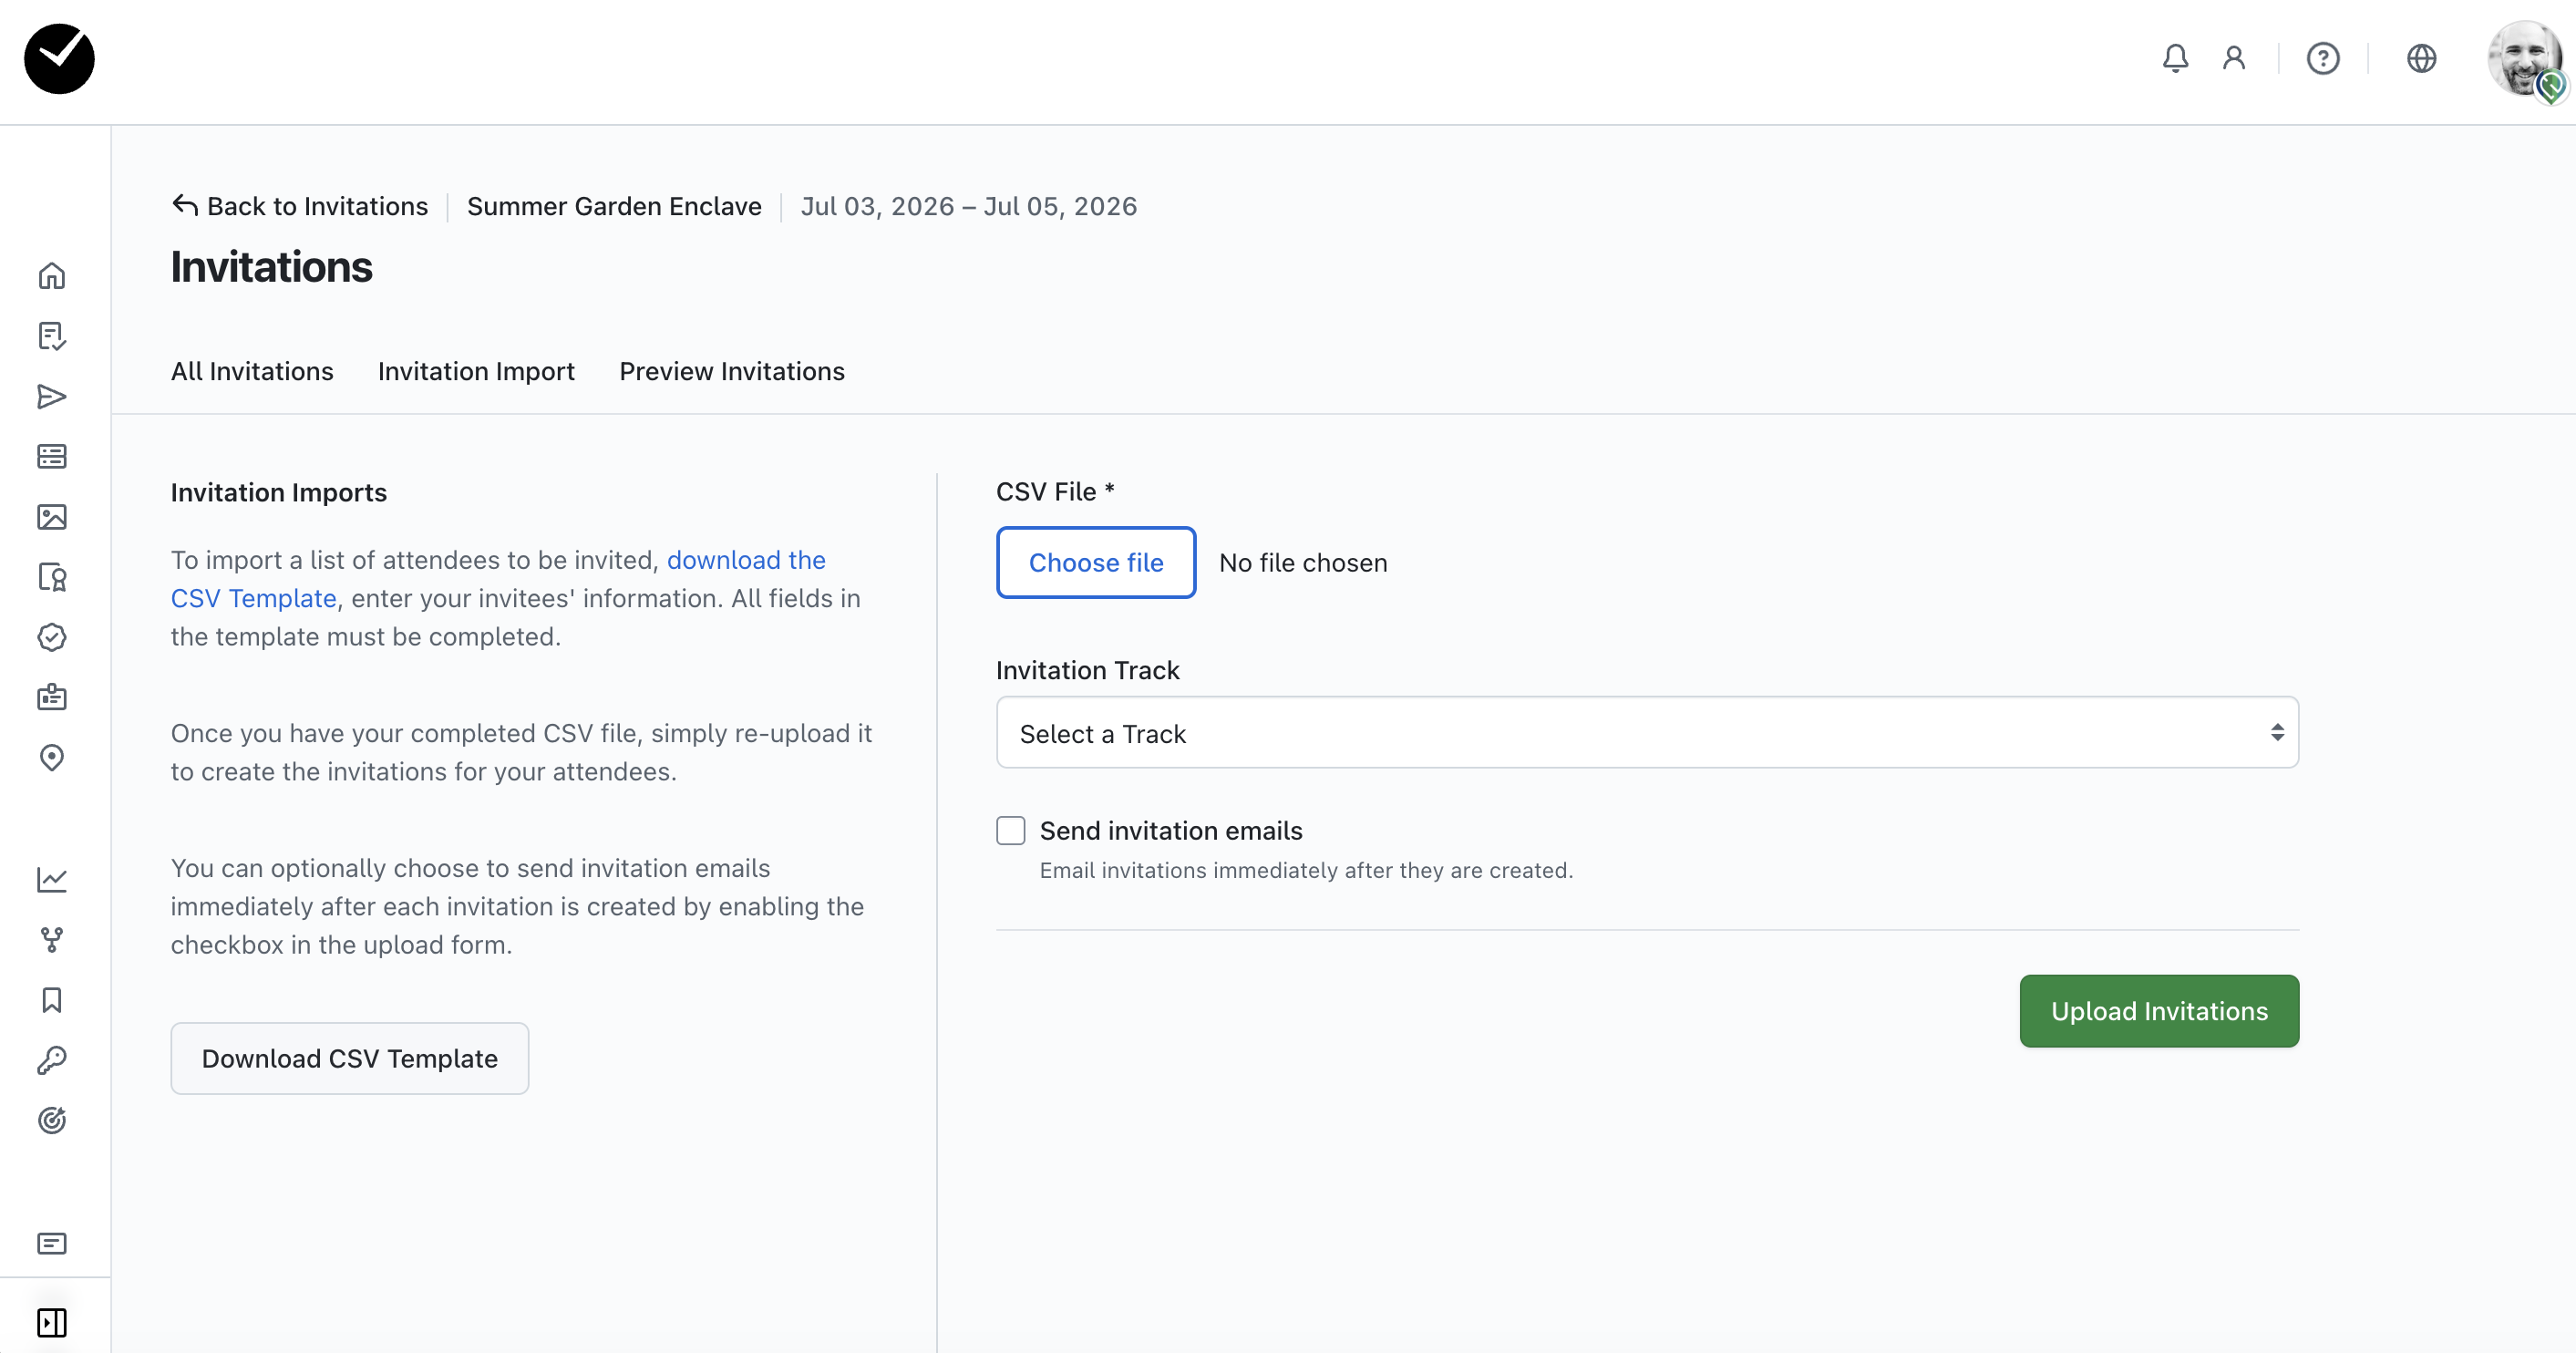
When you are ready to upload, simply select 'Choose File', select your CSV and click on the 'Upload Invitations' button. Before you submit, you can enable the 'Send invitation emails' checkbox to automatically send out your invitations once they have been imported. Attendees will receive a no-reply email inviting them to access the event website and register.
How do I manage my event invitations?
When you have invitations created for your event, you will see the Invitations grid populated with all current invitations in your event. The Invitations grid can be searched and filtered as you wish, and you can easily see each invitee's track and invitation status.
We also provide the unique 'invite' link for each invitee under the 'Link' column - this is handy for situations like where an attendee is reporting they are not receiving invitation emails... you can just copy their unique link and send it over to them directly!

If there are invitations pending to be sent, you will see a banner message displayed at the top of the page, along with a button allowing you to send out any pending invites immediately. If you wish to send out a single invitation, click on the 3 dots at the end of the row of the invitation you wish to send and select 'Send' from the menu displayed.
Once an invitation/invitations have been sent, you will see that the Invitations grid updates to show you when the invitation(s) were sent.

When the attendee accepts the invitation, you will see the grid update again to show this status, and once they register, they will show as 'Registered' on your Invitations grid. If you need to resend an individual invitation, simply click on the 3 dots at the end of the row of the invitation you wish to send and select 'Resend' from the menu displayed.
If you need to edit an individual invitation, click on the 3 dots at the end of the row of the invitation you wish to send and select 'Edit' from the menu displayed. You will then see the following page:

From here you can make amendments as required, with the option to automatically send out a new invite once you save at the bottom of the page.
If you need to update the status of an invitation for any reason (eg an invited attendee has registered using a different email address to that of the invitation or an attendee has declined to attend), you can toggle the status on this page using the 'Invitation Status' menu:


If you have Invitation RSVPs enabled for your event, there are some further options available to you - please read this article if you wish to learn more about the Invitation RSVPs feature.
Do I have to use Invitations to create invite links for attendees?
If you have registration tracks present on your event form and would prefer to create your own email campaigns outside of getregistered® to invite attendees to register for your event, you can provide your attendees with a 'Track Invite URL' to begin registration. This link can be used multiple times (until your track is at capacity) and will automatically take the attendee to the registration form for a specific track.
A 'Track Invite URL' can be found in your Registration Form Editor. Simply enter the Registration Form Editor and select to 'Edit' a track. On the Edit Track form, if you scroll down near the bottom of the form you will see the 'Track Invite URL' displayed:

Simply click on the copy icon and then paste this URL in your custom email - as mentioned above, when clicked on by an attendee, this will take the attendee to the registration form for the specific track, bypassing the 'Track Selection' page.