How do I add a section to an event website?
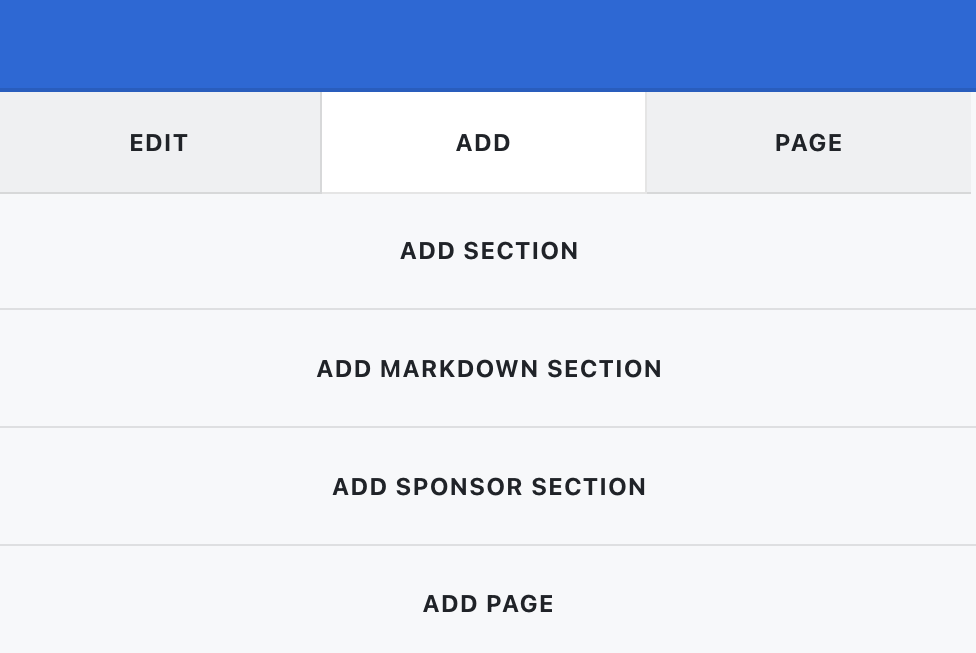
To begin adding a section to your website, click on the 'Add' option on the right-hand side of the website editor. You will see section types available:
- 'Add Section'
- 'Add Markdown Section'
- 'Add Sponsor Section' (note - this is not covered in this article, please refer to this article for more details on Sponsor Sections)
These are essentially offering the same functionality, the only difference being that selecting 'Add Markdown Section' will give you a plain text area to use Markdown to style your section text, selecting 'Add Section' will provide you with a rich text editor, with no Markdown requirements needed. For more information on using Markdown in getregistered®, please refer to this article.
When you select to add a section, you will see the following options available:

- Section title - displays a title for your section when viewed on the website, this field is mandatory.
- Section content - allows you to add the text you want to be displayed in the section for your website. If you have selected to create a Markdown section, text can be formatted using Markdown (see our 'Markdown Help Sheet' in this article for a full breakdown of how to use this type of text formatting).
- File Download - this allows you to upload a document, picture, or file and make it available for download from the website.
- File Download title - this will allow you to add a display name for you file, replacing the generic name of the file (eg you change the display name from myevent.jpg to My Event)
- Background Image - this option provides you with the ability to add a 'background' image for your section. When you create multiple sections for your site, getregistered® will provide you with alternating colored backgrounds by default... but if you want to personalize your website, upload an image here and make it your own!
- Inline Image - this is a handy feature that allows you to add small inline images such as a speaker's headshot, hotel logo, etc.
- Inline Image title - this allows you to add a title to your Inline Image if required
- Access level - using this feature, you can choose who can see the section you are currently editing. This is handy for limiting access to information about your events to the attendees you want to view it!
When editing or creating anything in the Event Website Editor, you will always have the option to save or reset your work by using the options provided on the top right of the page. Please remember to 'Save' regularly - we do not provide any automatic saving abilities, meaning if you don't hit 'Save' then any work you have created will be lost. You also can 'Reset' your work, clicking on this will remove any changes made since the last time you saved your website.