Can I add a list of sponsors to my event website?

In getregistered, we provide the ability for you to add a 'Sponsor Section' to your event website, but this requires some configuration beforehand. Before you can add a 'Sponsor Section', you must first create your list of sponsors, which can be done in your 'Sponsors' area. Simply click on the 'Sponsors' tile on your event dashboard, or select the 'Sponsors' option on your navigation sidebar.
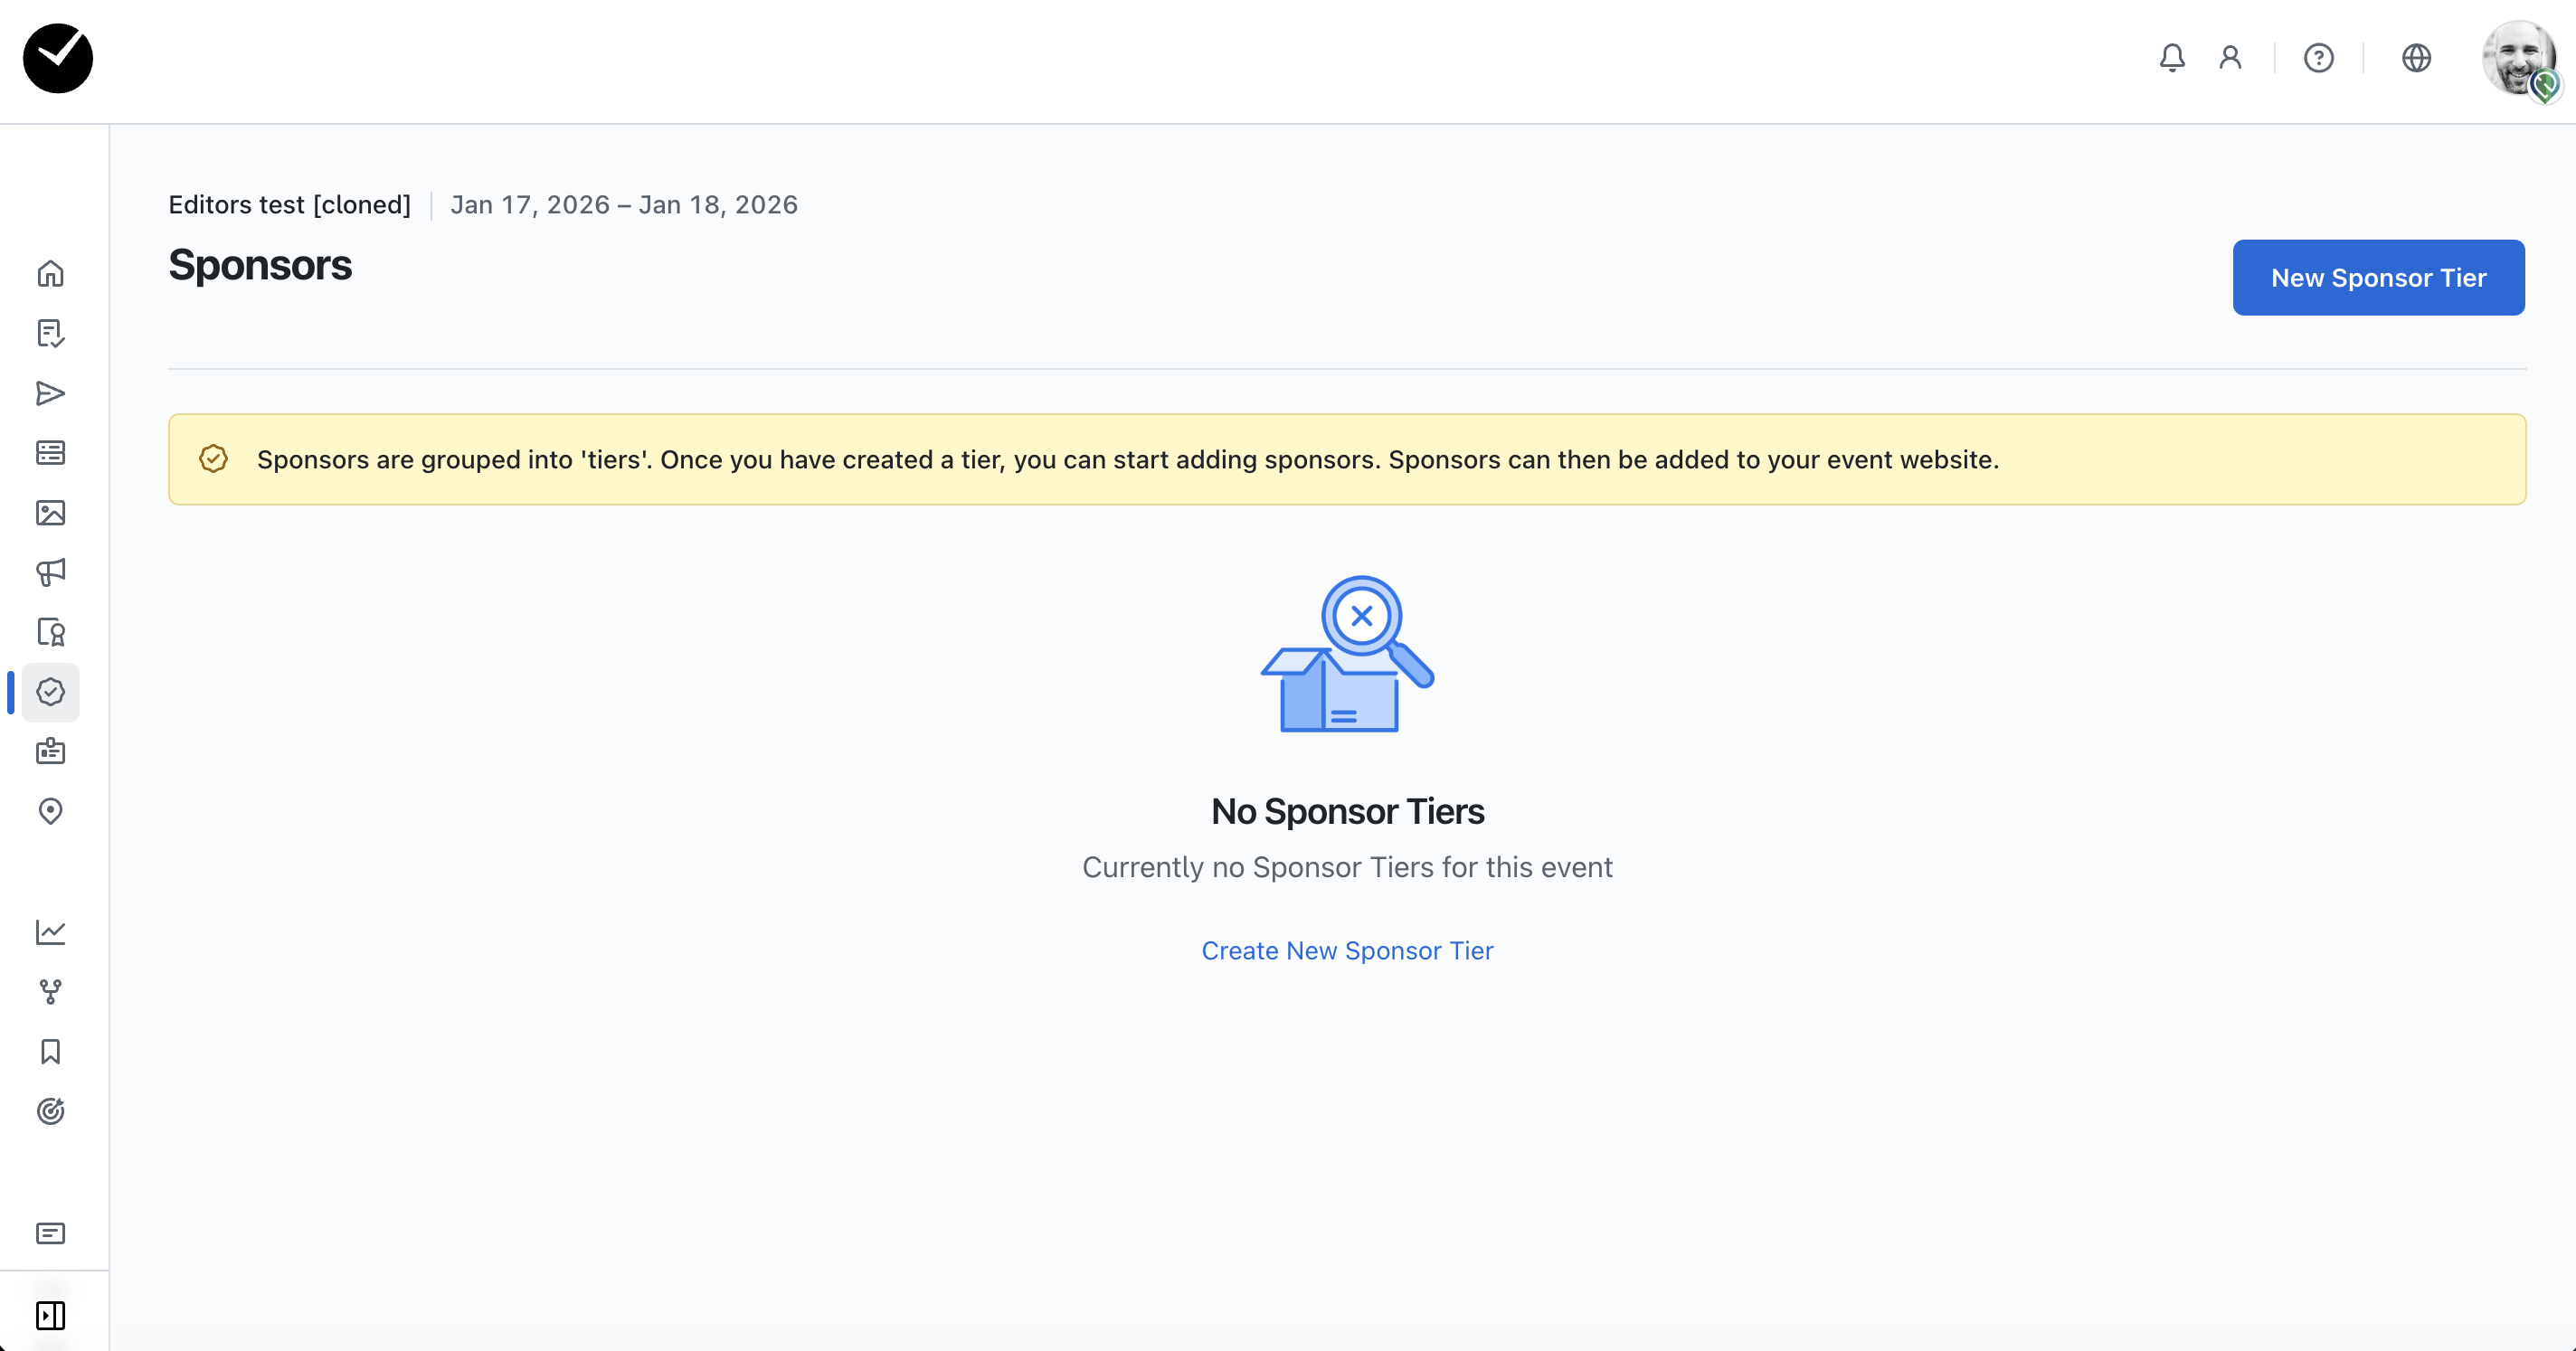
When you land in the Sponsors area, you will see the following page:
Creating a Sponsor Tier
To begin creating your Sponsors list, you must first create some 'Sponsor Tiers' - these tiers will allow you to assign a tier to a sponsor, allowing you to create groups of sponsors that you can set to be ordered by importance, or however else you wish to arrange them. To begin creating a sponsor tier, click on the 'New Sponsor Tier' option at the top of the page. You will then be presented with the following page:
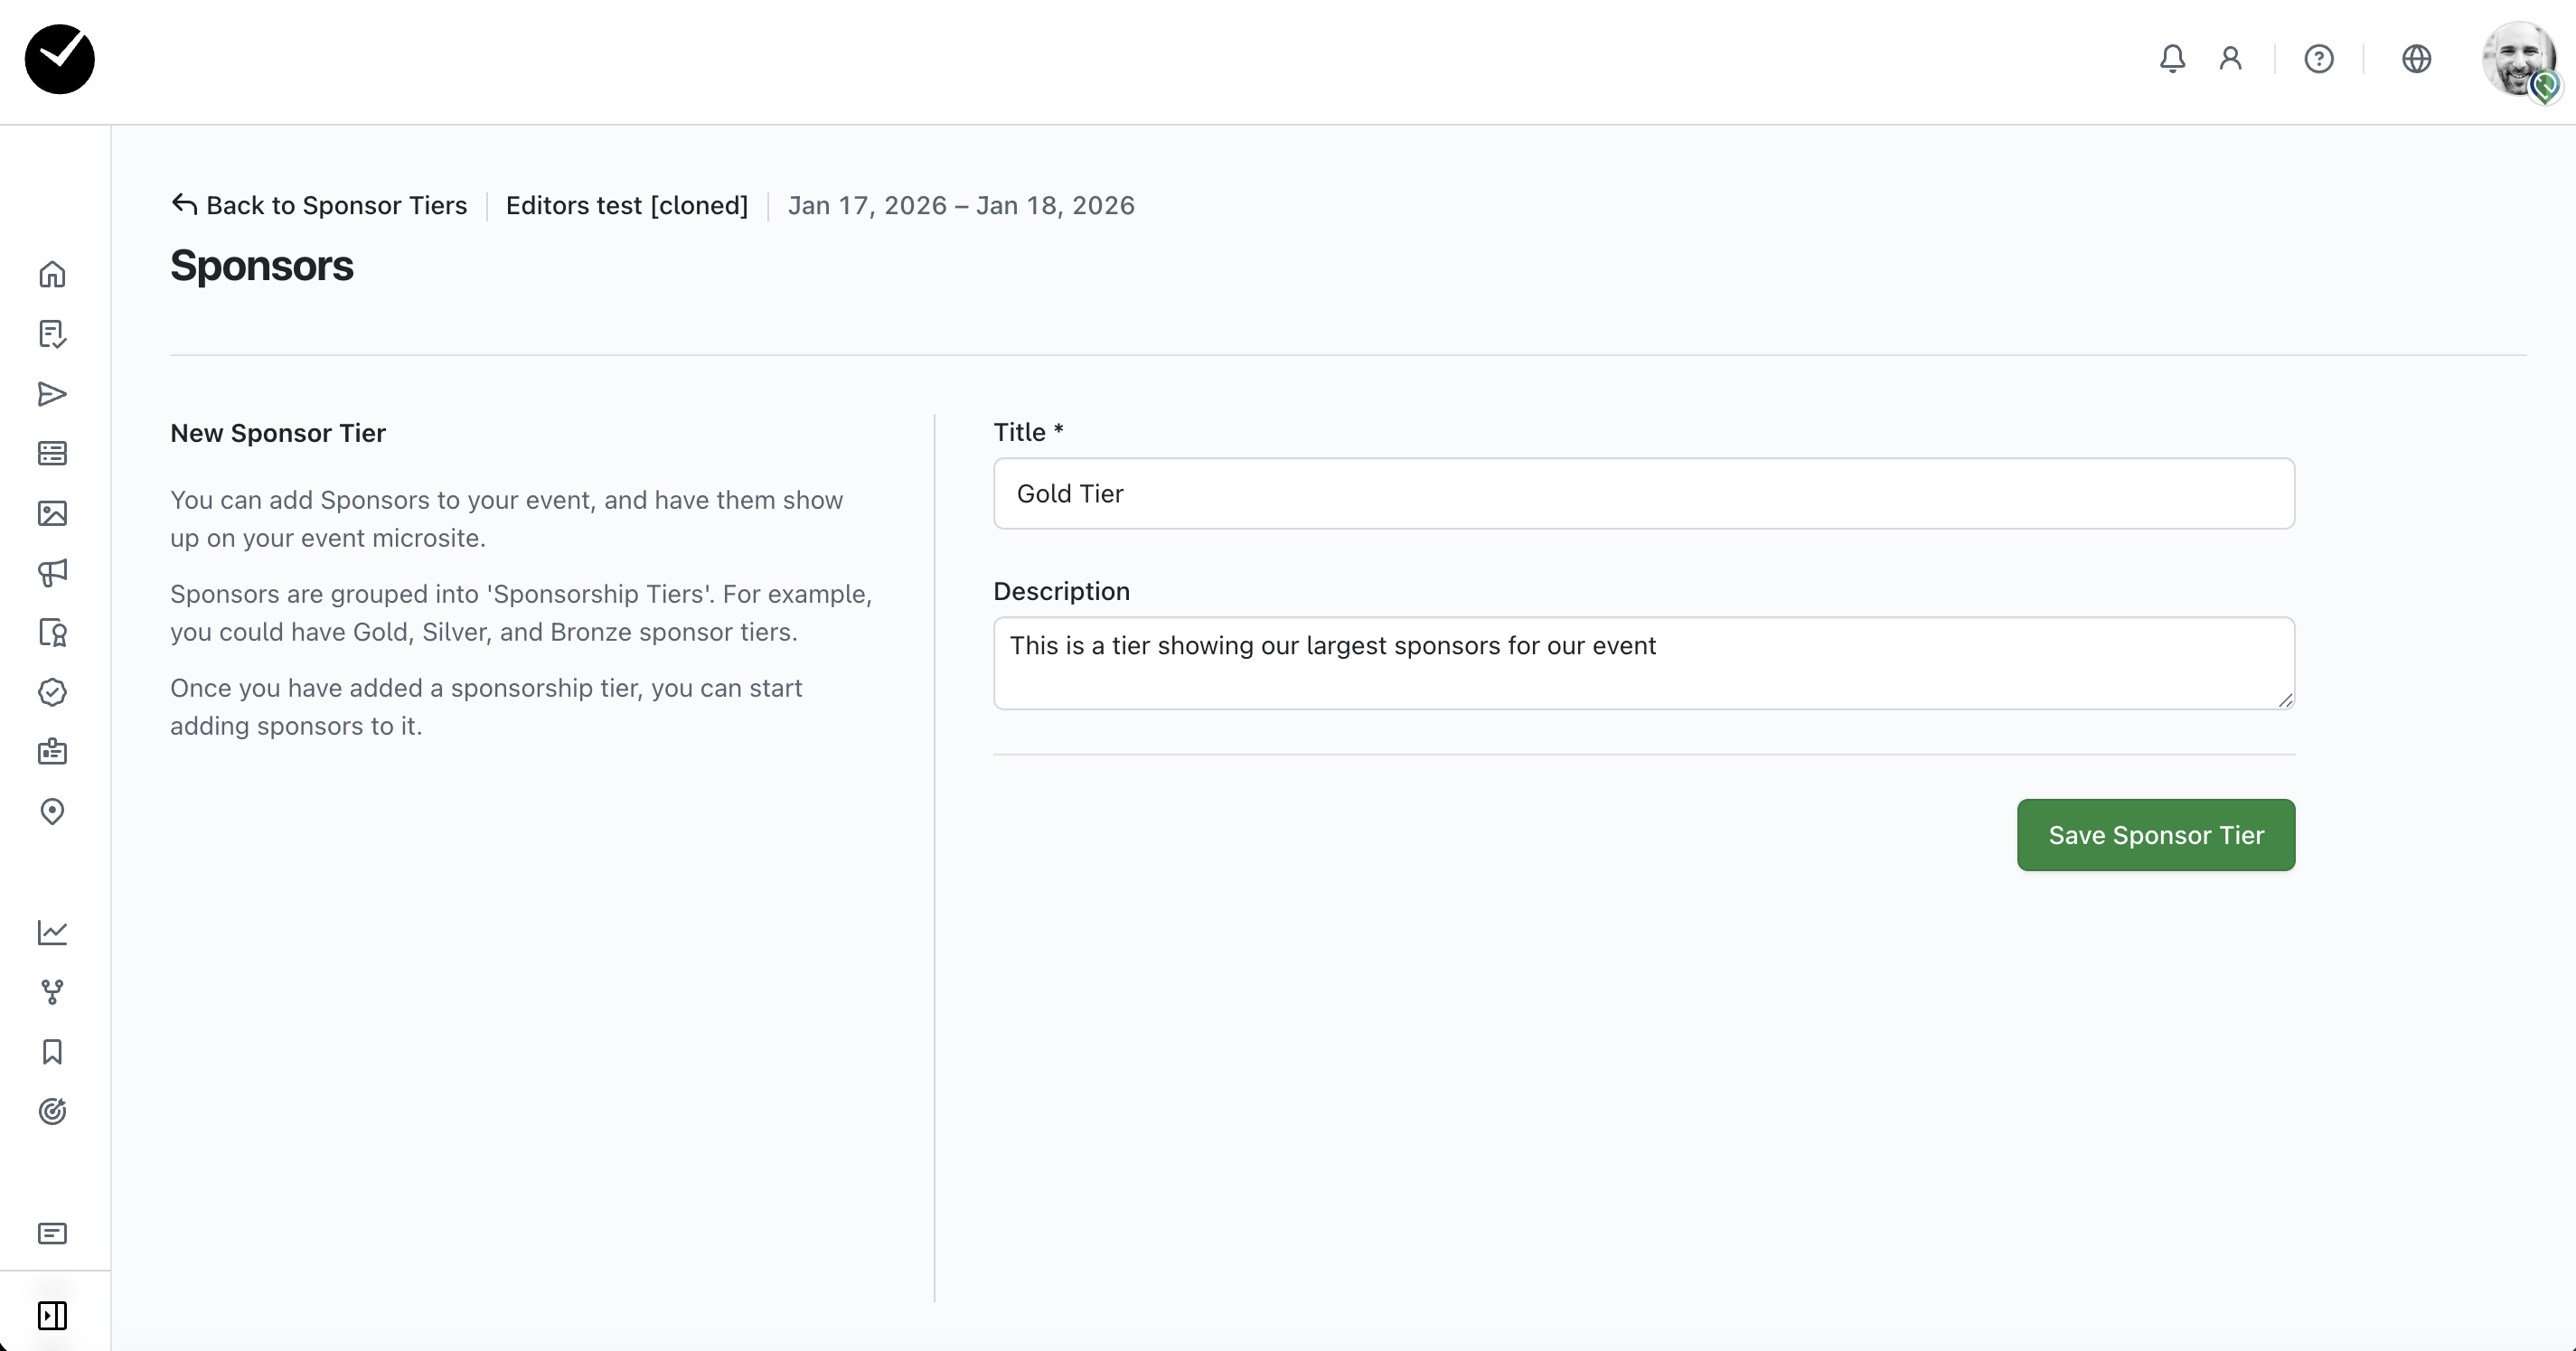
Simply add a 'Title' for your tier, and a description if you wish, and then click on the 'Save Sponsor Tier' button to save your changes. You will then be redirected to the main Sponsors page and you will now see a table displaying a list of the tiers you have created:
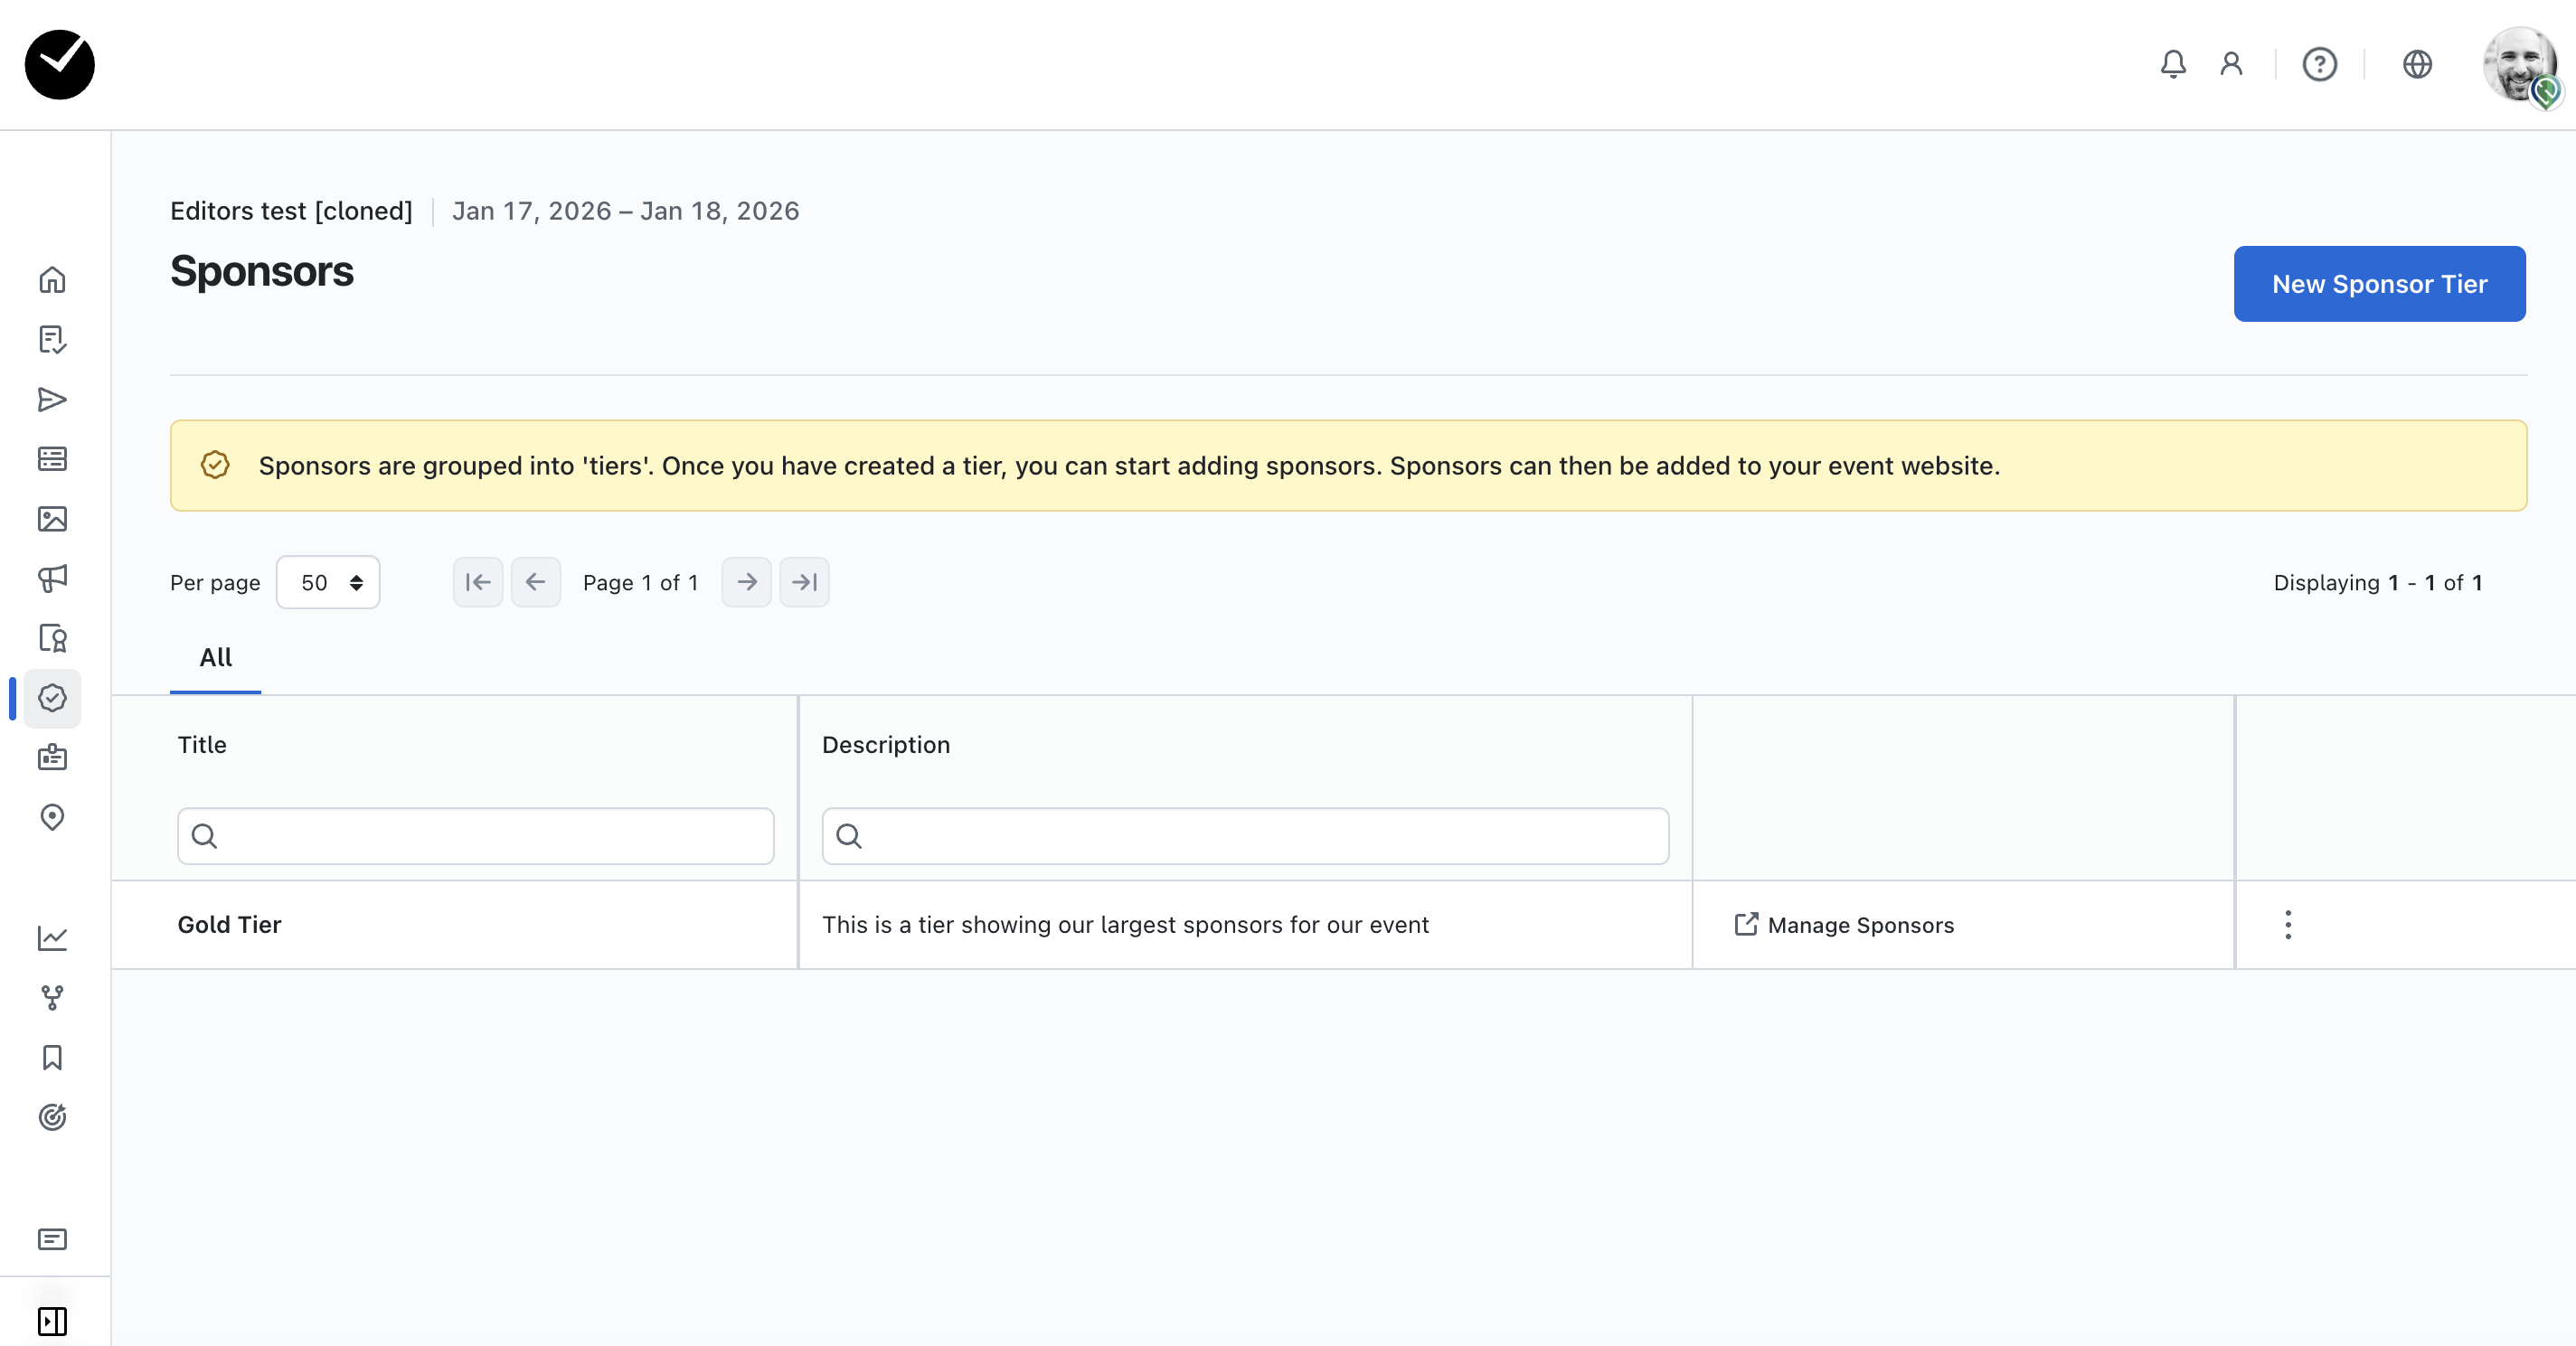
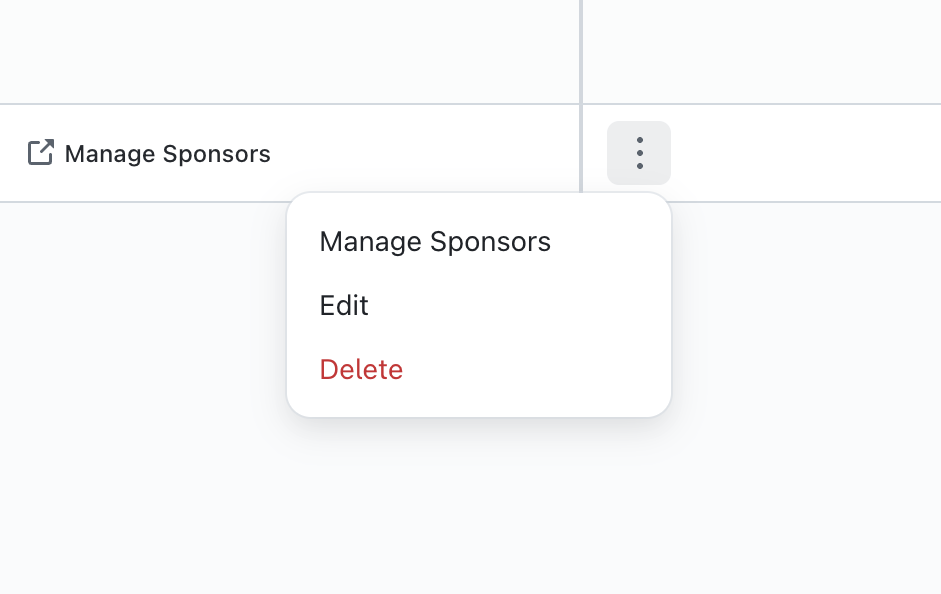
To begin adding sponsors to your new tier, you can click on the 'Manage Sponsors' option displayed on the grid - if you need to make any edits or delete a tier, click on the 3 dots at the end of the row and select the option you need:
Adding sponsors your Sponsors tier
When you select the 'Manage Sponsors' option on a tier for the first time, you will see the following page:
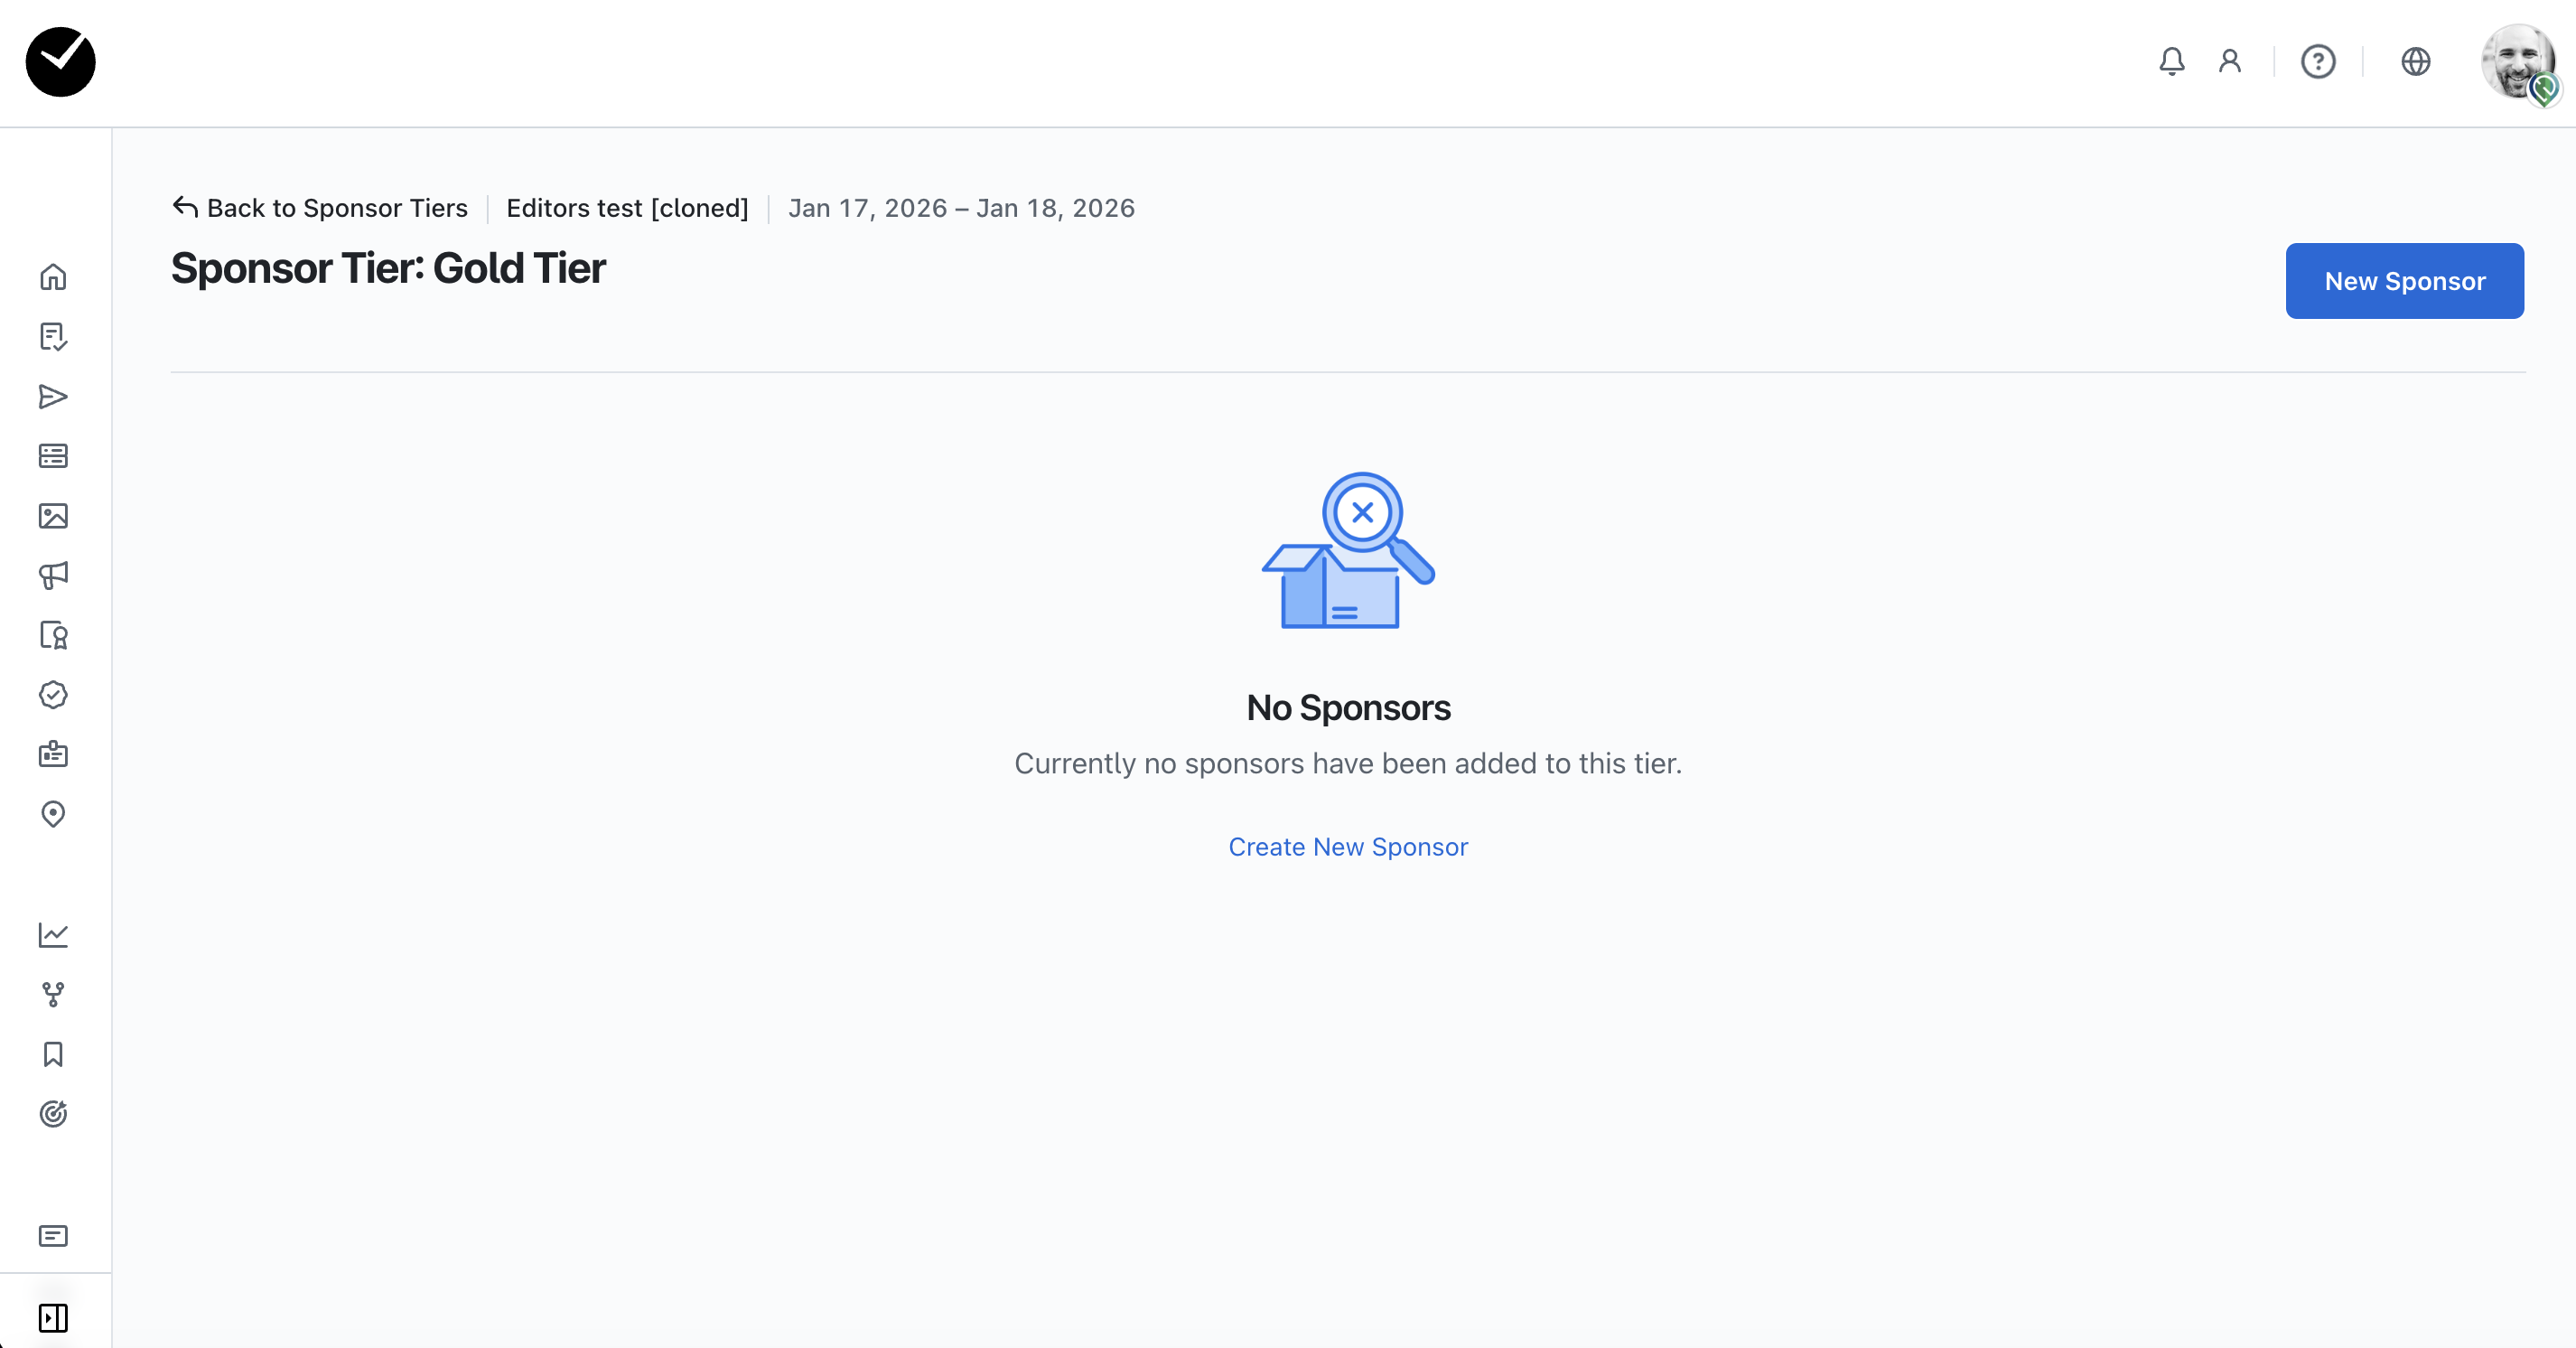
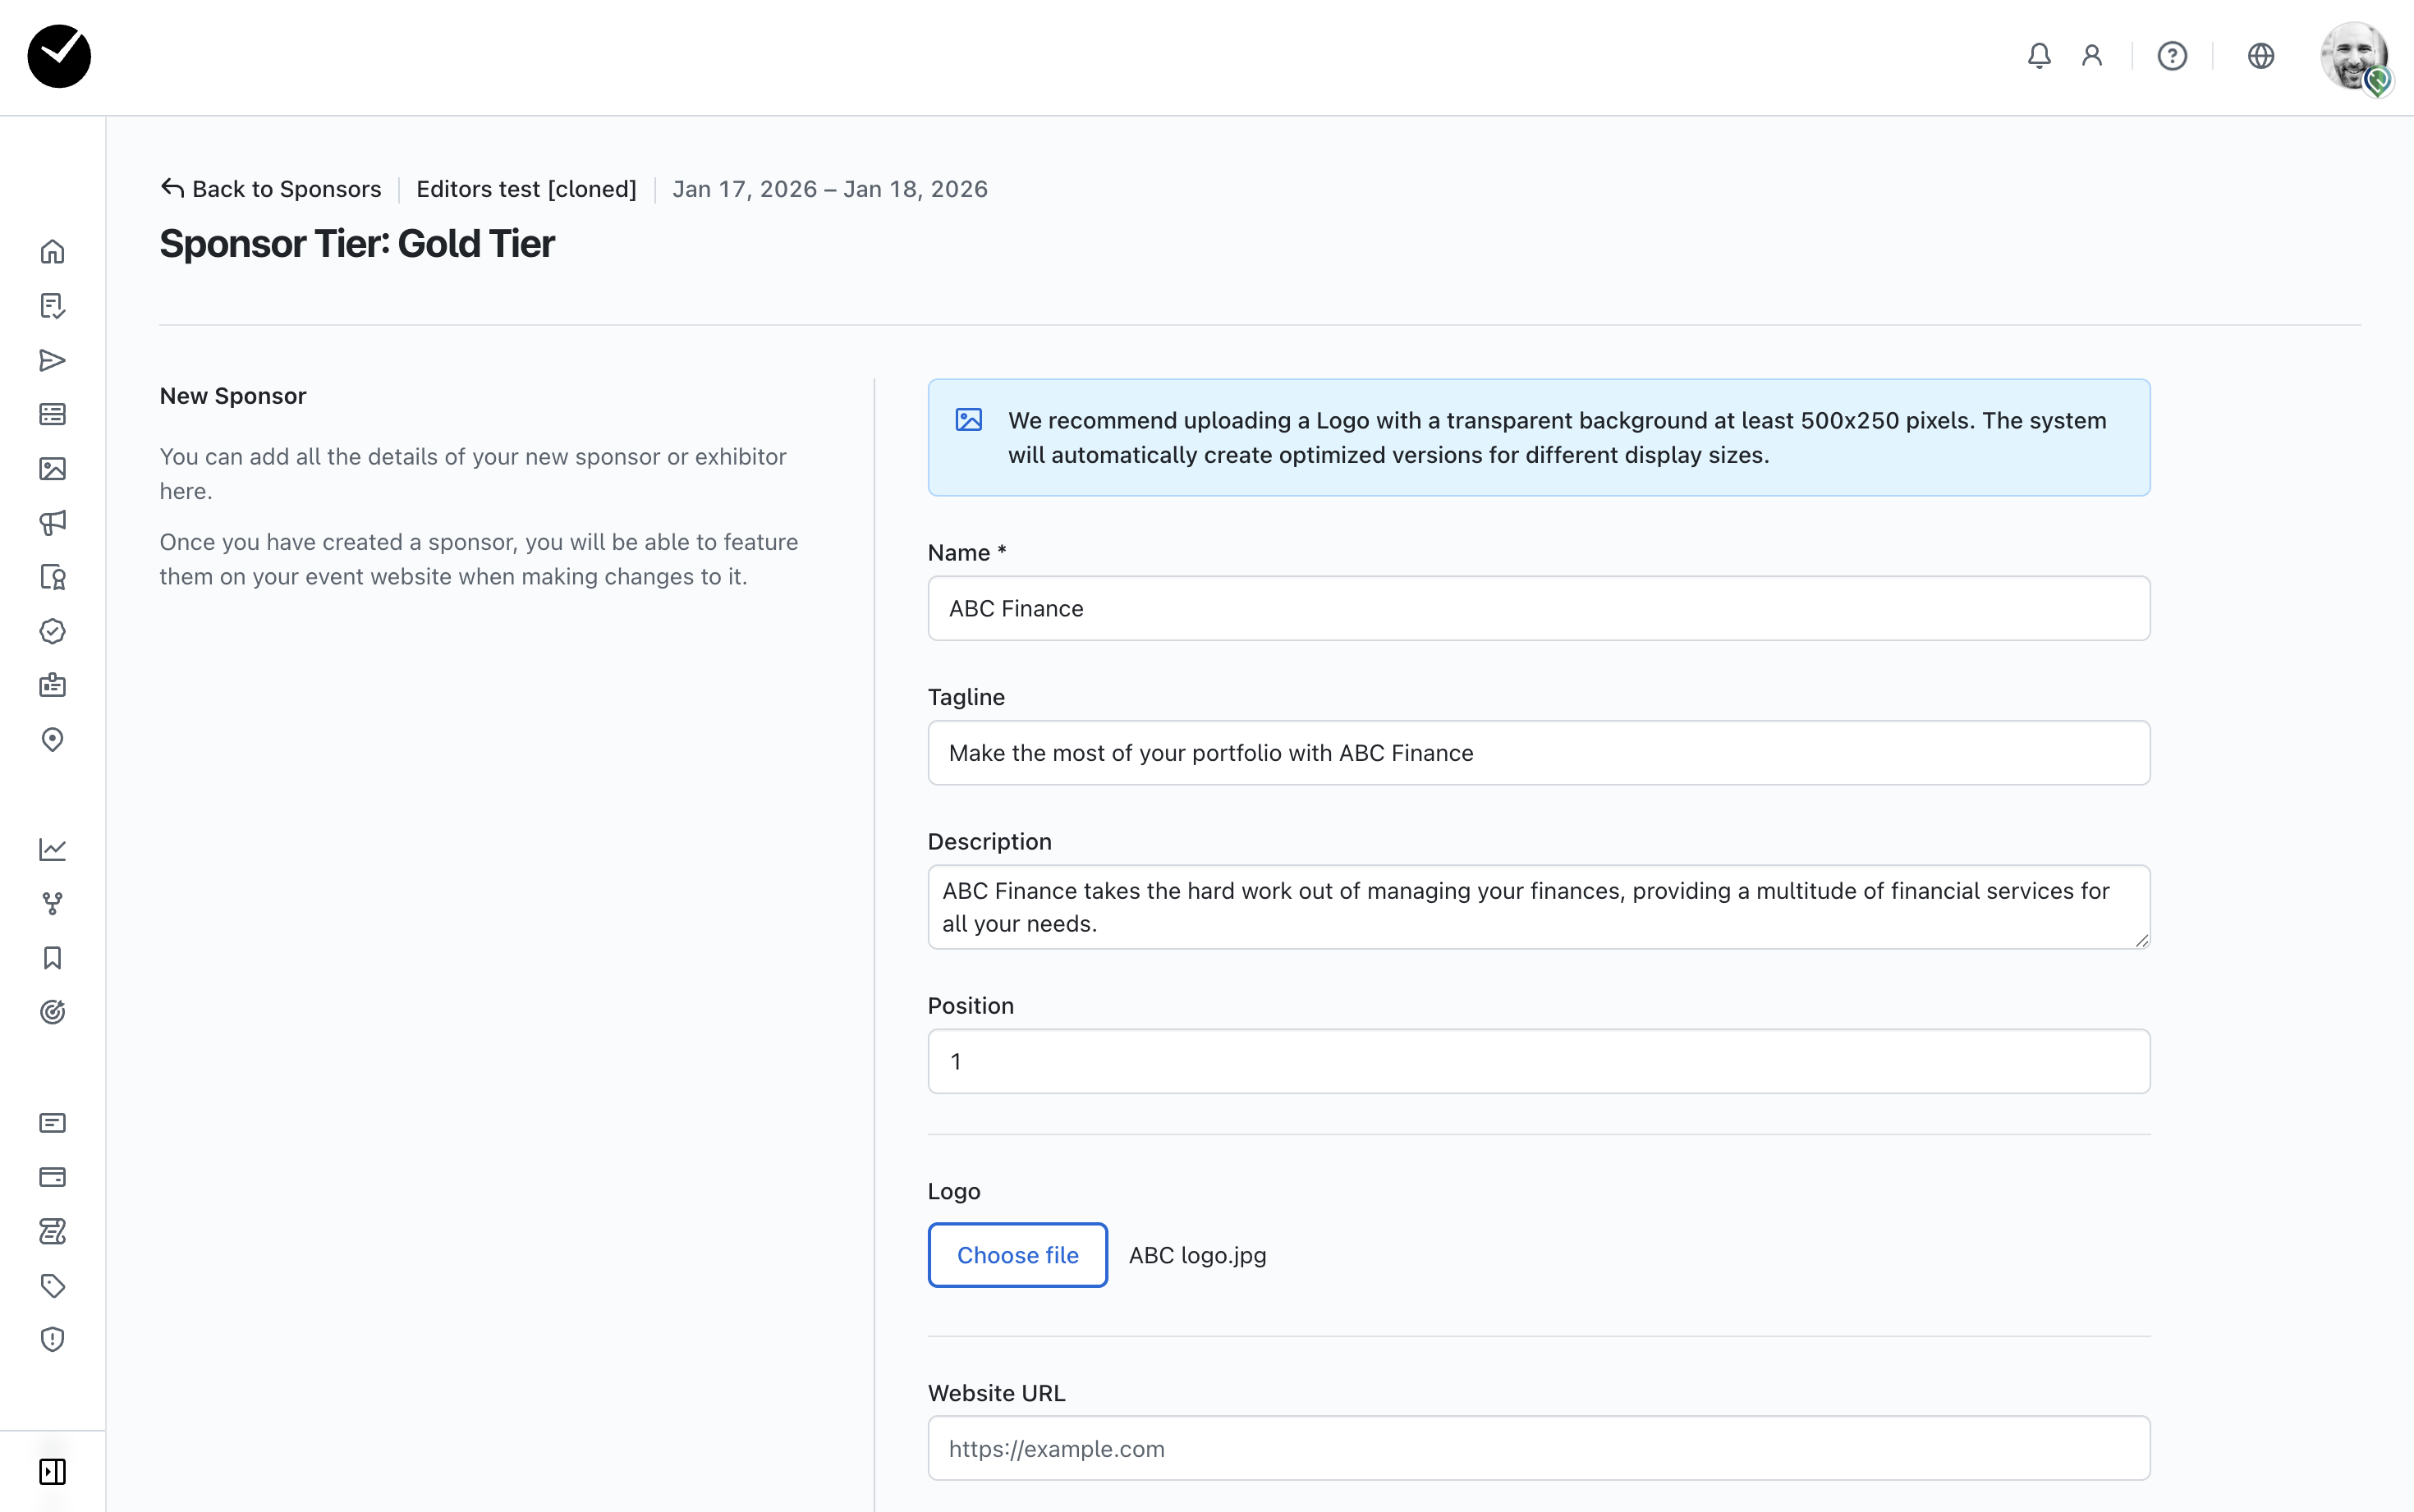
Select the 'New Sponsor' button to proceed - you will then be redirected to the Create Sponsors page. You will then be able to begin creating your sponsor using the form provided. In here you have the following options:
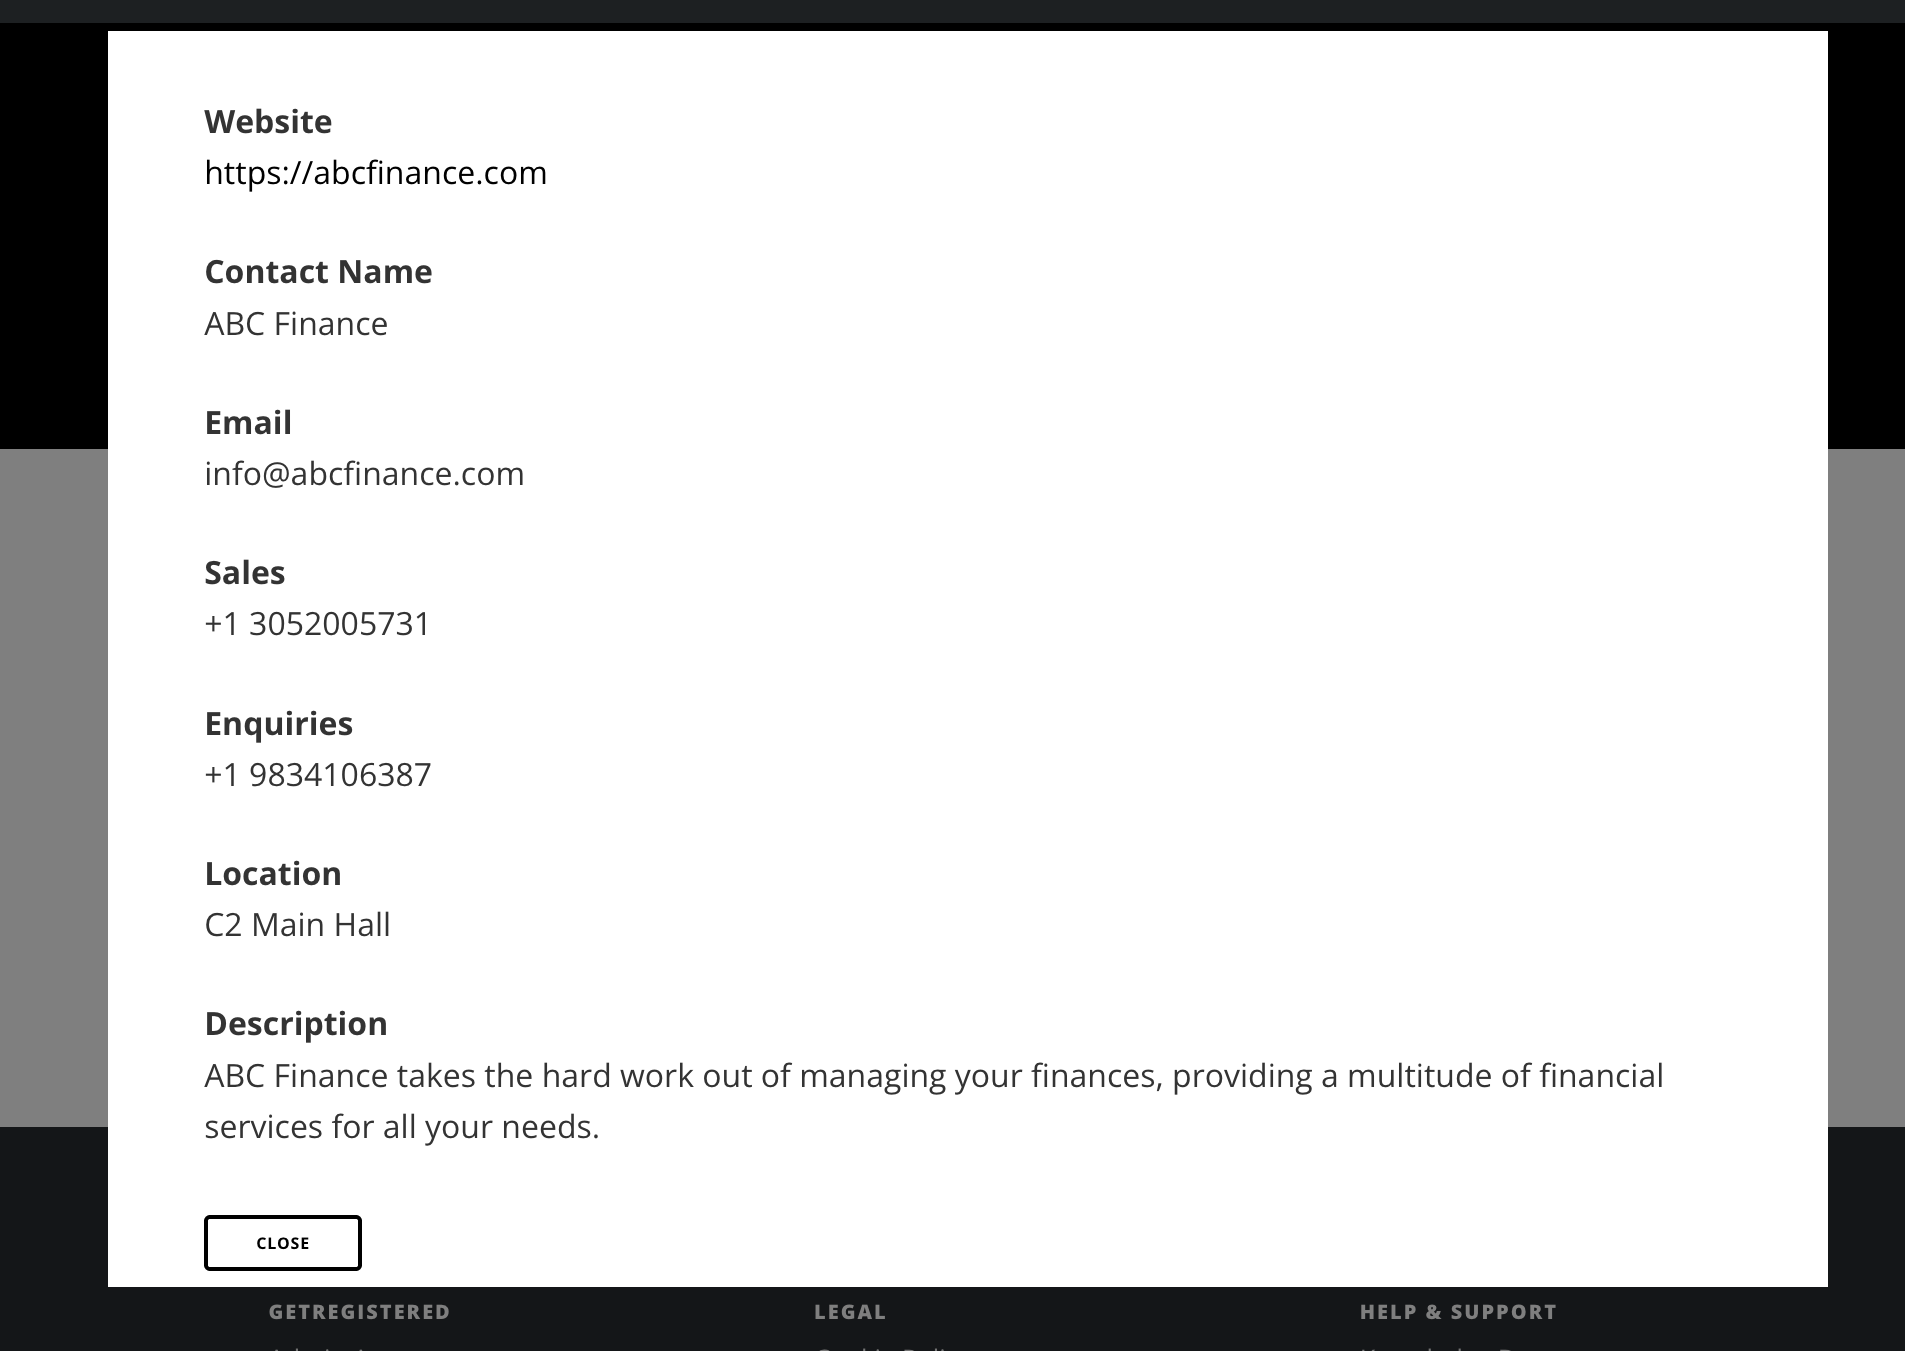
- Name - this is the name that will be displayed for your sponsor on your event website, this a mandatory field.
- Tagline - an optional field allowing you to add a tagline for your sponsor.
- Description - this optional field allows you add a text description for you sponsor.
- Position - this field allows you choose the position that the sponsor will be displayed in when you have multiple sponsors added to your tier.
- Logo - selecting this option allows you to add a logo for your sponsor. We recommend uploading a Logo with a transparent background at least 500x250 pixels. The system will automatically create optimized versions for different display sizes.
- Website URL - this field allows you to add a link to a sponsor's website, which will be displayed under the sponsor on your event website.
- Company Name and Company Email - these optional fields allow you to add the company name and email, which will be displayed under the sponsor on your event website.
- Phone Title/Number - these optional fields allow you to add a company phone number and a name for the number, which will be displayed under the sponsor on your event website.
- Location - an optional field allowing you to add the location of your sponsor at your event if they are attending.
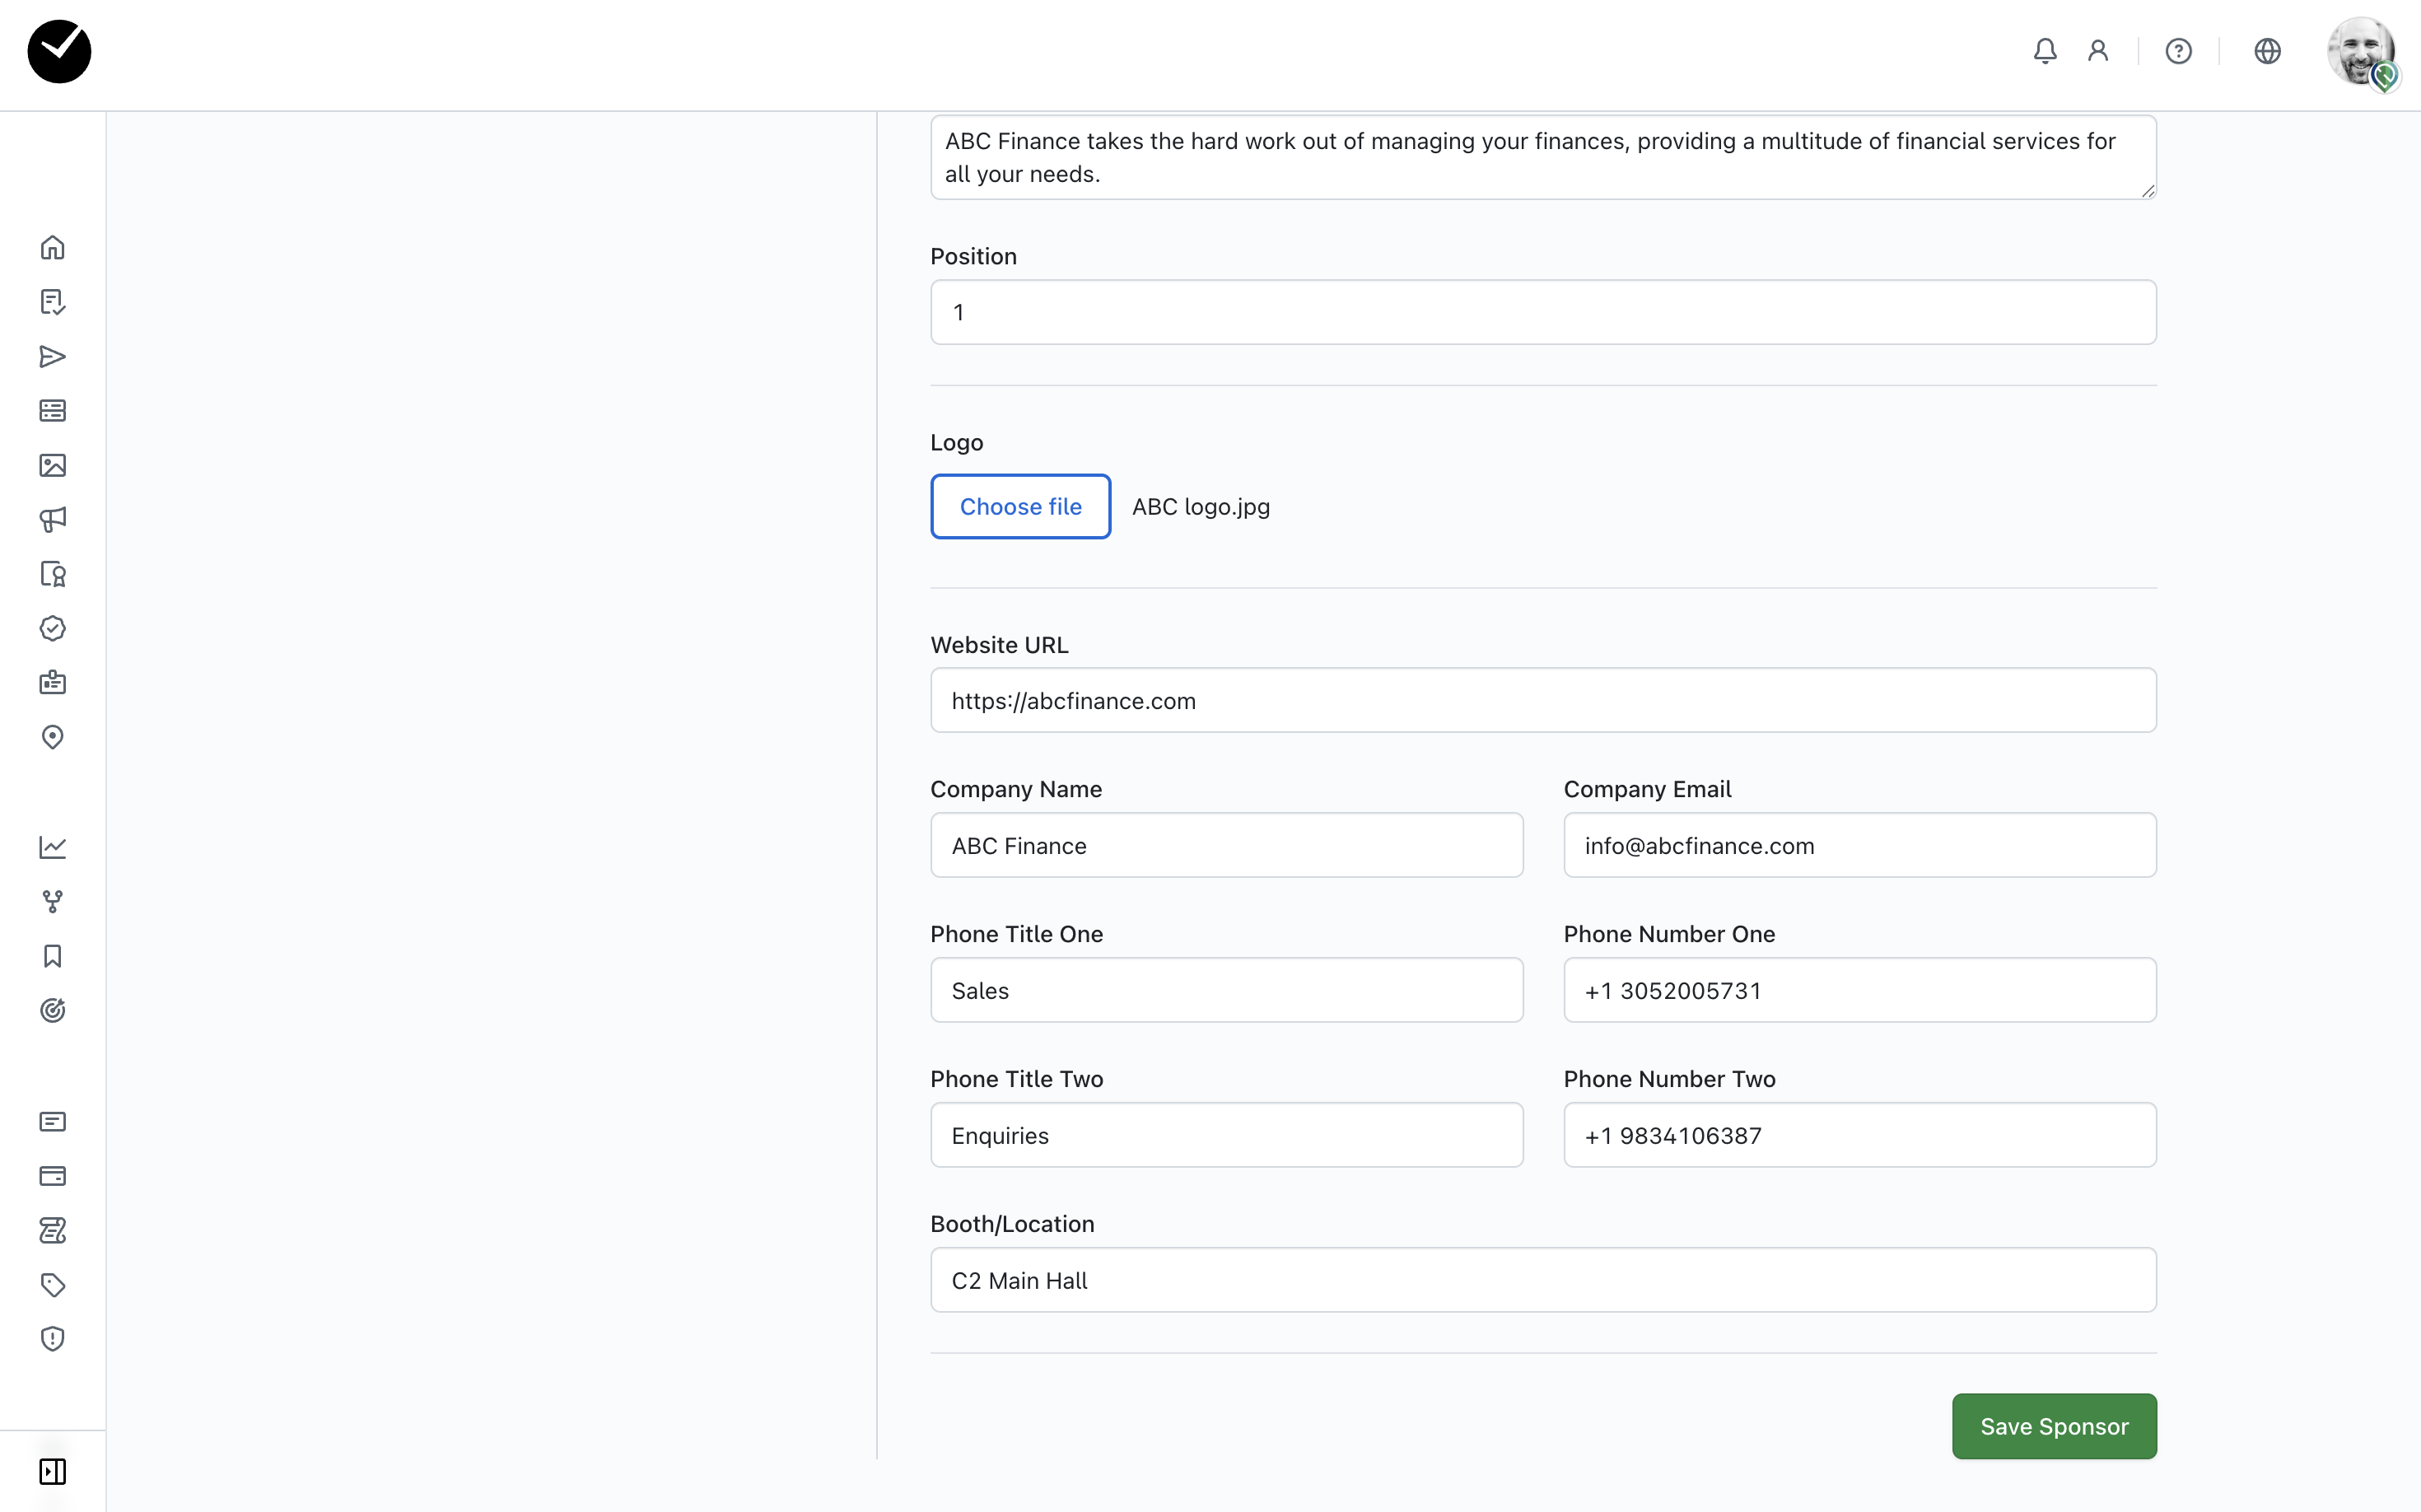
When you are happy with your changes, click on the 'Save Sponsor' button to proceed. You will then be returned to the Sponsors page for the currently selected tier, and the new sponsor should be displayed on the table on the main area of the page:
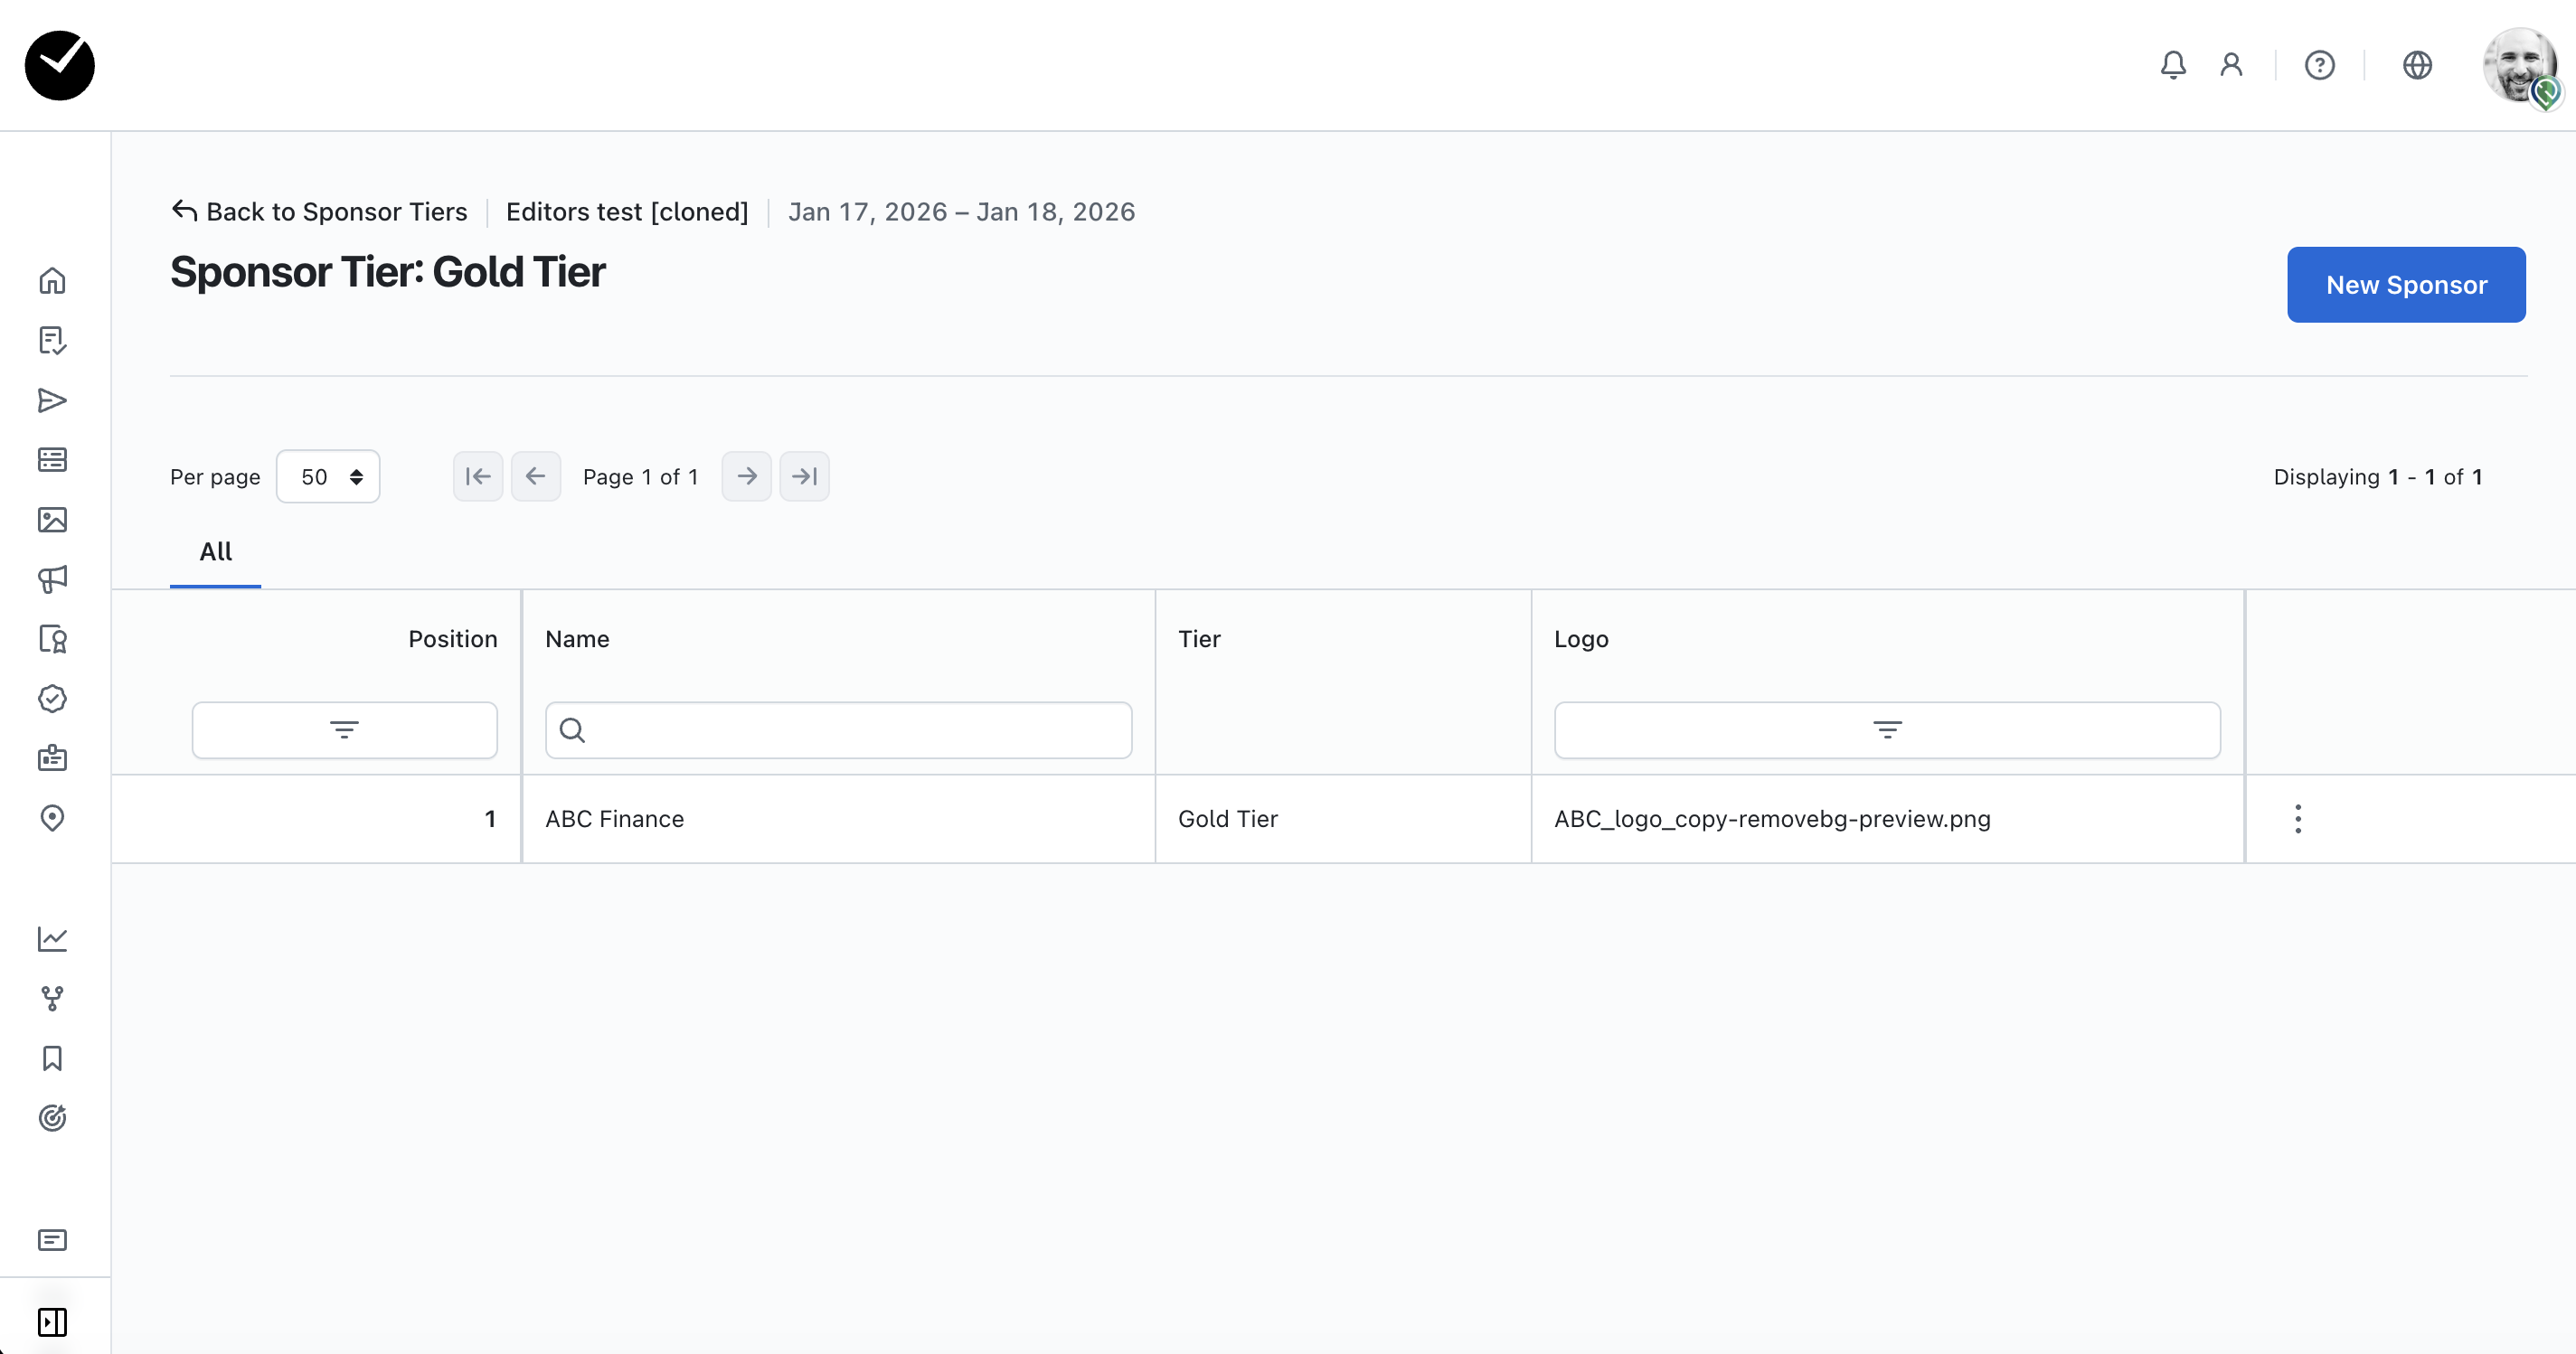
If you wish to make any amendments to your sponsor, click on the 3 dots displayed at the end of the row. Otherwise, you can continue to create new sponsors, or return to the Sponsor Tiers page if you wish to create further tiers for event website.
Adding Sponsors to your event website
To begin adding sponsors to your event website, you must first go to your Event Website Editor area and select 'Add Sponsor Section':
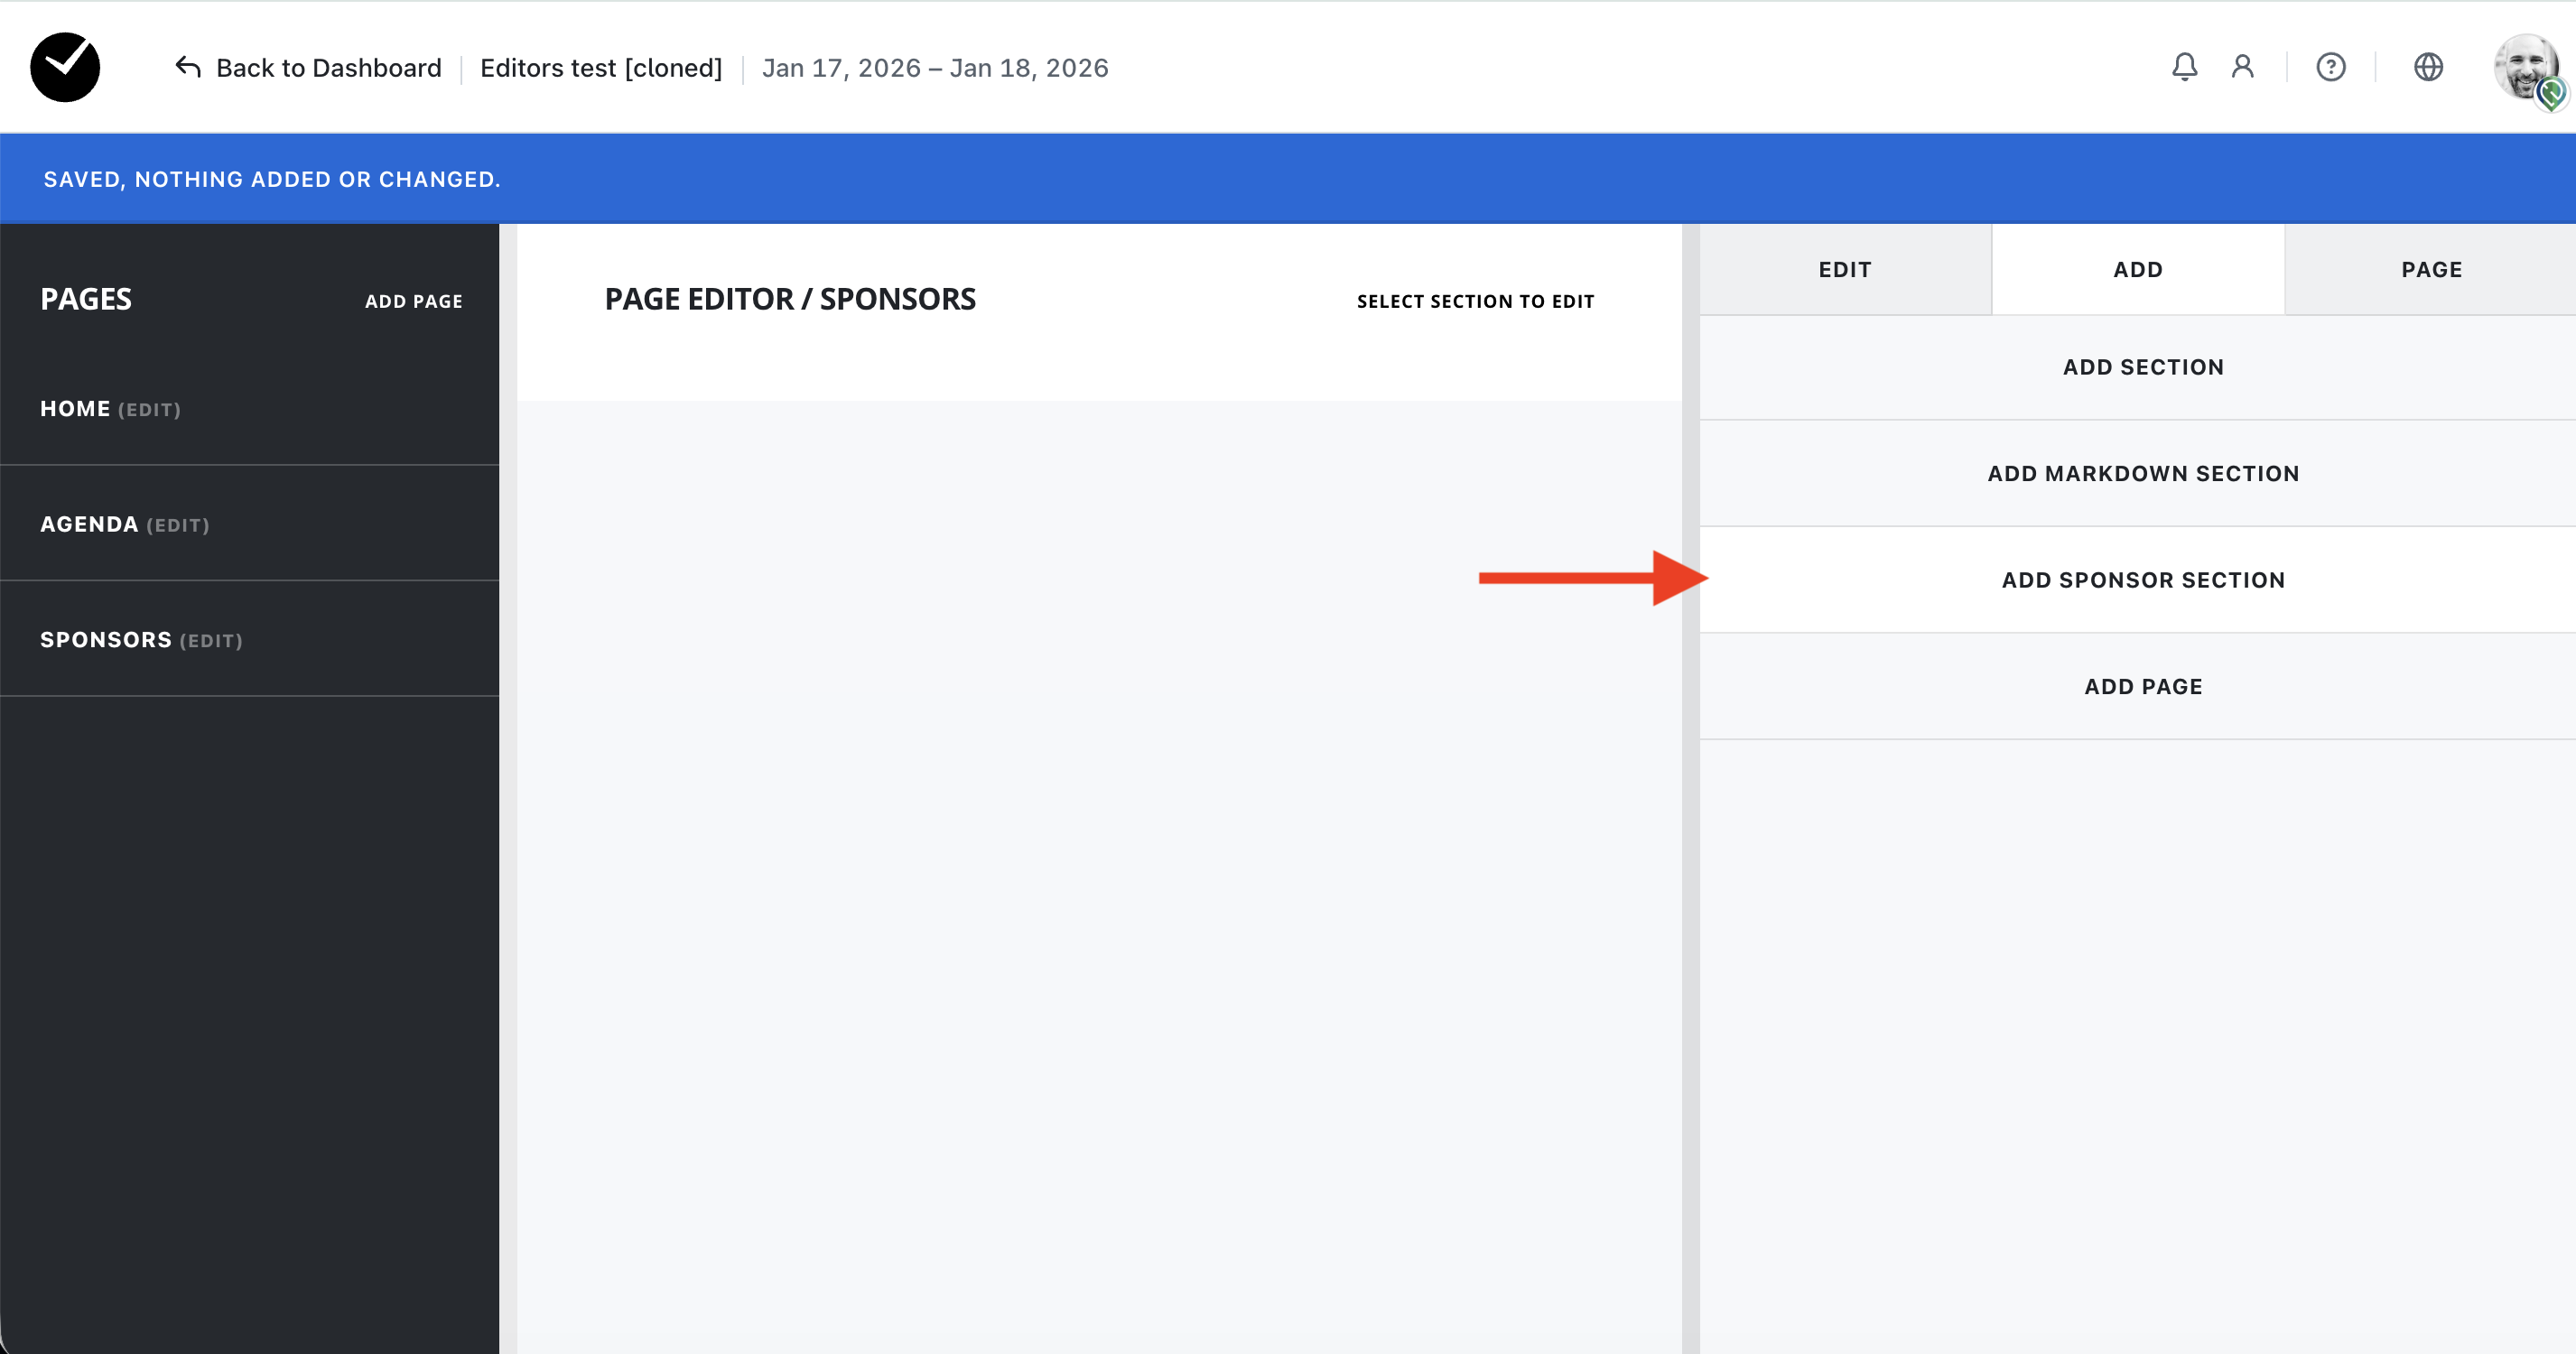
You will then see the following options:
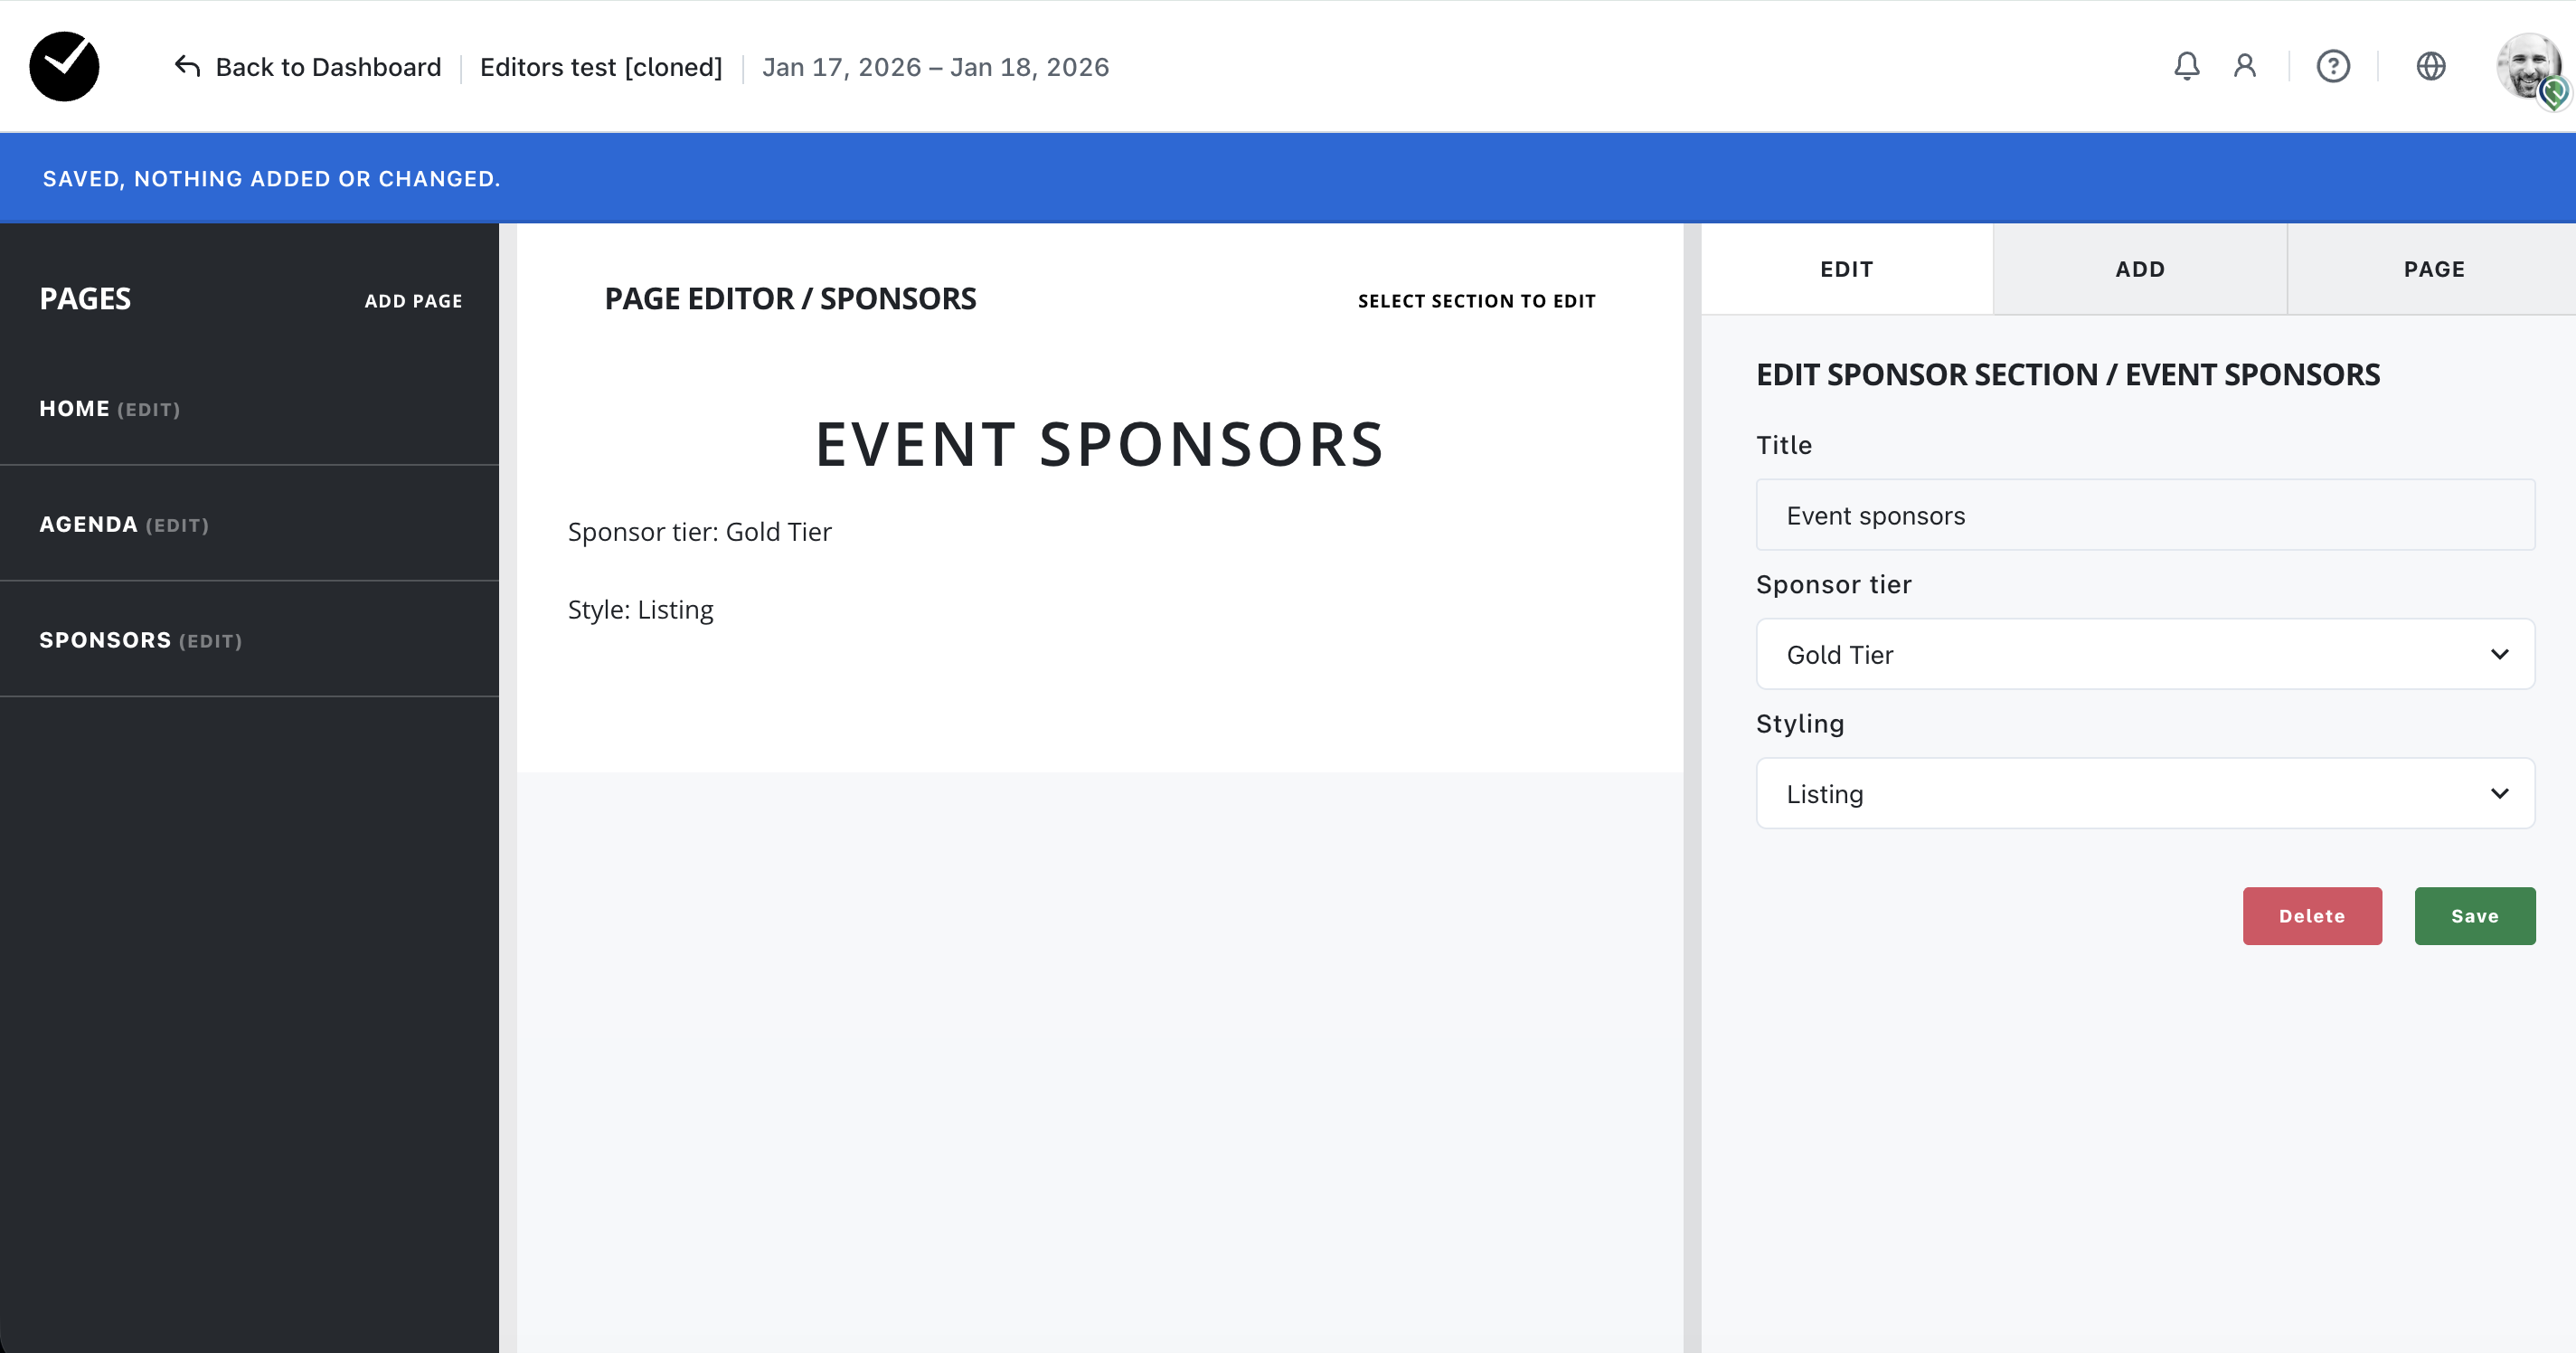
- Title - the title of the sponsor section to be displayed on your event website.
- Sponsor Tier - this dropdown allows you to select the sponsor tier you wish to display in your sponsor section. All sponsors under the selected sponsor tier will be displayed in this section.
- Styling - select the style you wish your sponsors to be displayed as on your event website.
When you are happy with your amendments, click 'Save'. Your sponsor tier will now be displayed on your event site!
Styling examples
Listing:

Logo and name:

Medium logo:

Large logo:

When an attendee clicks on a sponsor listing on your event website, they will see any additional information created for a sponsor in a new window, eg: