Can I create my own validation rules for my registration form fields?
Please note that the following article covers functionality for the new version of our form editor (v2). If you are using our legacy form editor (v1), you can still use this feature, but functionality will be limited to just pattern creation (no 'Test Pattern' available). If you wish to switch to the new version of our editor, please contact us at getregistered® support.
With the feature enabled for your organization, we provide the ability for you to add your own validation requirements on any supported 'input' fields available to you when building your registration form (eg a text field, a phone number field etc).
This is limited to the following field types:
- Text Field
- Number
- Phone Number
What kind of validation can I apply to input fields?
The validation feature in getregistered allows you to create requirements on specific fields, ensuring that attendees can only enter and submit data that fits your specified scope. For example, if you have a text field and you want to restrict the number of characters an attendee can enter, we provide you the ability to do this. We also provide you with the ability to add your own custom error messages, which will display when an attendee enters data that doesn't meet your validation settings.
Custom validation in getregistered works by applying a regular expression (also know as 'regex') to the field.

'Regex' is a powerful sequence of characters defining a search pattern for text processing, validation, and manipulation, and what is used to define your custom validation - don't worry though, we don't expect you to create your own regex sequences to use this feature, we've got you covered! We provide a collection of set validation 'patterns' for things like phone numbers, postal codes and dates, so that all you need to do is pick the pattern you need. We also provide the option for you to build your own custom validation pattern using our handy regex editor, so you aren't just limited to our preset options if you want !
How do I add my own custom validation to fields in getregistered?
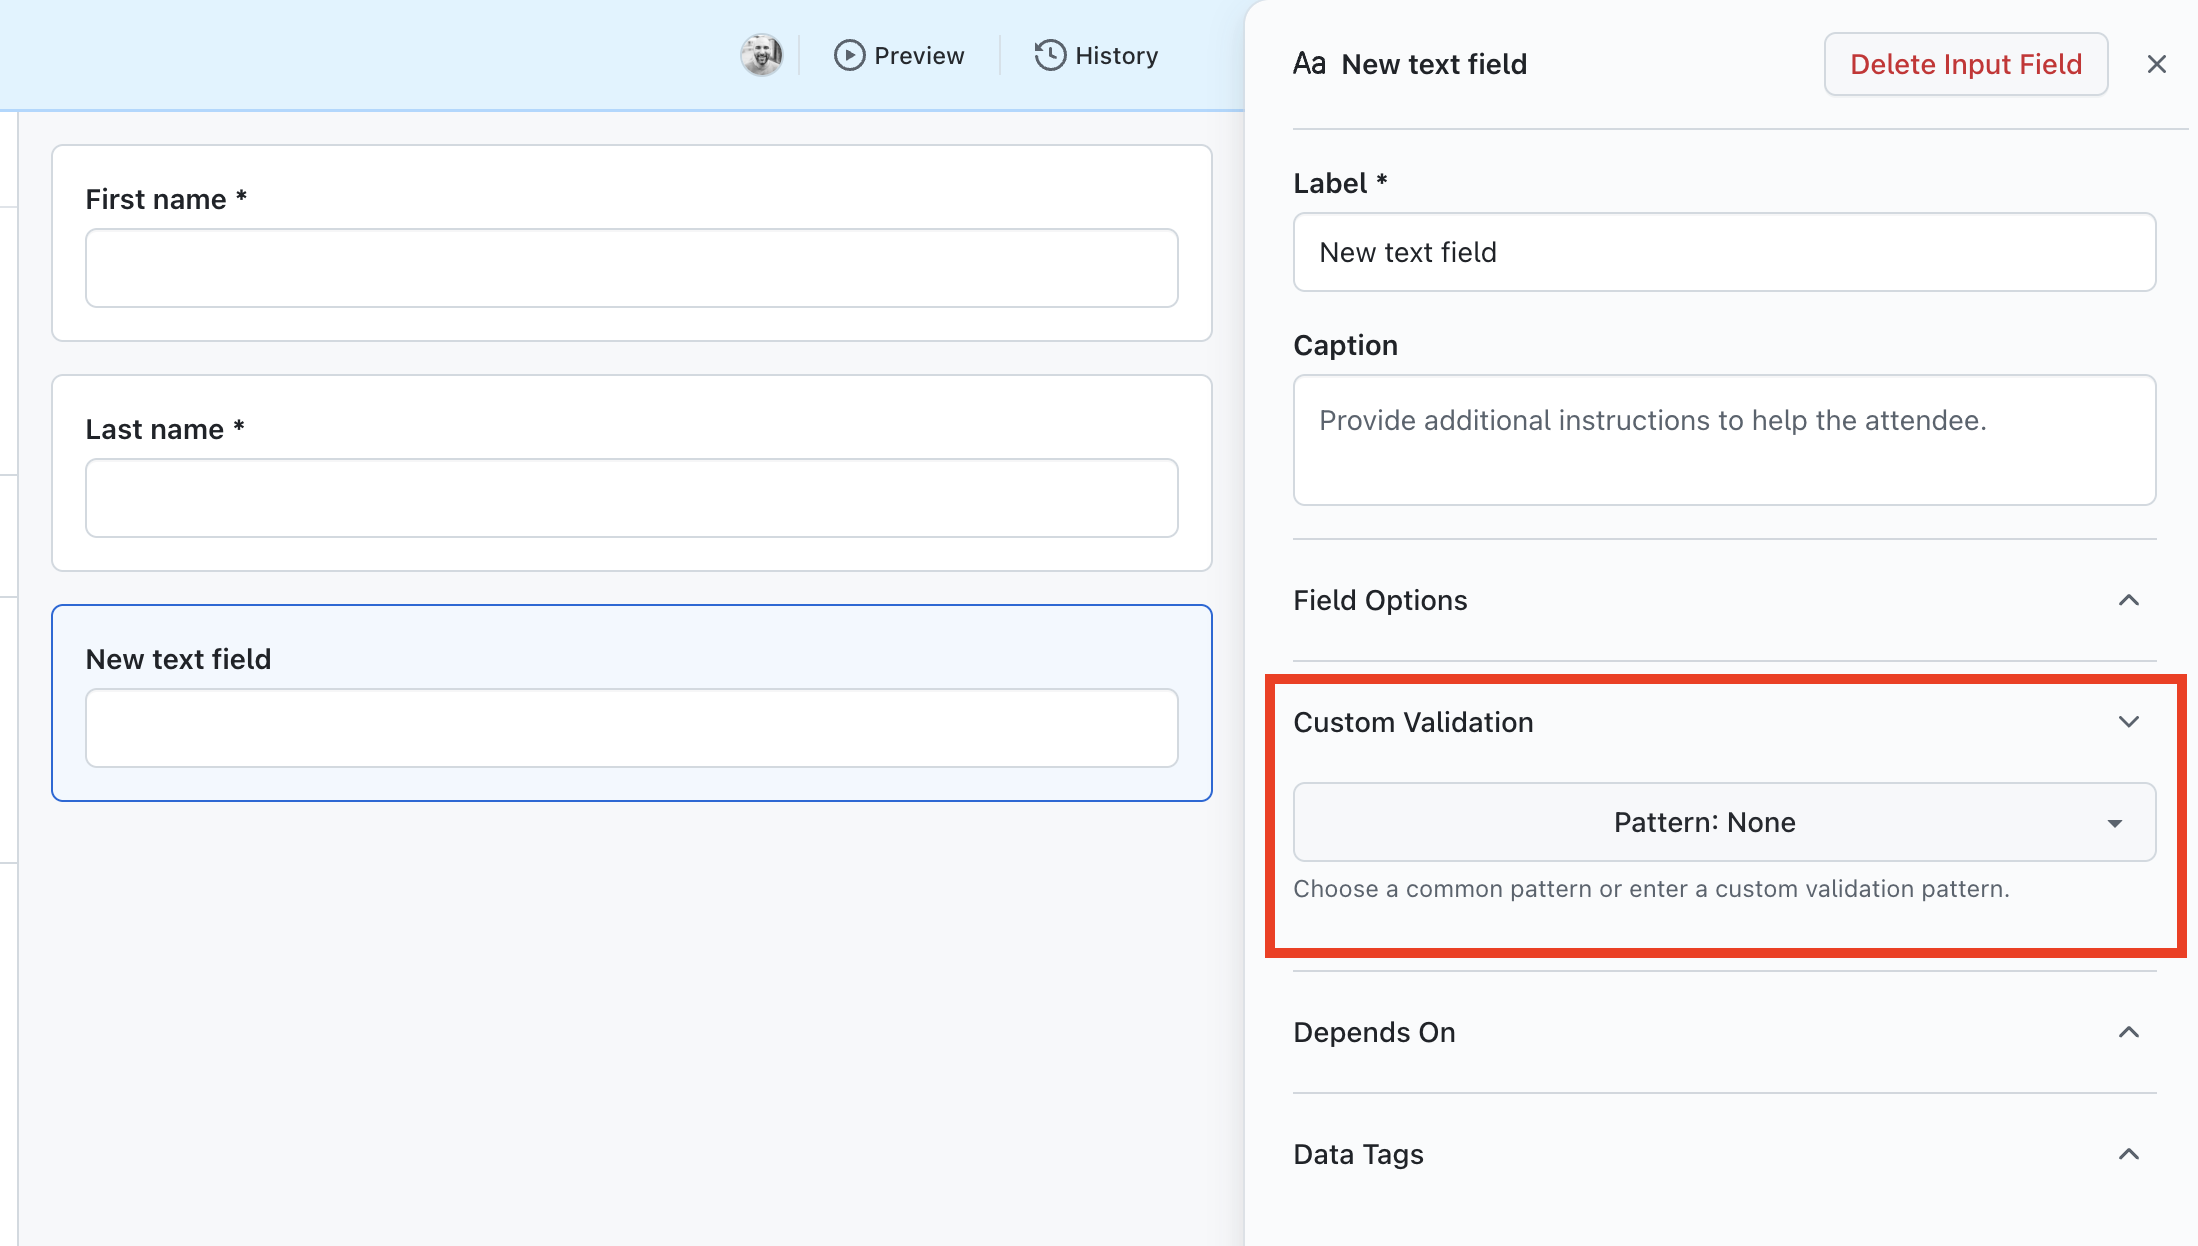
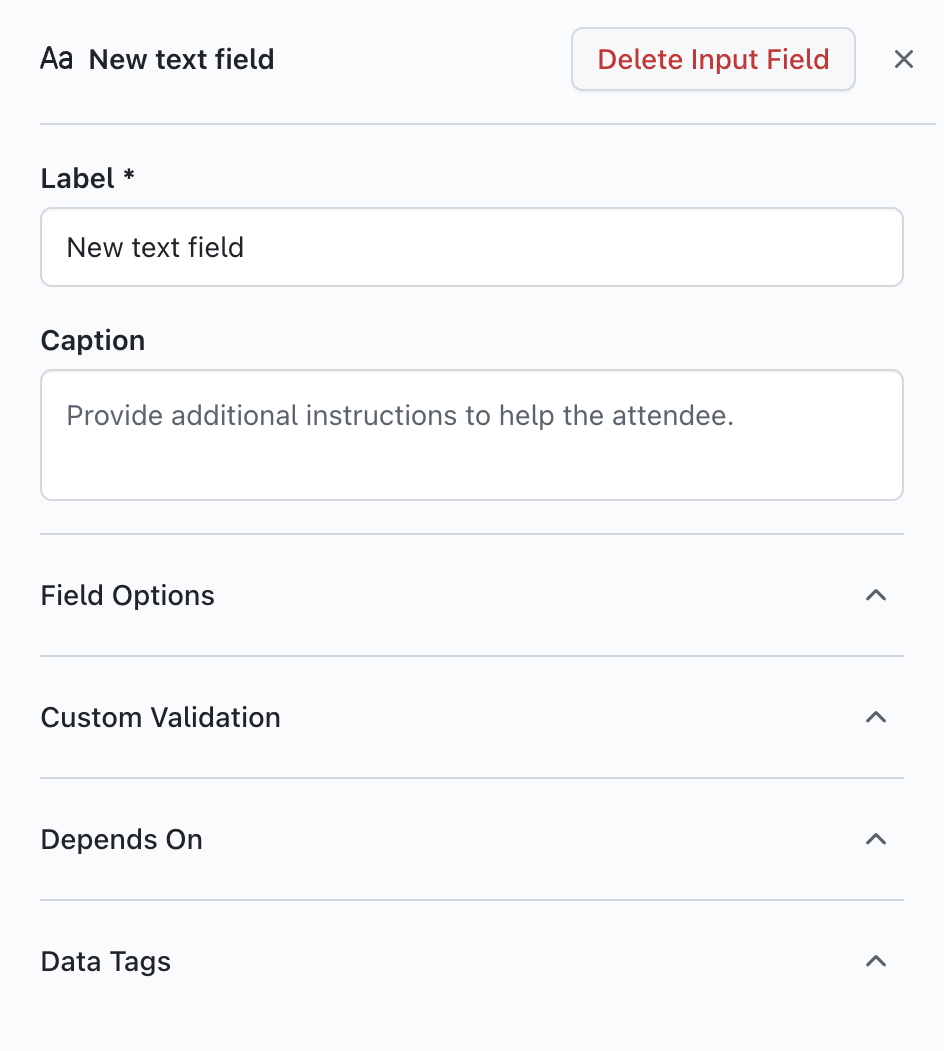
To begin adding your own custom validation, enter your registration form editor and either add a new input field that supports this feature or click on an existing one on your form. If the field is supported, you will see the option 'Custom Validation' displayed on the 'Edit' column of your editor:
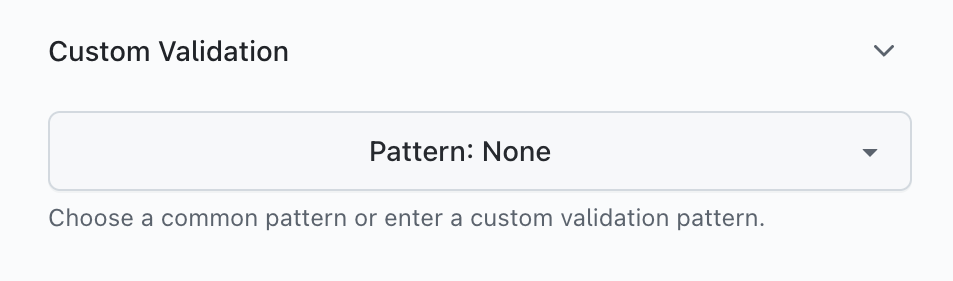
When you click on the 'Custom Validation' option, you will see a single dropdown available, which will be set to 'None':
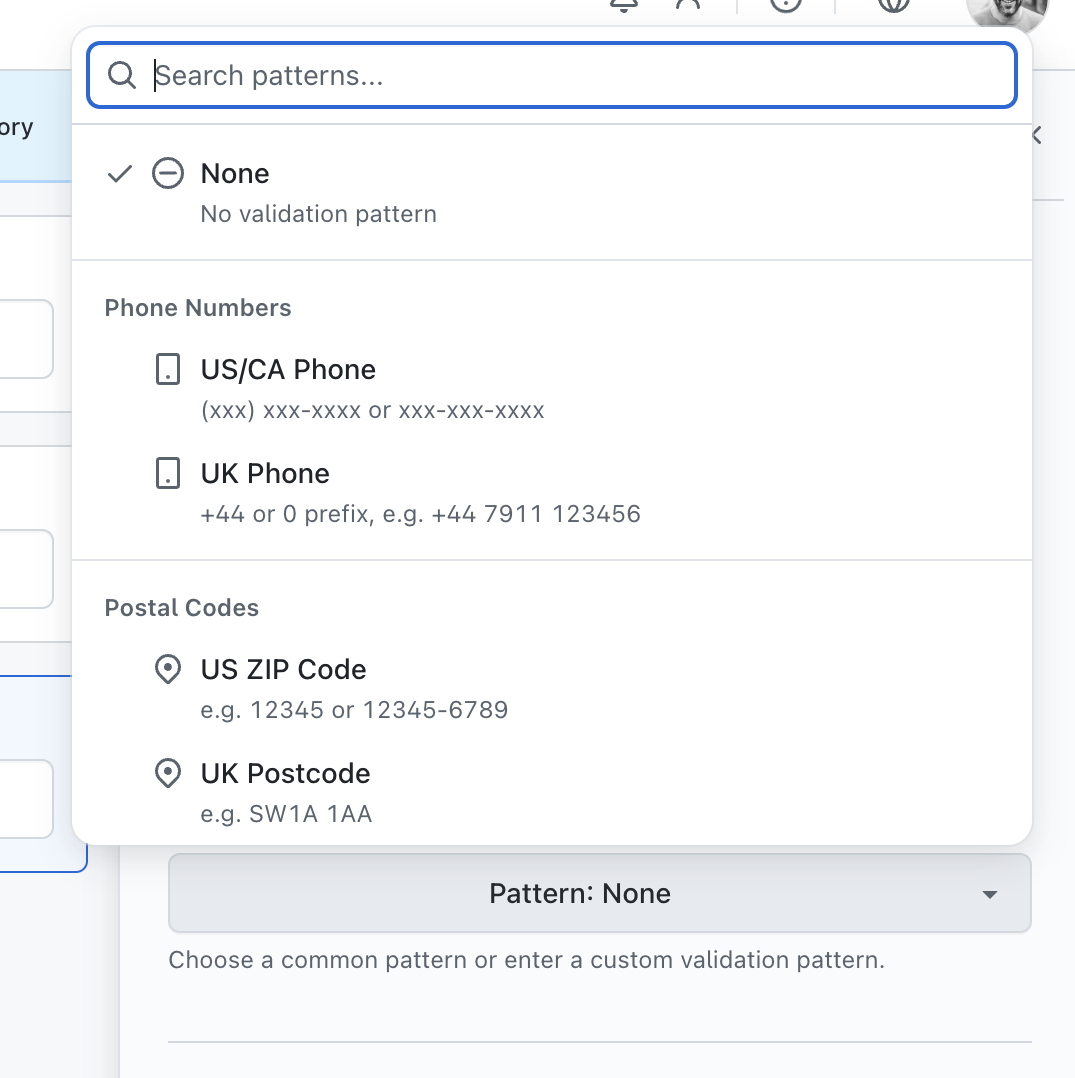
When you click on the dropdown, you will see a list of preset validation patterns for a number of different scenarios, as well as the option to create a custom validation pattern. You can either scroll the window to view or search for relevant patterns using the search field provided:
In the following example, we will use the # Alphanumeric Code preset. Each preset will have it's own individual parameters, so they will differ depending on your selection.
When selecting the # Alphanumeric Code preset, you will see the following displayed:
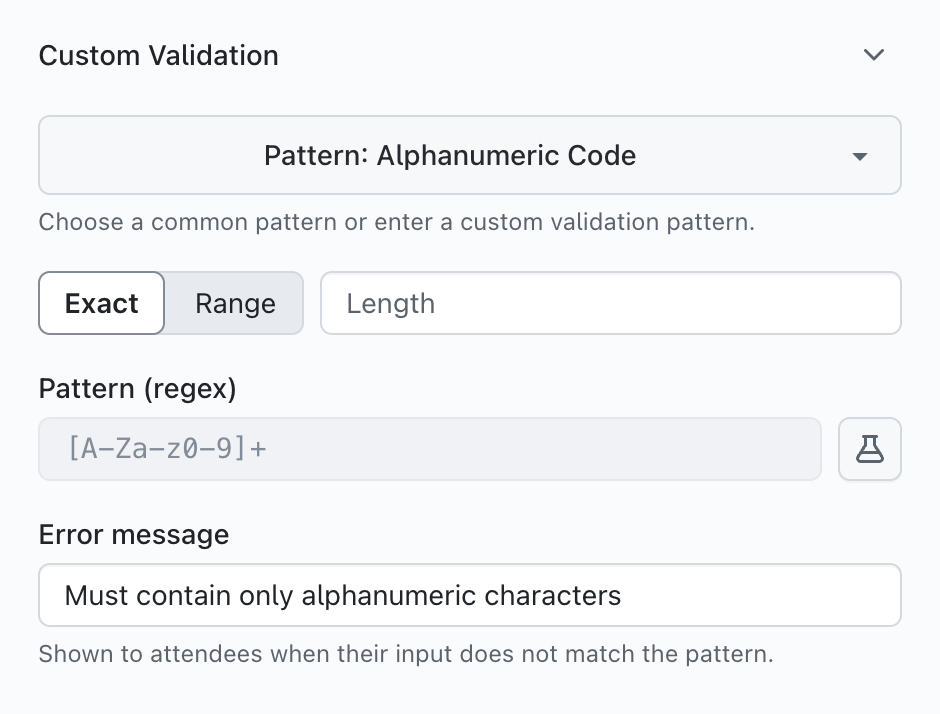
This currently is set to only accept alphanumeric characters (letters and numbers) with no spaces. If you want to add a required length of characters, enter a number into 'Length' field:
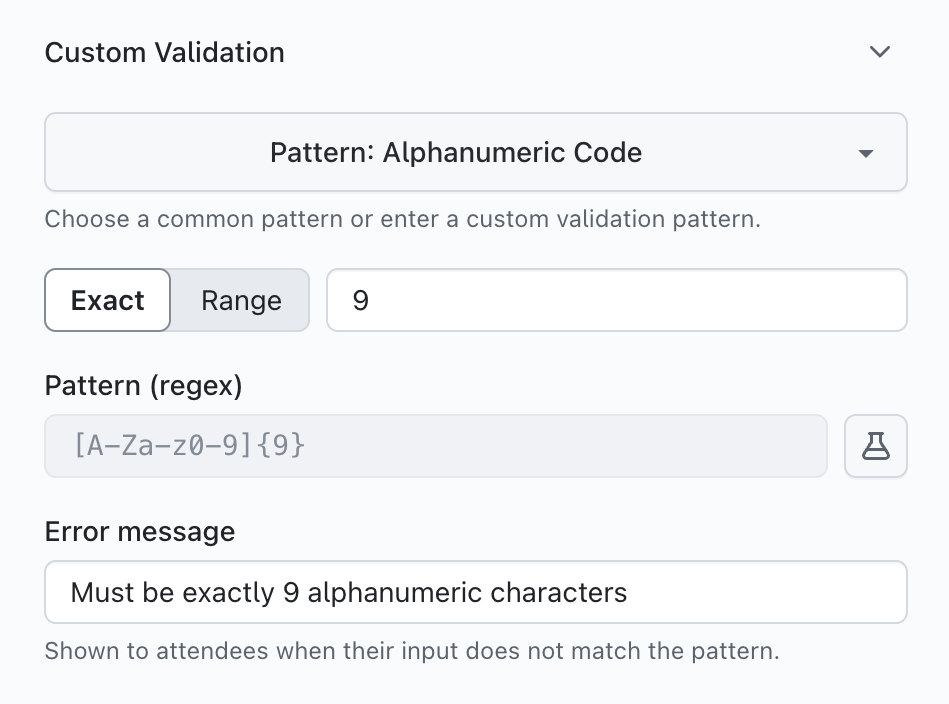
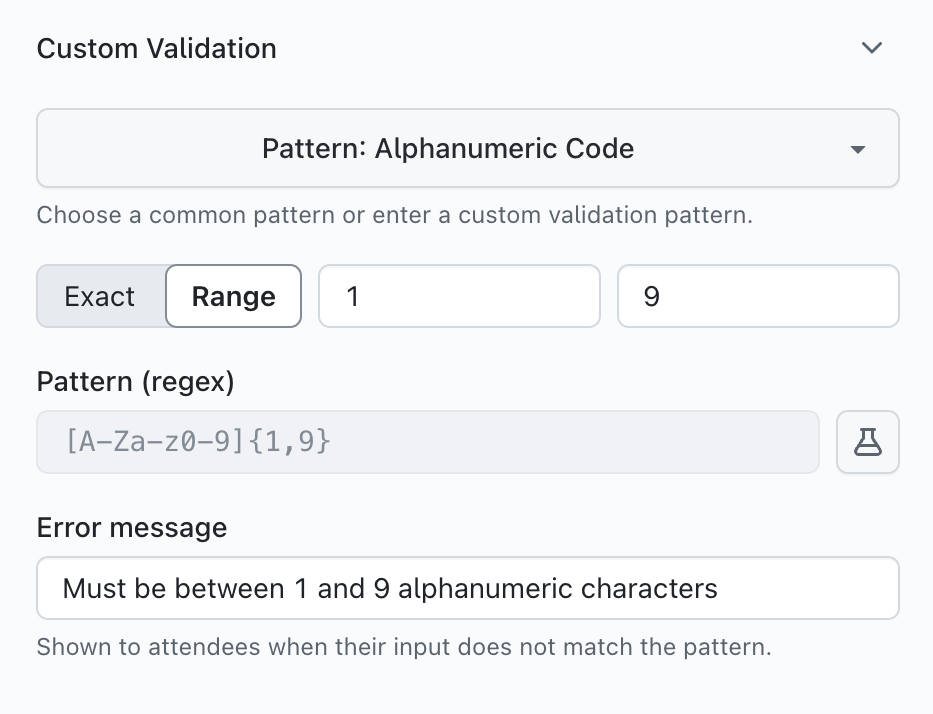
You can see that the 'regex' now has the {9} prefix, and the error message has now updated to reflect that the attendee needs to be exactly 9 characters. You can also set a range of characters by clicking on the 'Range' option and providing a minimum and maximum amount of characters:
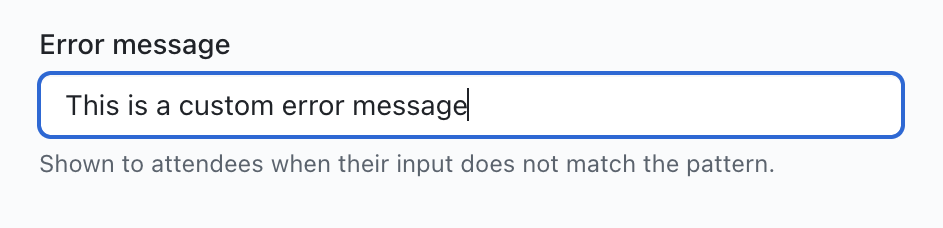
If you wish to create your own error message that will be shown to the attendee, click on the 'Error Message' field and enter your personalized message:
When you're ready to save your changes, just click on the 'Save' option on your main editor window.
How can I verify if my validation changes are working as I expect them to?
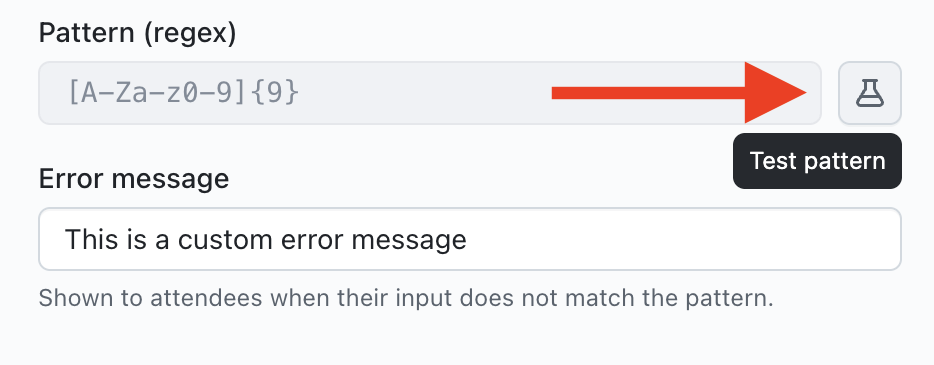
When creating or editing your field validation, you will see an icon to the right of the Pattern (Regex) field. This is the 'Test Pattern' option, and allows you to test your validation parameters:
Clicking on this will display a pop-up window which will look like the following:
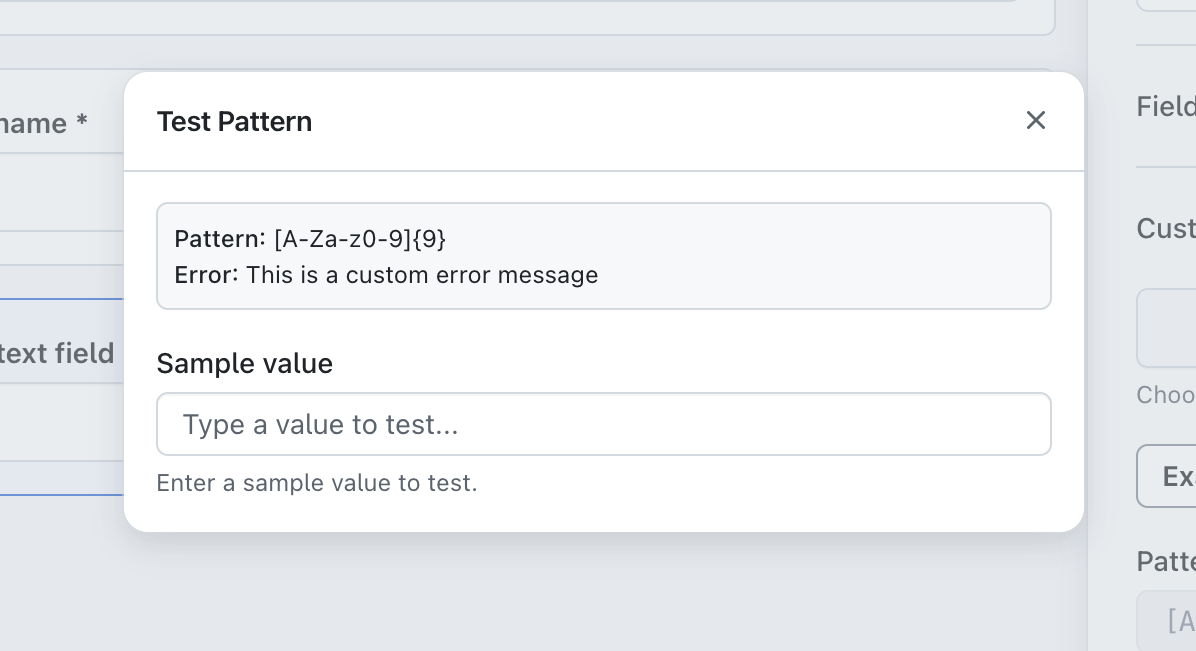
To test your validation pattern, just enter characters into the 'Sample value' field. If the characters entered match the pattern, you will see a green tick displayed, if it doesn't then it will show a red cross.
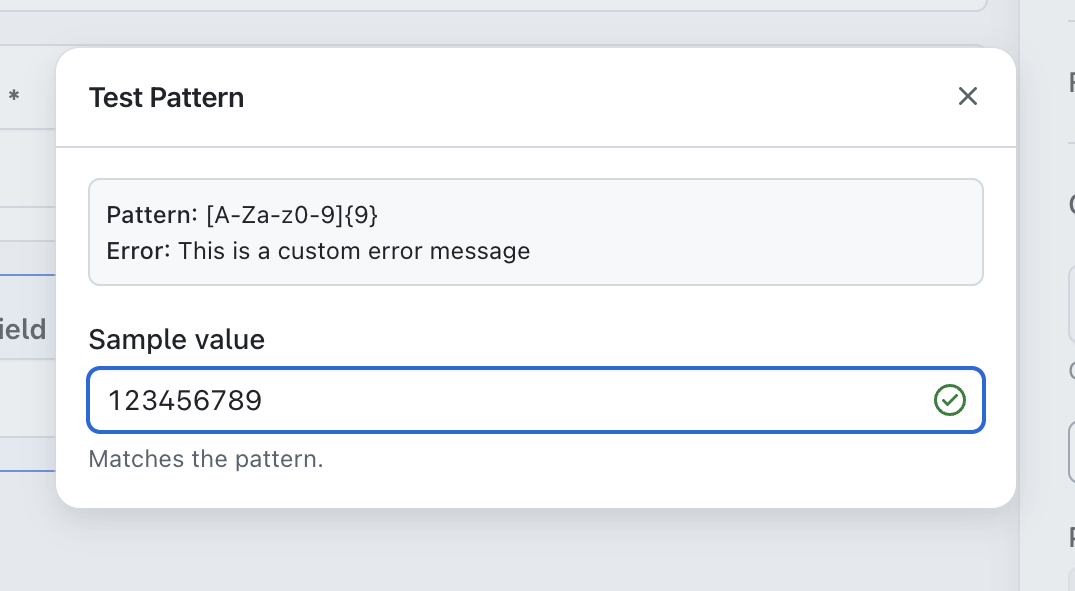
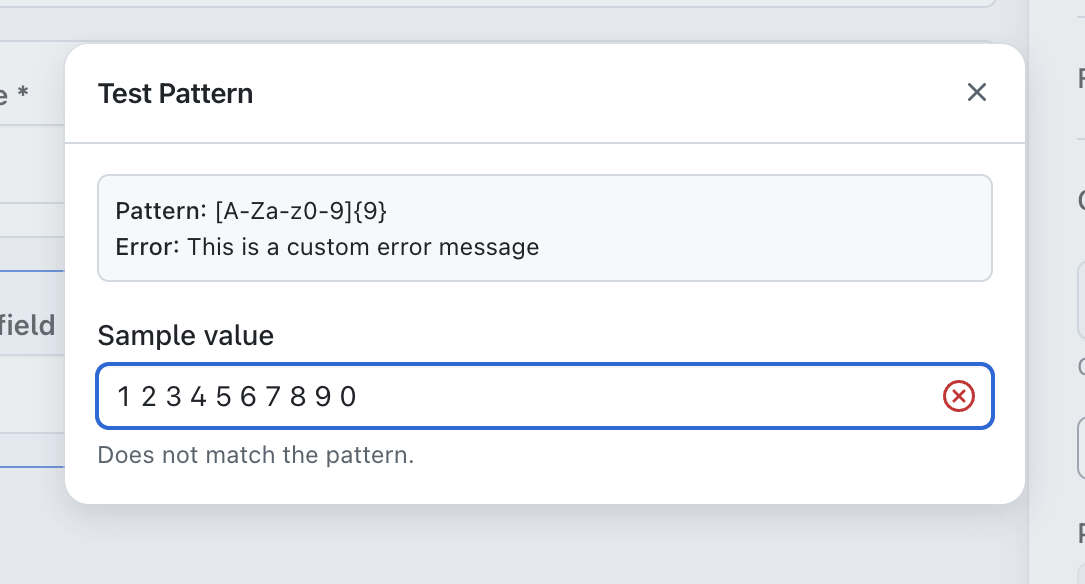
In the example below, you will see the results from entering valid and invalid entries for an alphanumeric code with a required length of 9 characters with no spaces:
If you wish to see how this would look on your registration form, click on the 'Preview' option on your main editor window and attempt to submit an invalid entry on the form.
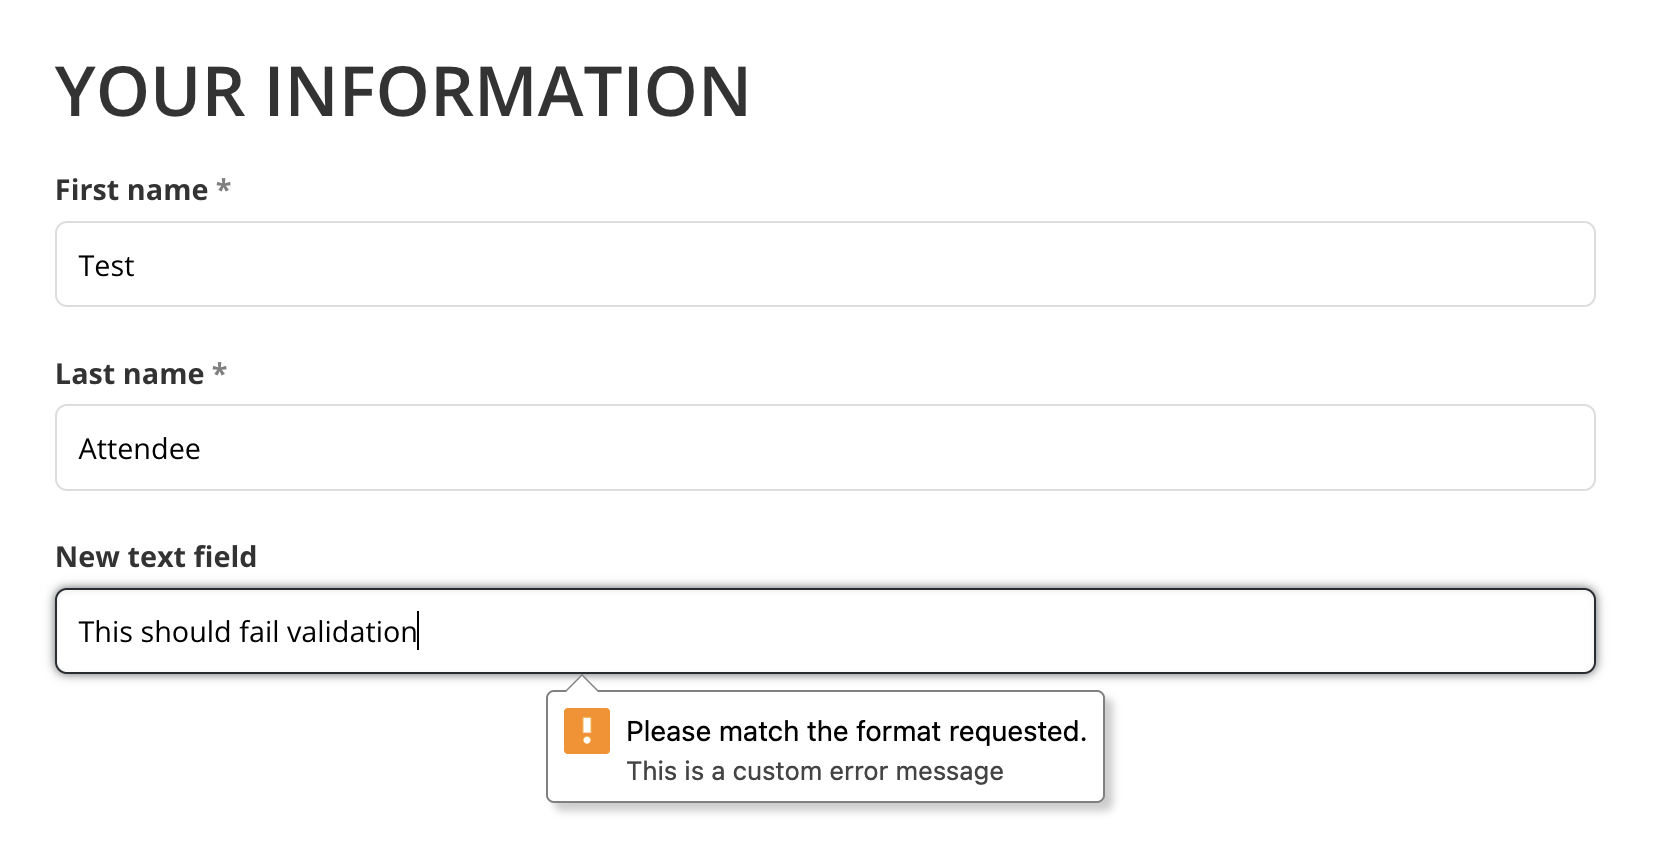
As you can see in the example above, the custom message we added earlier is displayed when the attendee enters and submits data that doesn't match the accepted requirements (required length of 9 characters with no spaces)