How do I manage Name Badges in my event?
To be able to manage your Name Badges in your getregistered® event, you must have a Name Badge Template saved for your event, and have taken at least one registration. To set your event Name Badge template, enter the 'Name Badges' area of your Event Settings and select your template from the dropdown provided:
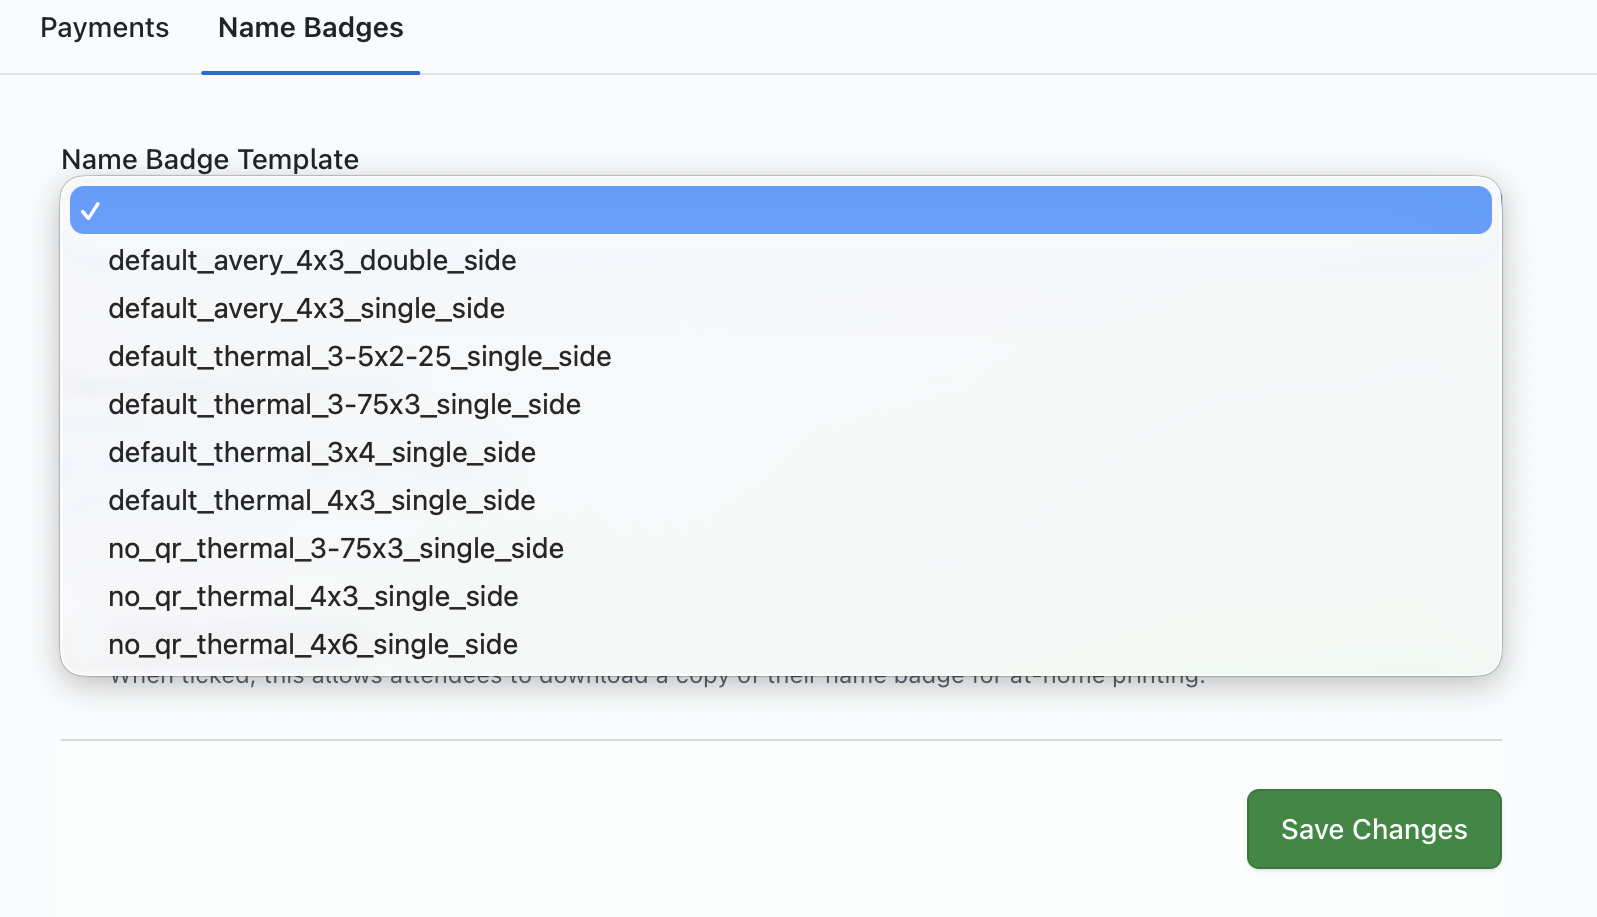
This dropdown provides you with a number of default templates to choose from, as well as any custom templates added to your organization. If you require a custom Name Badge Template, please contact support for us to add your custom template to your getregistered® organization.
What can I display on an event name badge?
All default name badge templates will display an attendee's full name and event QR code (if you have enabled QR codes for your event).
If you wish to capture additional data on your event name badges for a Name Badge Template, we can assist you with creating a custom Name Badge Template, that can capture further data from your attendee's registration by creating 'data tags' for specific fields on your event registration form. Please contact getregistered® support if you wish to setup a custom Name Badge Template, and we'll take care of the rest for you!
Managing your event Name Badges
Once you have selected a template, and you have begun to receive registrations, click on the 'Name Badges' tile on your Event Dashboard:

Once selected, you will now be on the 'Name Badges' page, and you can begin managing your attendees 'Name Badges'.
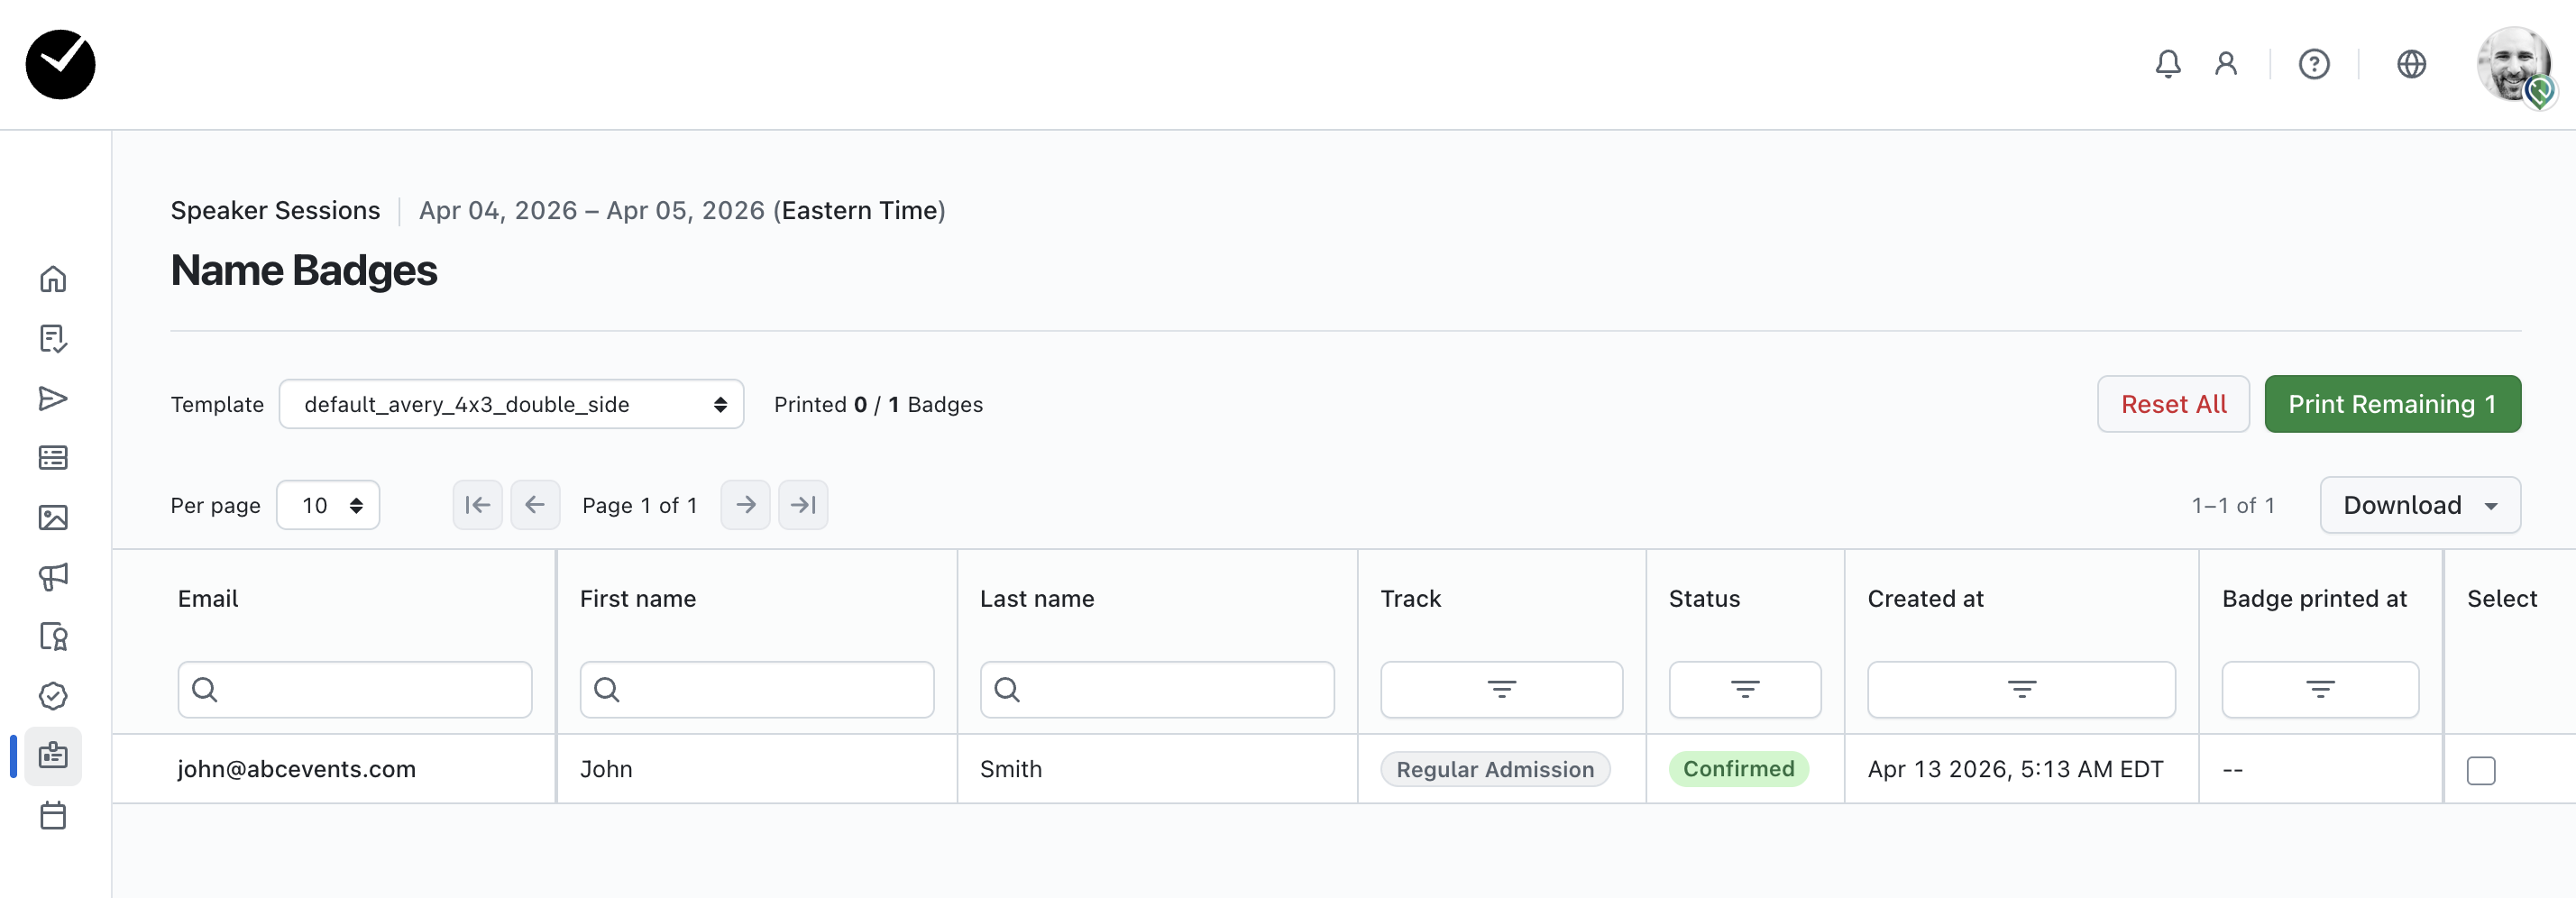
On the main area of the page, you will see a table displaying a list of all your registered attendees, which can be searched, sorted and filtered as desired. If any attendees have already had a name badge created for them, you will see a date/time stamp displayed on the 'Badge printed at' column for the relevant row(s).
Above the table, you will see a 'Template' dropdown, that allows you to switch Name Badge Templates on the fly, which can be handy if you have an event that uses multiple name badge styles. To the far right of the page, you will a 'Print Remaining' button and a 'Download' button.
To 'bulk print' all badges for all attendees, click on the 'Print Remaining' button, and a PDF will be generated and downloaded for you that contains all attendee name badges.
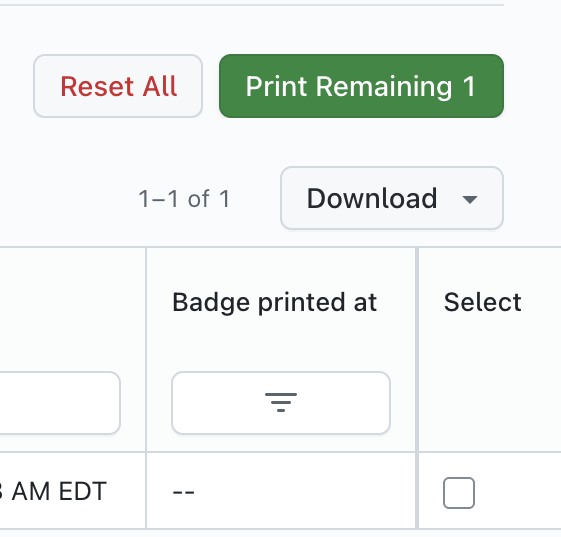
If you wish to select specific attendees to have name badges created, click on the relevant 'Select' checkbox/checkboxes for the relevant attendee(s). You will then see that the 'Print Remaining' button changes to 'Print X Selected'. Simply click on this button and a PDF will be generated and downloaded for you that contains all selected attendee name badges.
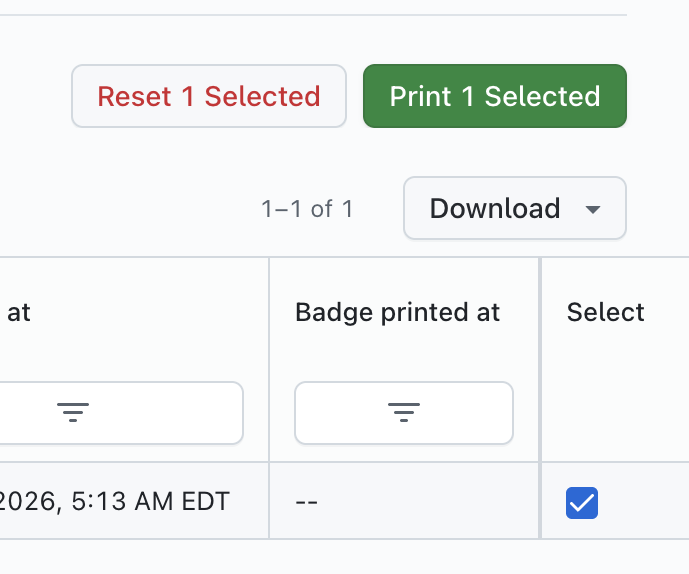
If you wish to reset your choice at any point, or clear any badge printing dates captured (so that you can bulk process again), select the 'Reset' button at any time during the flow you are interacting with.
Is there a way to generate a status report for Name Badge printing?
Yes - simply click on the 'Download' button displayed to the right of the page above the main table. You will see the option to 'Download CSV' and 'Download XLSX' - selecting either will generate and download a report of all your attendees and their printed 'status'. If you wish to filter your report, use the table filters on the page to create a custom Name Badge report.