.png)
How do I create a video section?
When building your event website, you may wish to create a 'video' section, which allows you to display a video within the section, as well as adding additional content, such as text or links. Video sections require you to upload your video to an external hosting site, such as YouTube, Vimeo or Wistia, allowing you to share videos that exceed the 10mb file upload limit in getregistered® without restriction.
To start creating your video section, click on the 'Video Section' option on the right-hand side of the event website editor page. You should see something similar to the screenshot below:
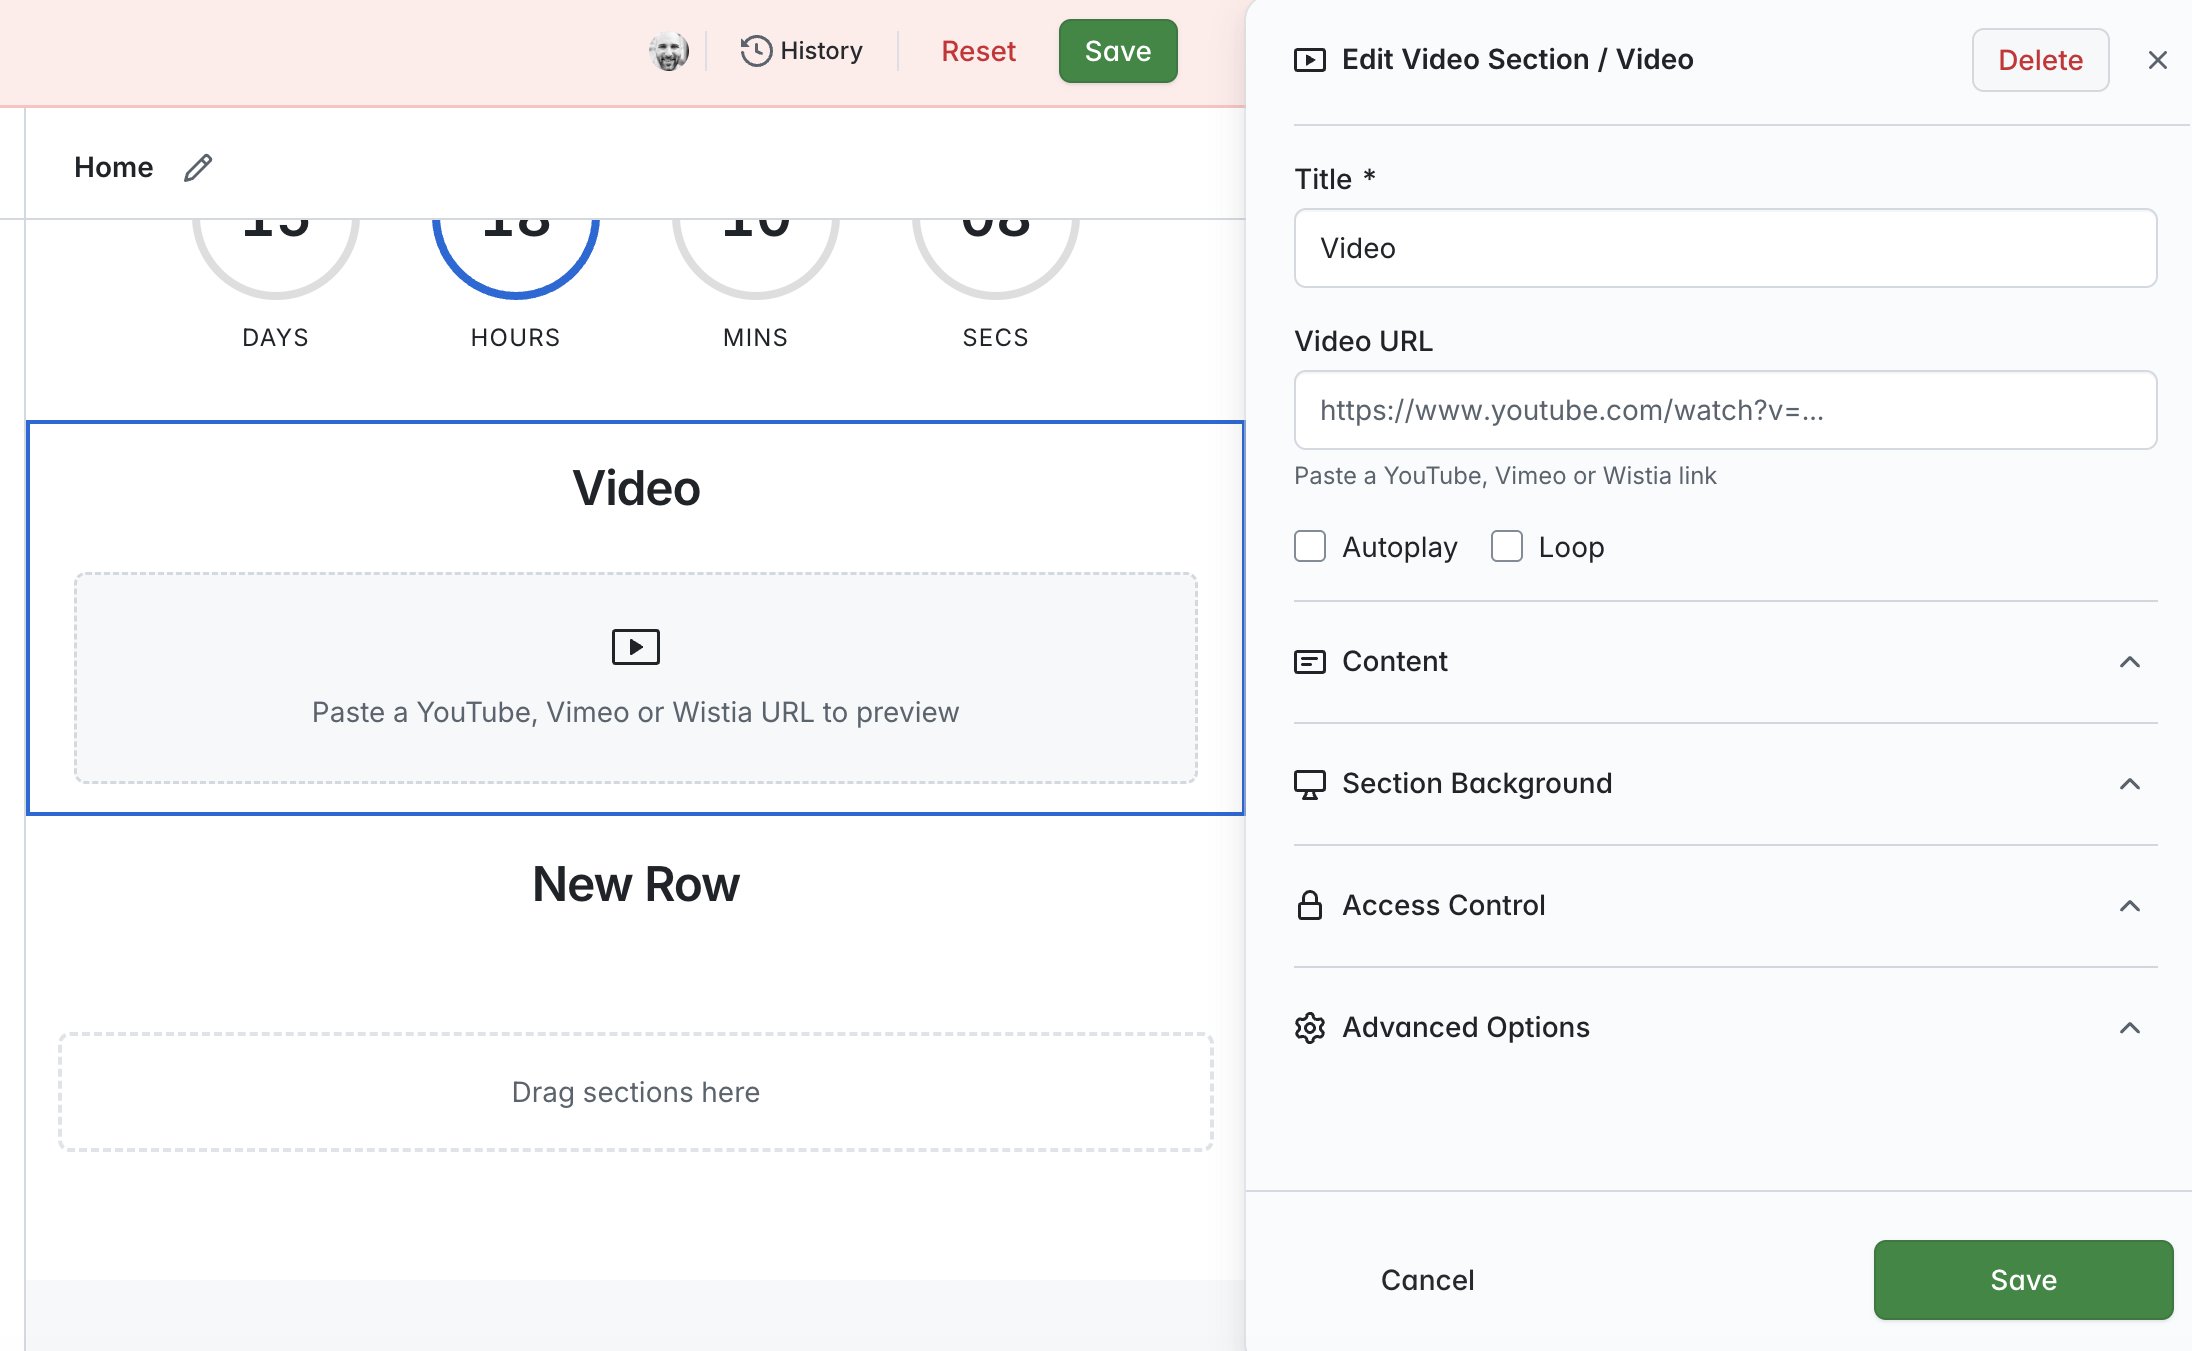
Following this, give your section a title and paste the video URL into the field provided - once added, you should see a preview thumbnail of the video on the section in the central area of the page:
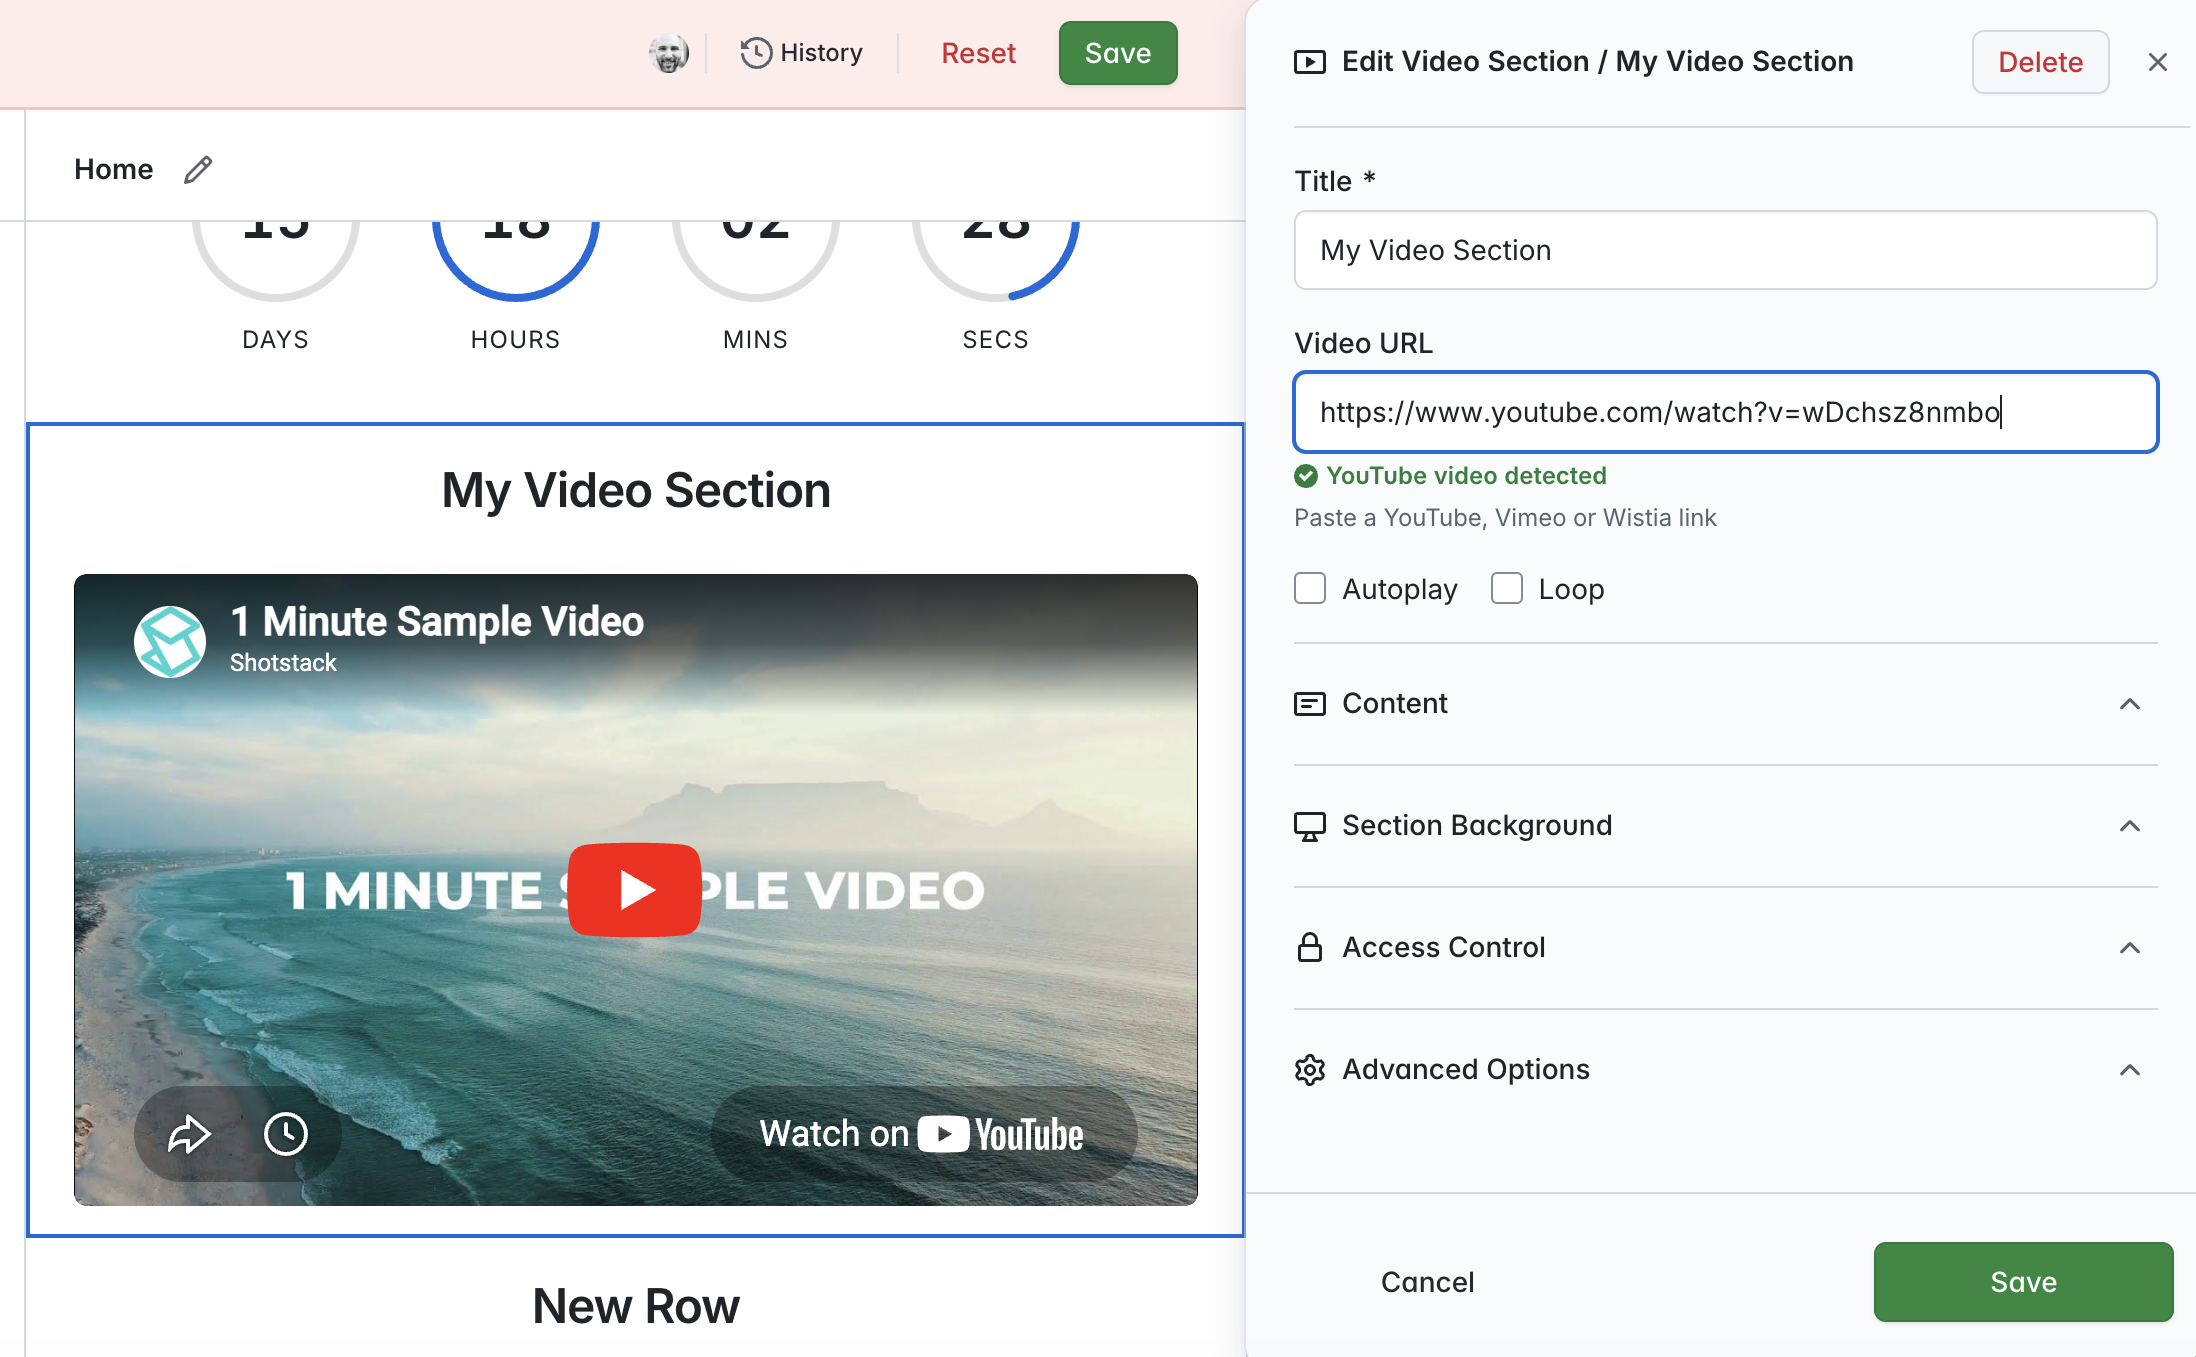
Below the Video URL field, you'll see the options to 'Autoplay' and/or 'Loop' the video - select either or both if required.
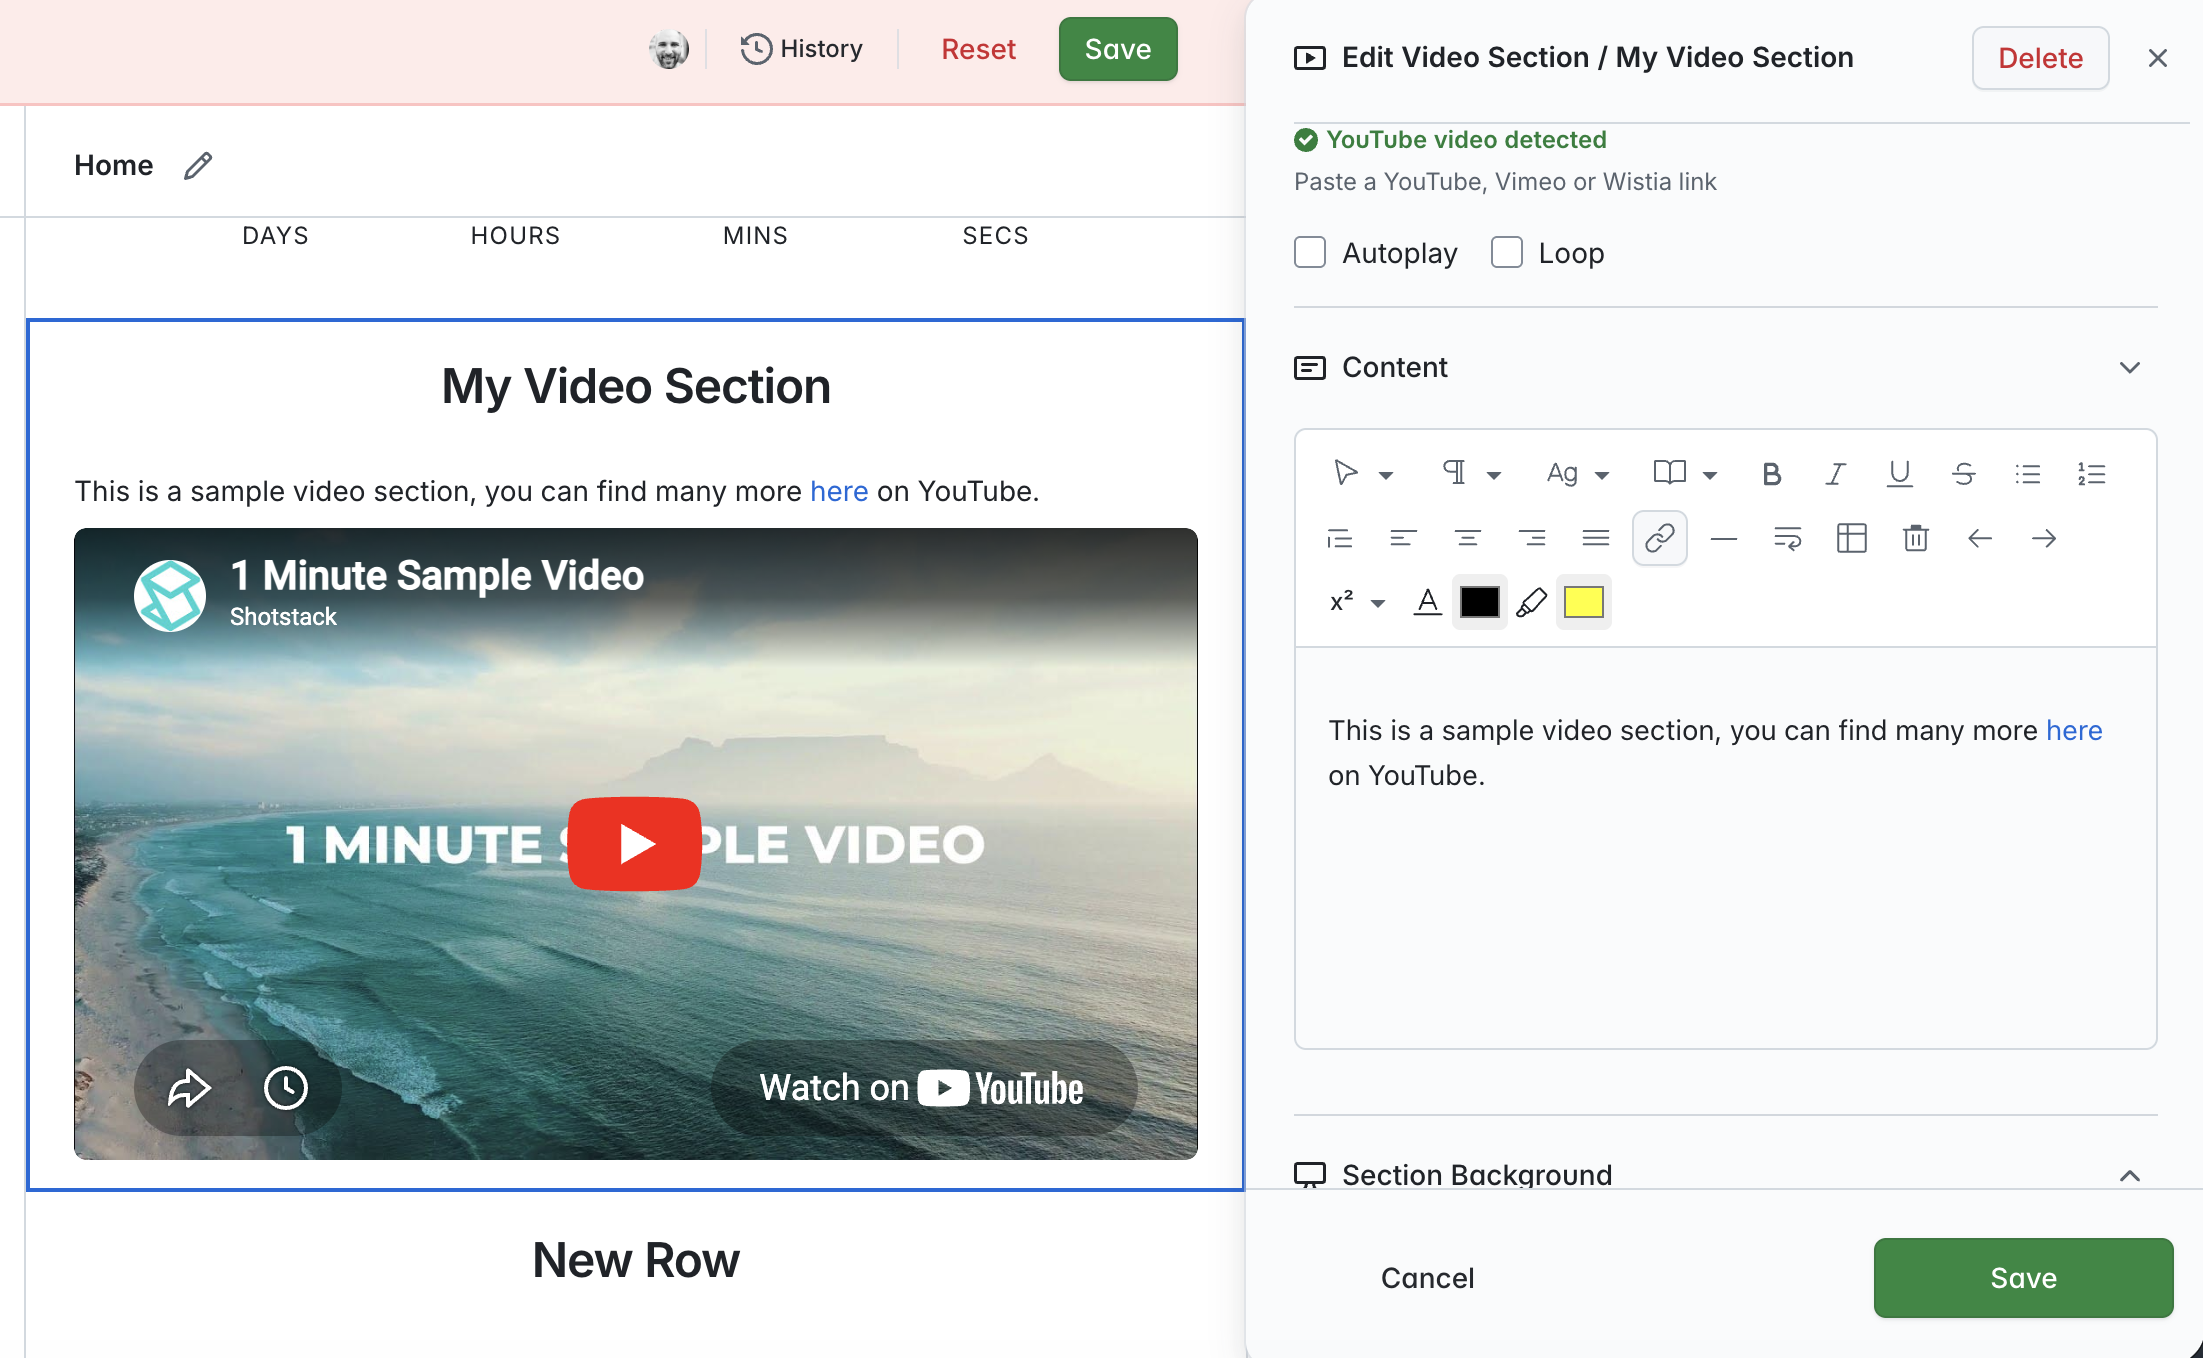
If you wish to add content such as text or hyperlinks, click on the 'Content' menu and add your content as required. Any content added can be previewed in the main area of the page:
Finally - you may wish to style this section more by adding a background color or image. Click on the 'Section Background' menu and you'll see the options to upload an image and/or select a background colour.
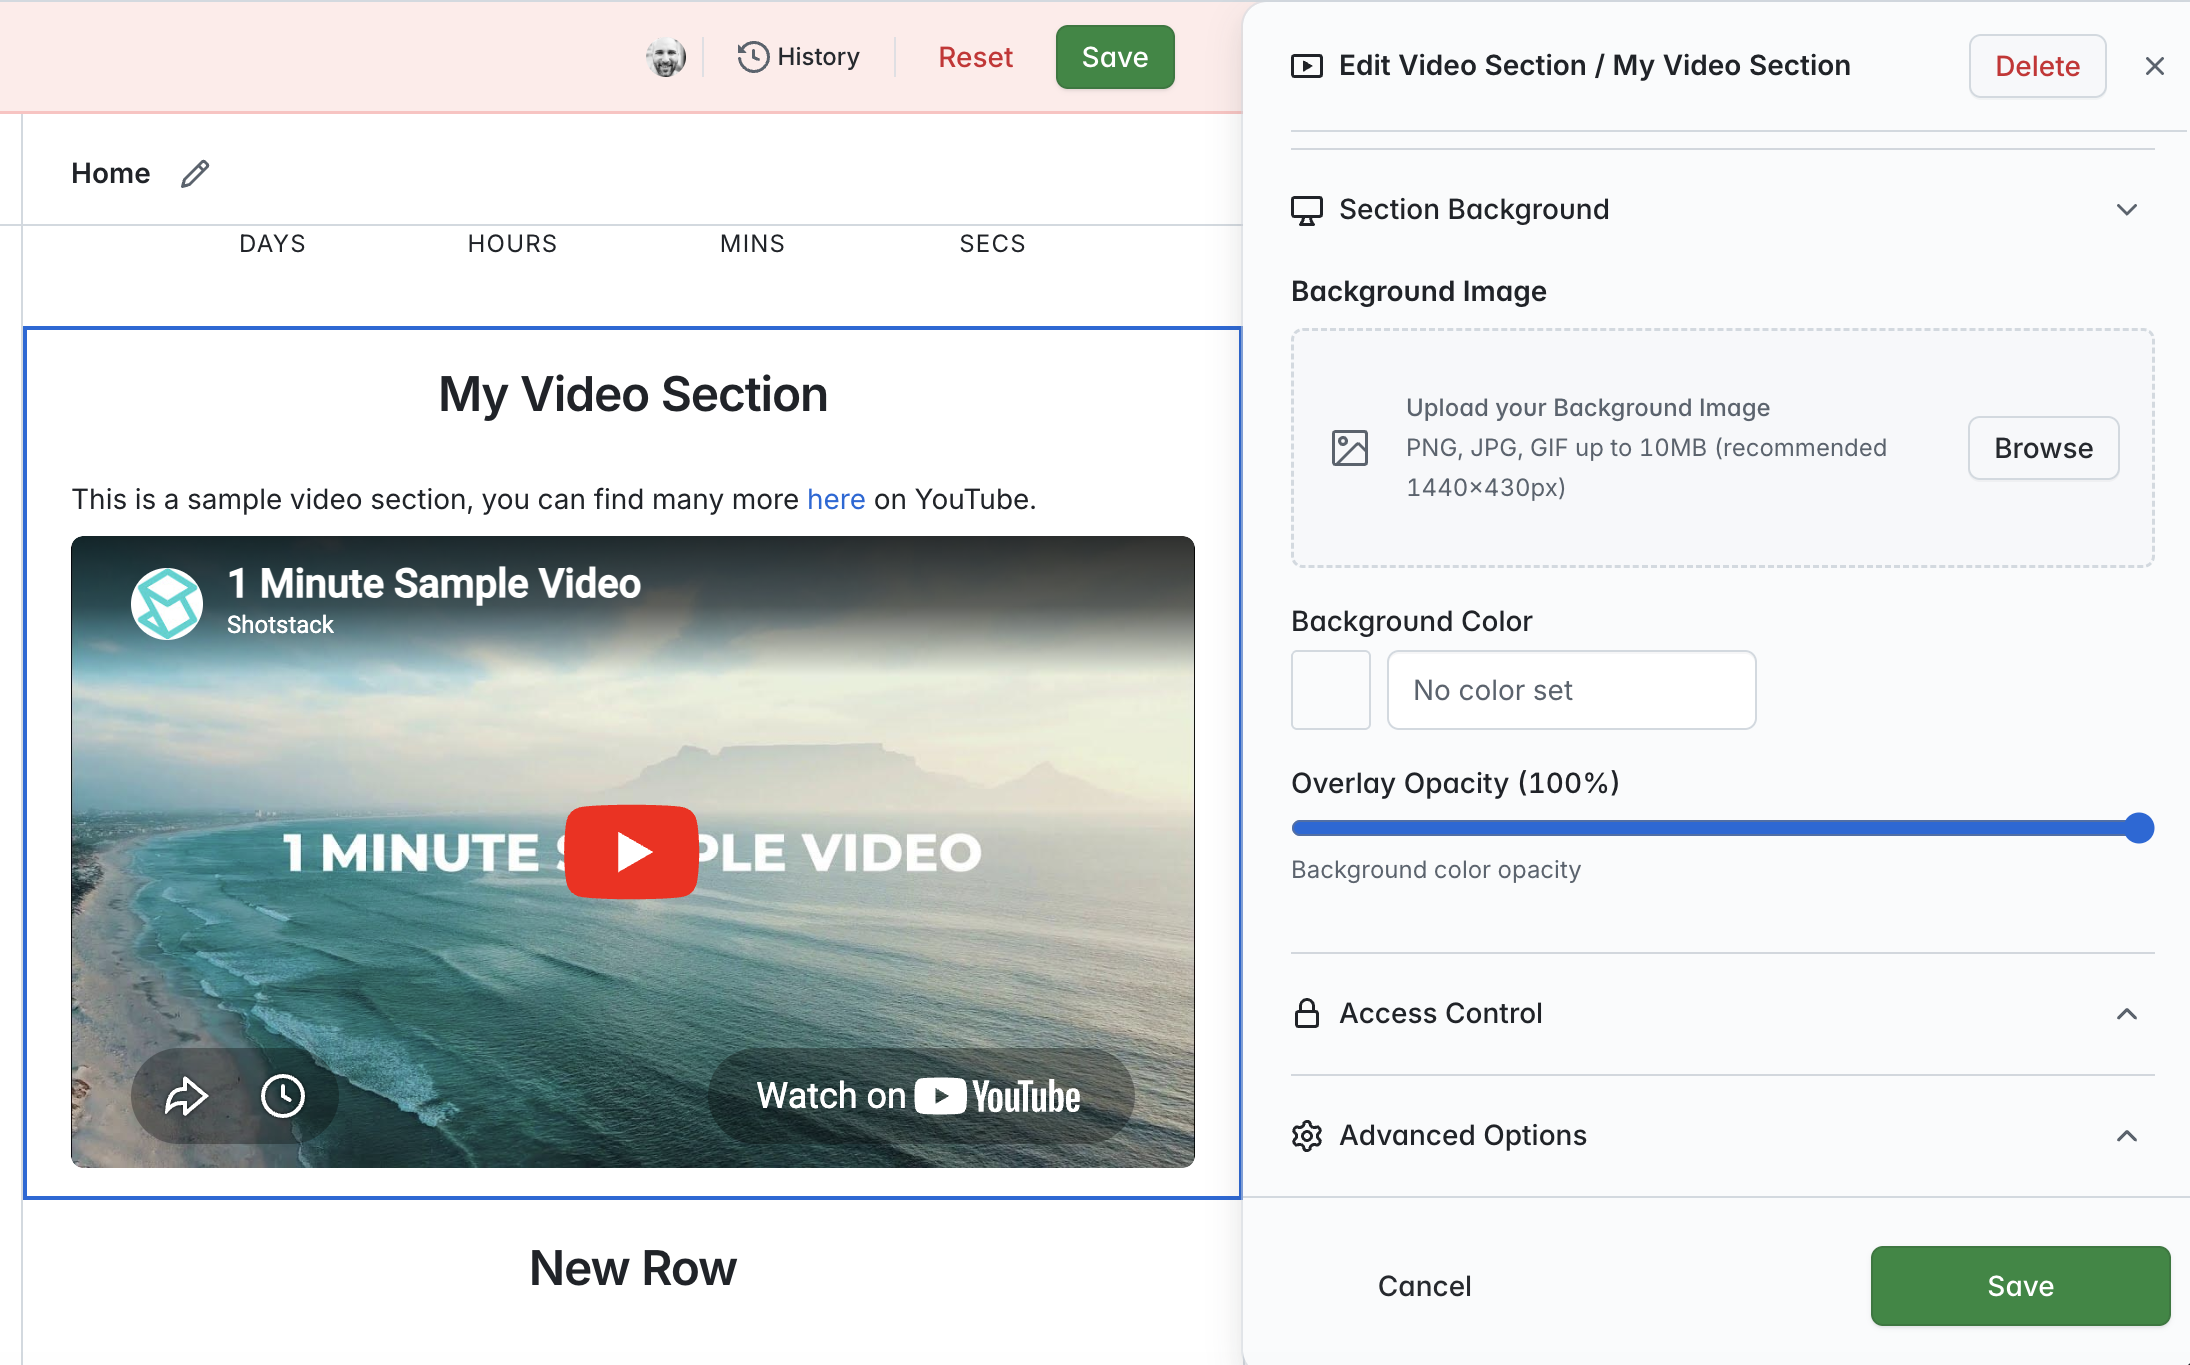
To upload an image, click on the 'Browse' button and select your file. Once selected, the uploaded file will show in the section preview - if the background is darker than the text color, we will automatically switch it to white for visibility:
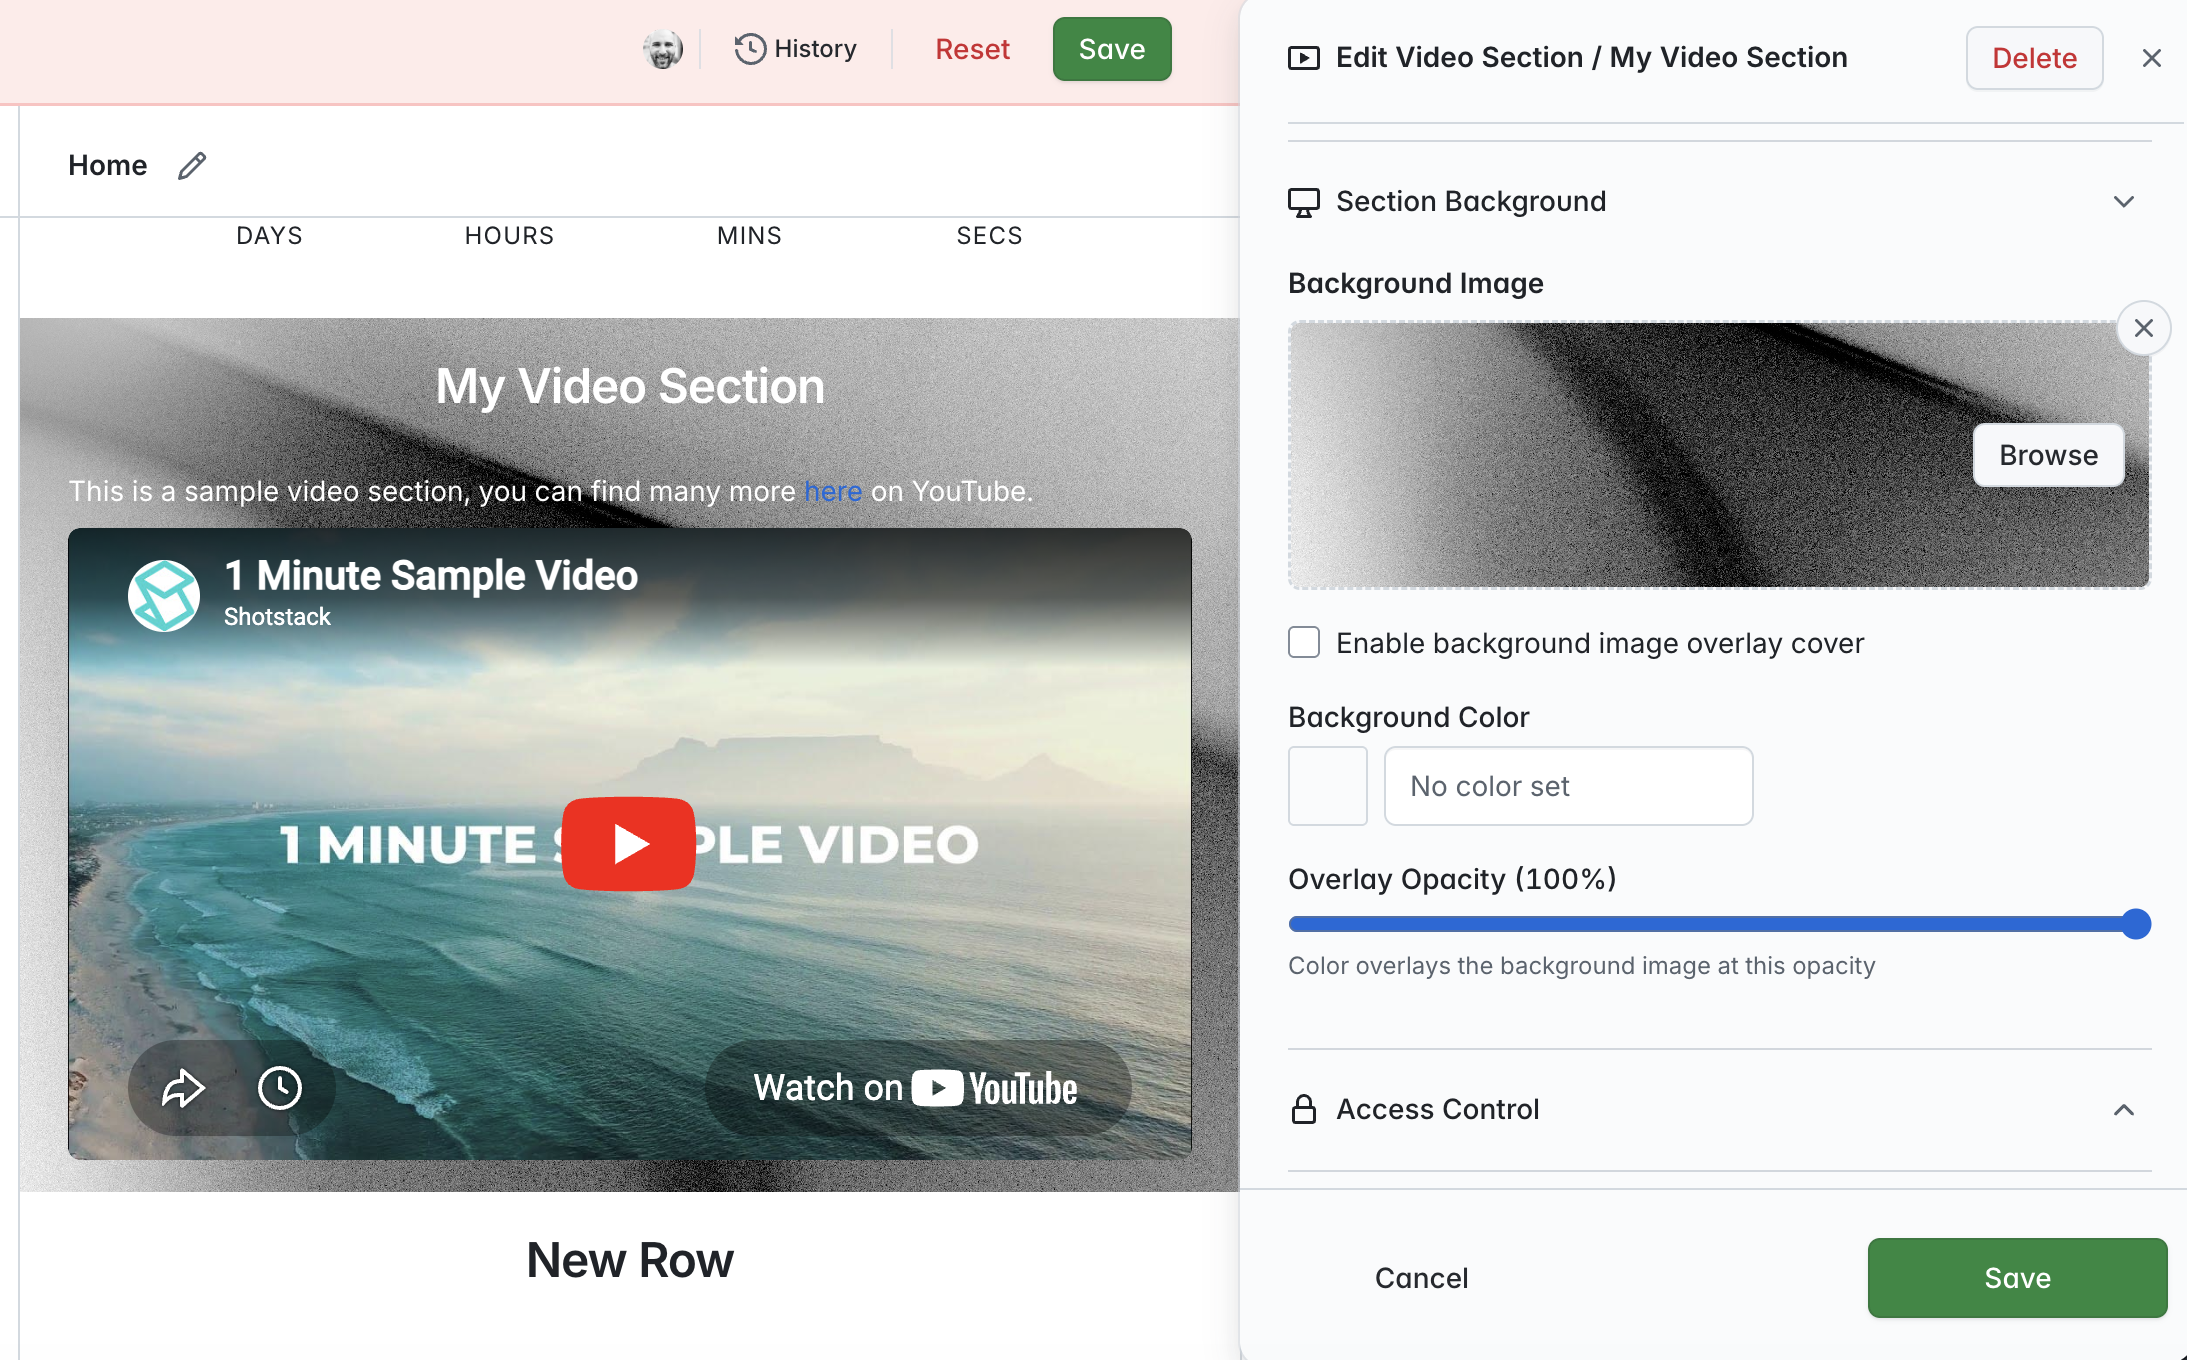
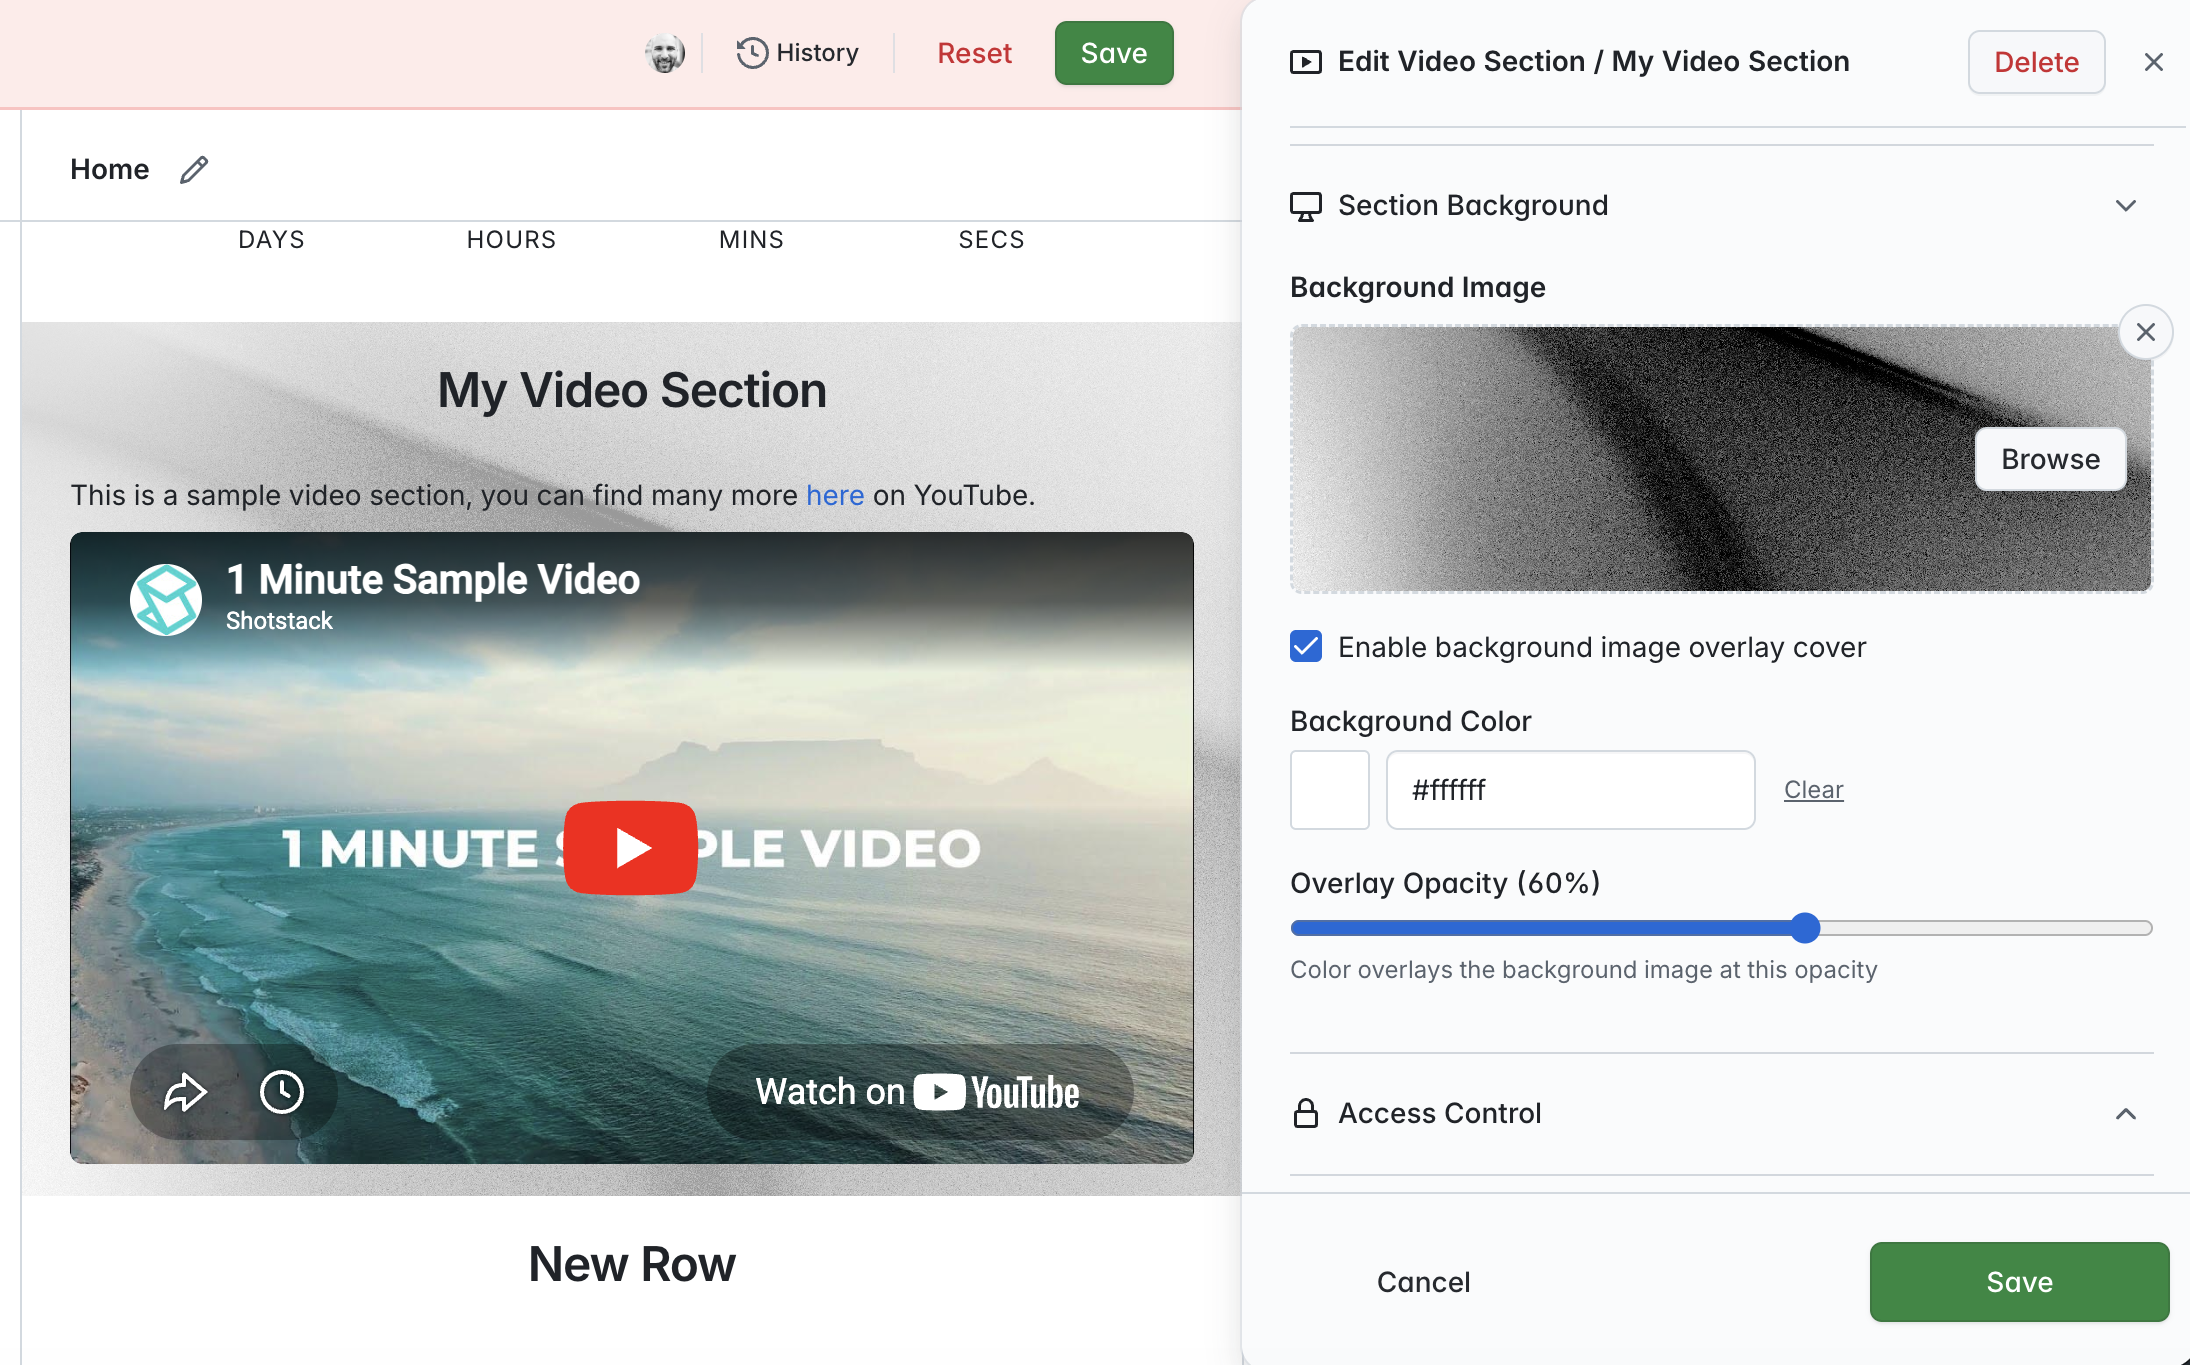
You can apply a 'mask' over the background image by enabling the 'background image overlay cover' option - select the toggle, click on the color block displayed in the Background Color area and set the opacity using the slider below to ensure all text is legible:
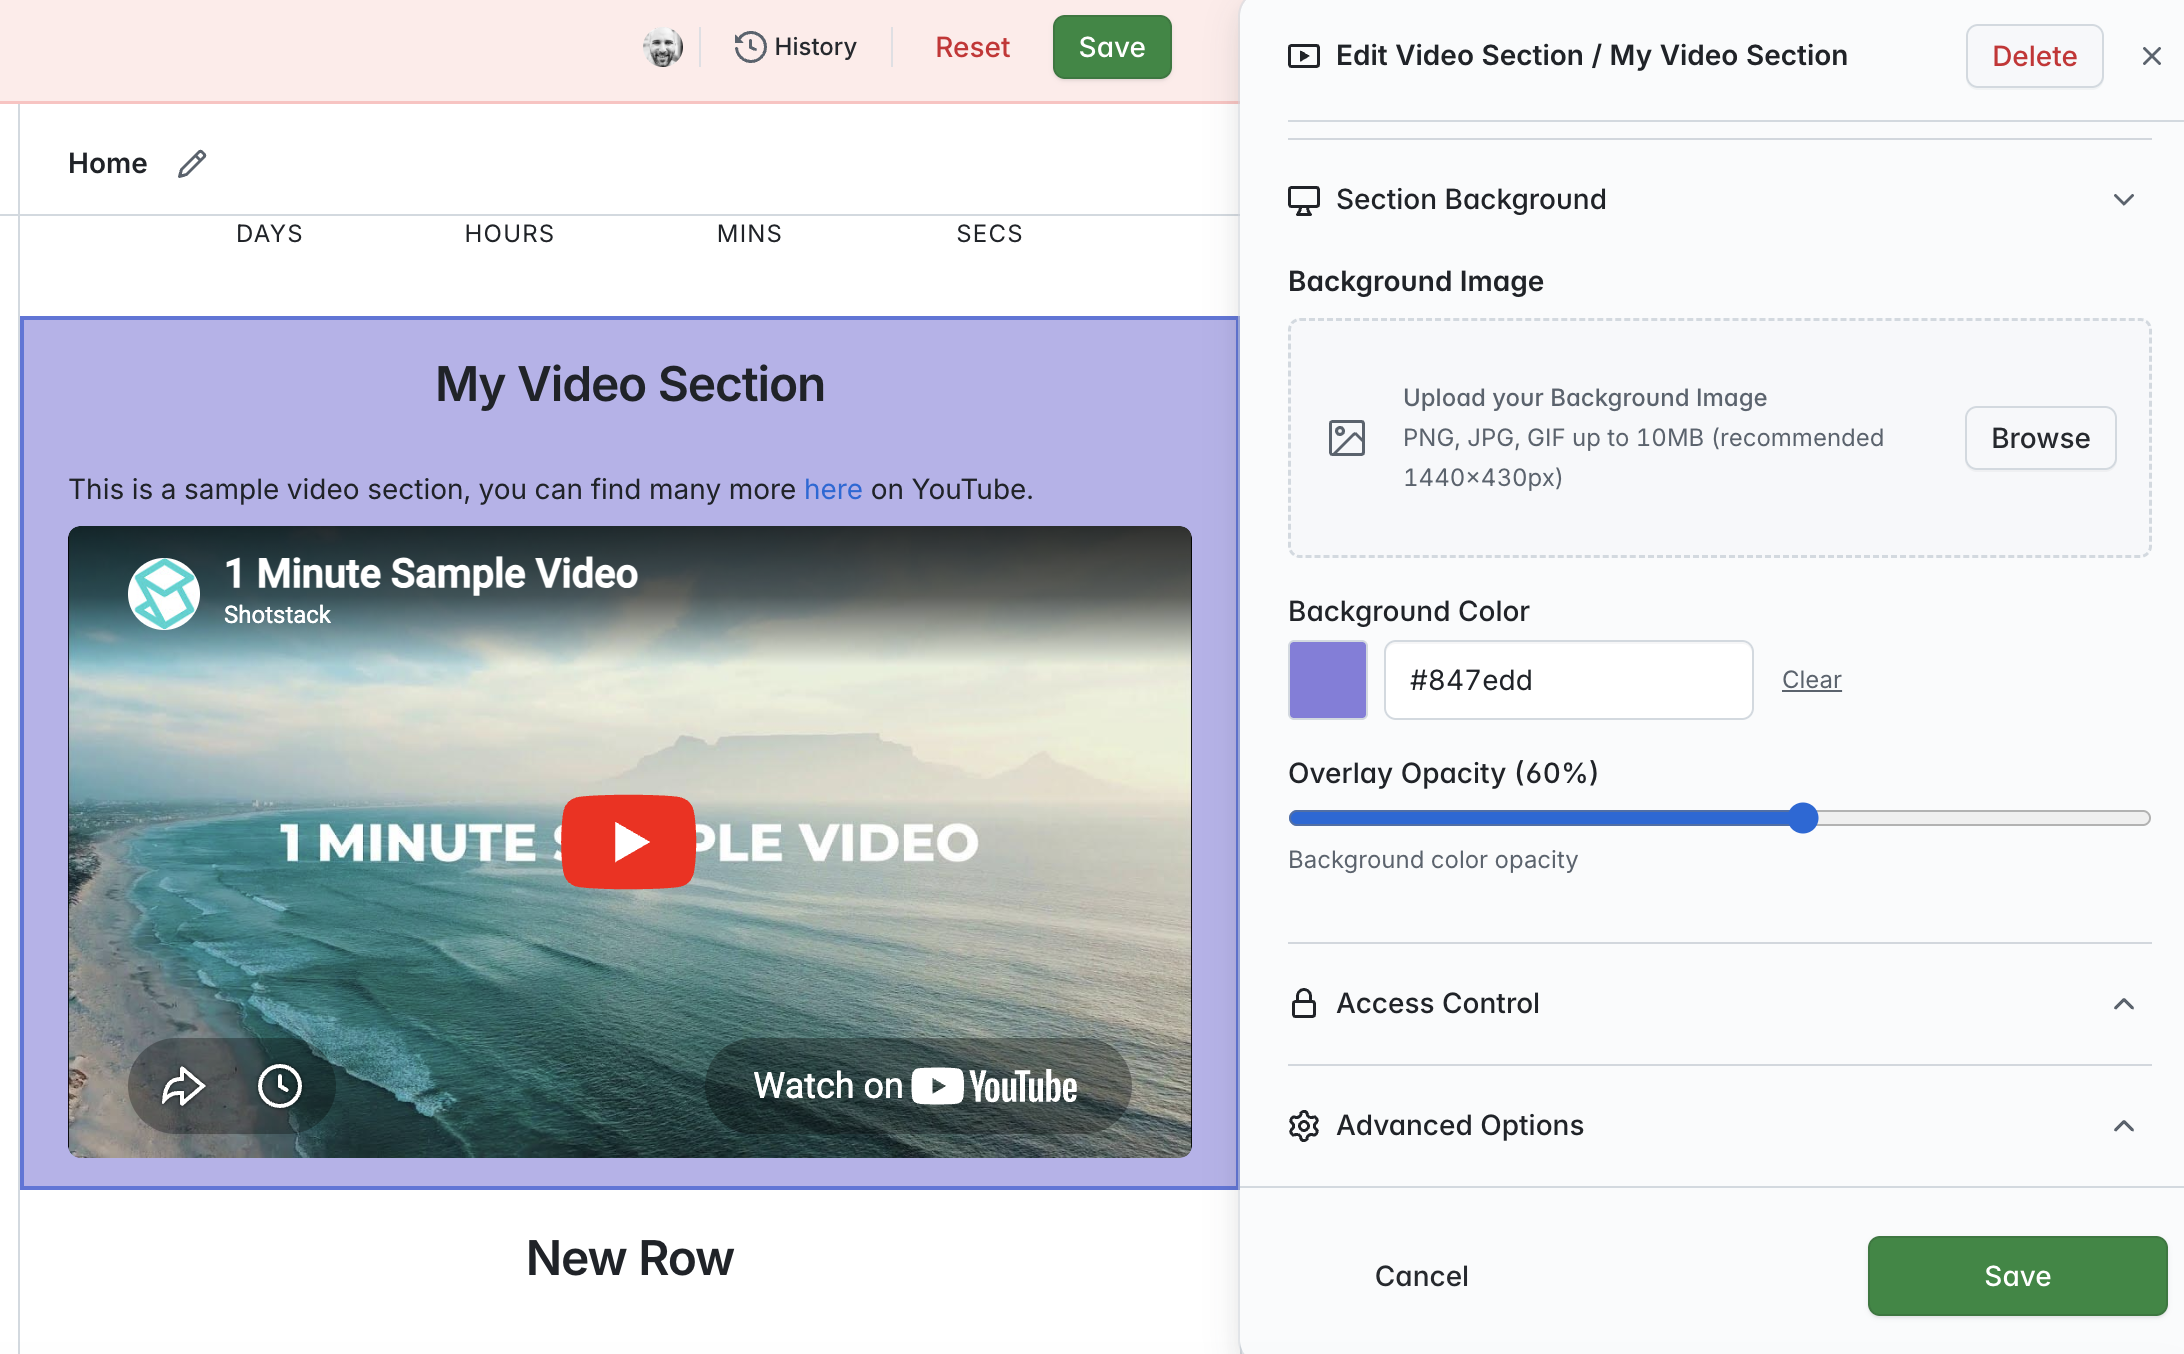
If you just wish to add a background color (with no image), all you need to do is select the 'Enable background image overlay cover' option when no image is present, and select a color from the palette - you can still adjust the opacity as required:
Lastly - don't forget to save your changes! We do not offer automatic saving, so to ensure your changes are applied, click on the 'Save' button at the bottom right of the page to keep your content.