.png)
What is the 'Landing' feature?
Note: To use the 'Event Requests' feature, it must be enabled for your organization first. Please contact support if you are interested in activating the feature for your organization.
Only administrators can create and configure 'Landing' sites.
The 'Landing' feature allows you to create a bespoke 'landing' site for event requestors, streamlining the process of creating new requests by bypassing the requirement to begin a request via your organization's dashboard. The event requestor will still be required to log in to your organization, but be able to continue to event request creation with a single click - they can also still access the Organization Dashboard to manage their active event requests.
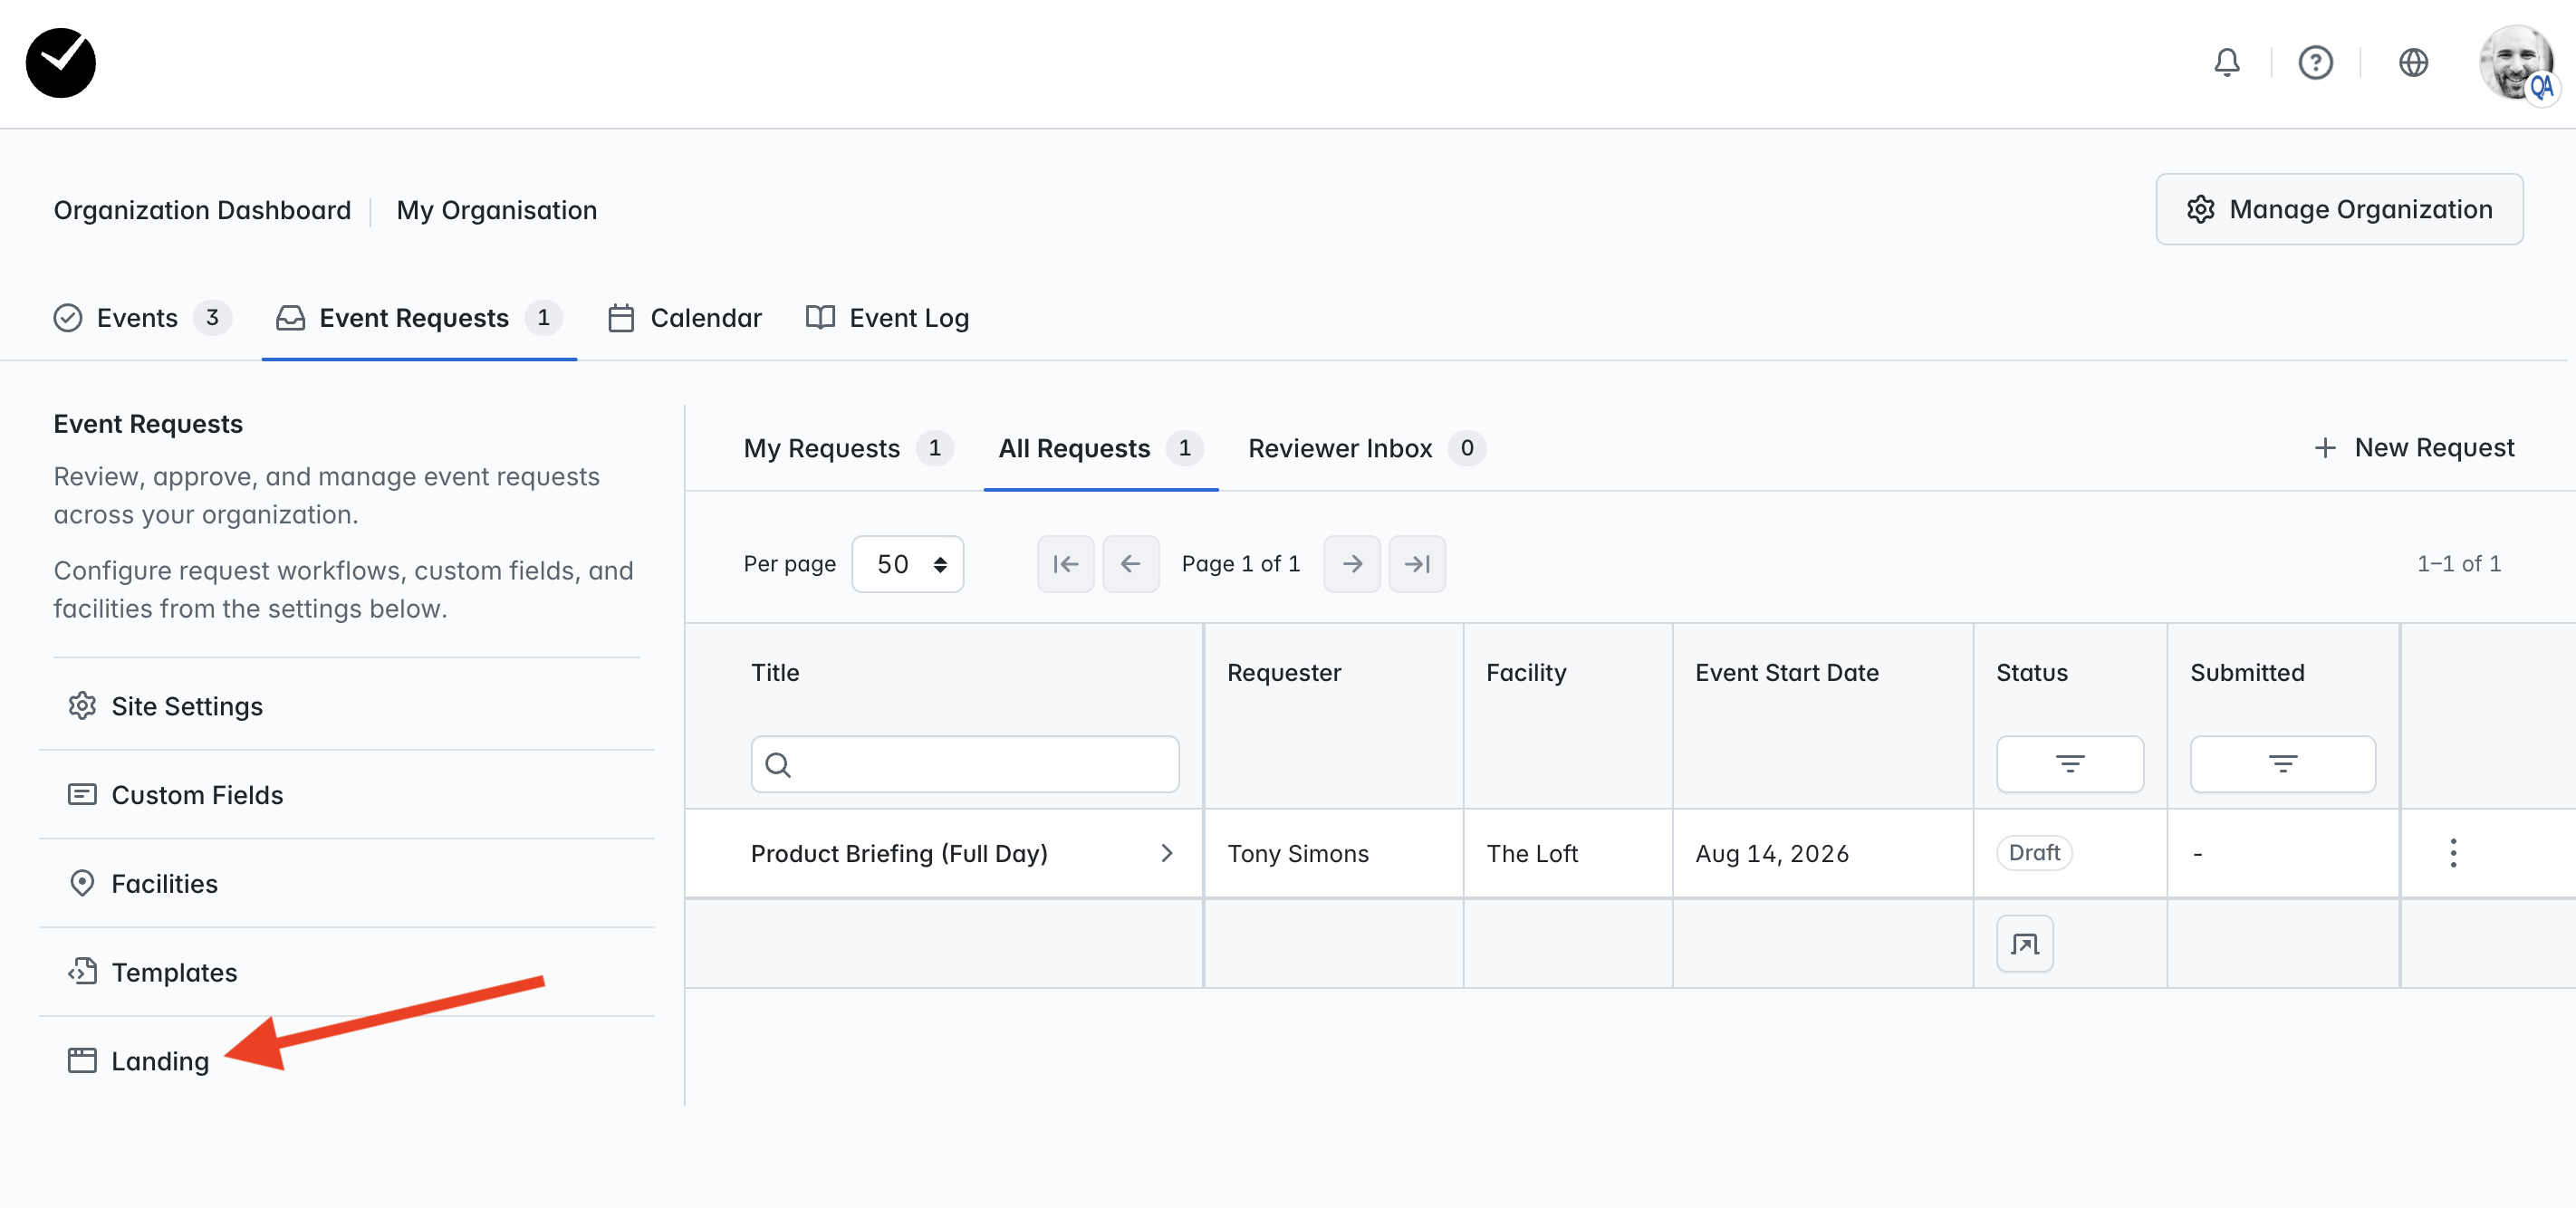
If you'd like to create a 'Landing' site to be used by event requestors when creating new event requests, you can begin configuring this in your Site Settings -> Landing area. This can be accessed from the left column in your Event Requests area or by selecting the 'Landing' tab on your Site Settings page:
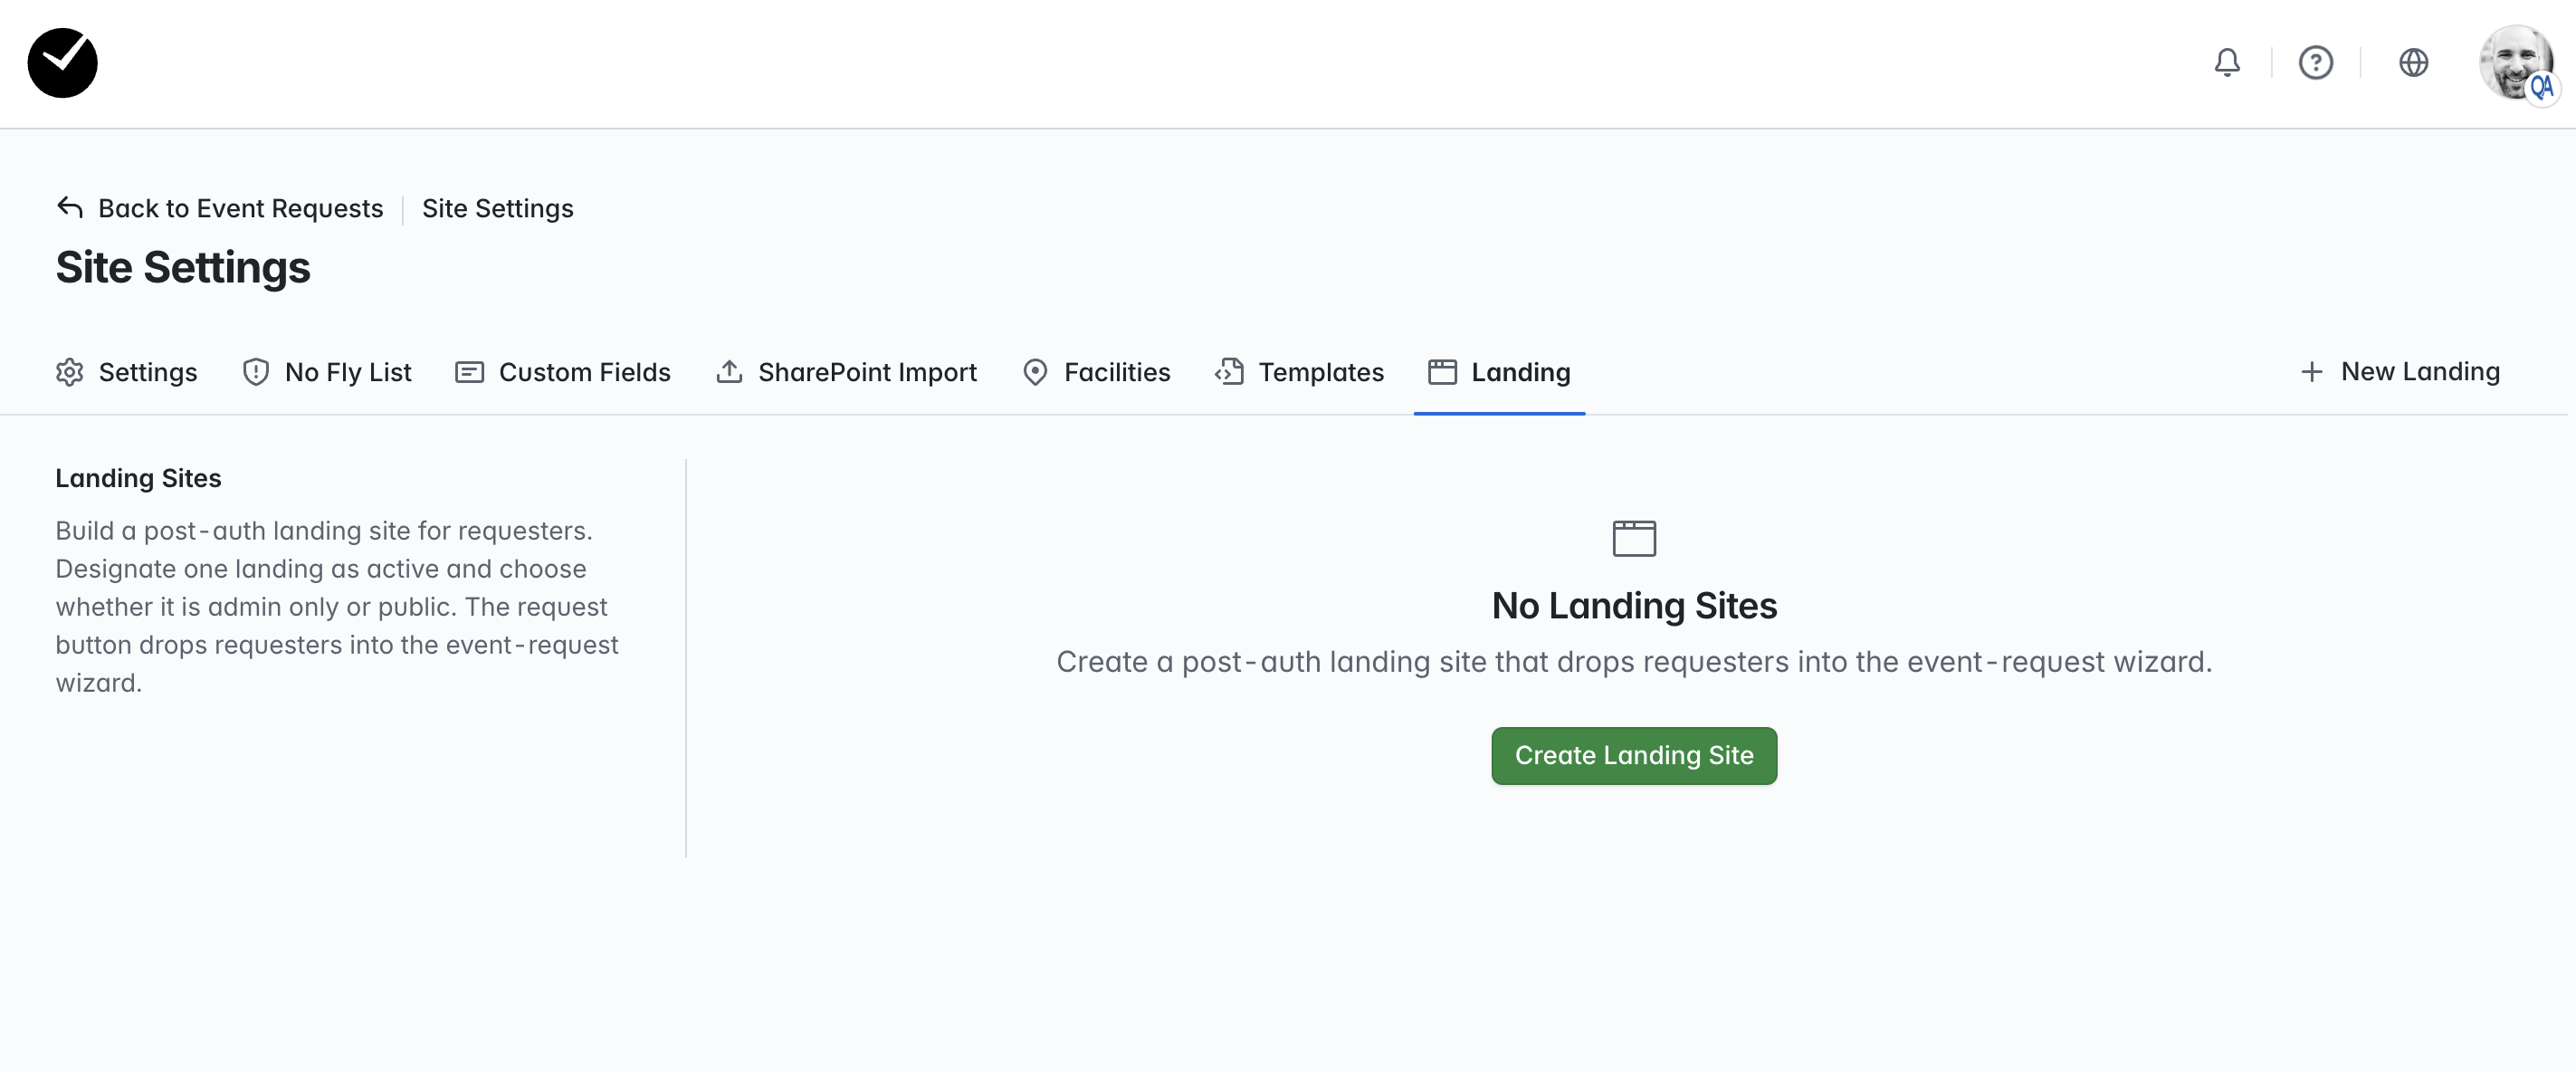
To begin creating a new Landing site, click on the '+ Landing' button at the top right of the page. You will then see something like the following:

The following can be configured as follows, any field noted with an asterisk (*) is mandatory and must be completed to successfully save your field:
- Event Timezone - this is the timezone that will be applied to your Landing site. All event times will be returned in the event in the time selected. This is a mandatory field.
- Event Title - this is the name you wish to give your Landing site. This is a mandatory field.
- Event Slug - this is the slug that will be created for your landing site. This is a mandatory field.
When you are ready to proceed, select the 'Create' button and your Landing site will be created. You will now be redirected to the 'Event Website Editor' page for your Landing site:
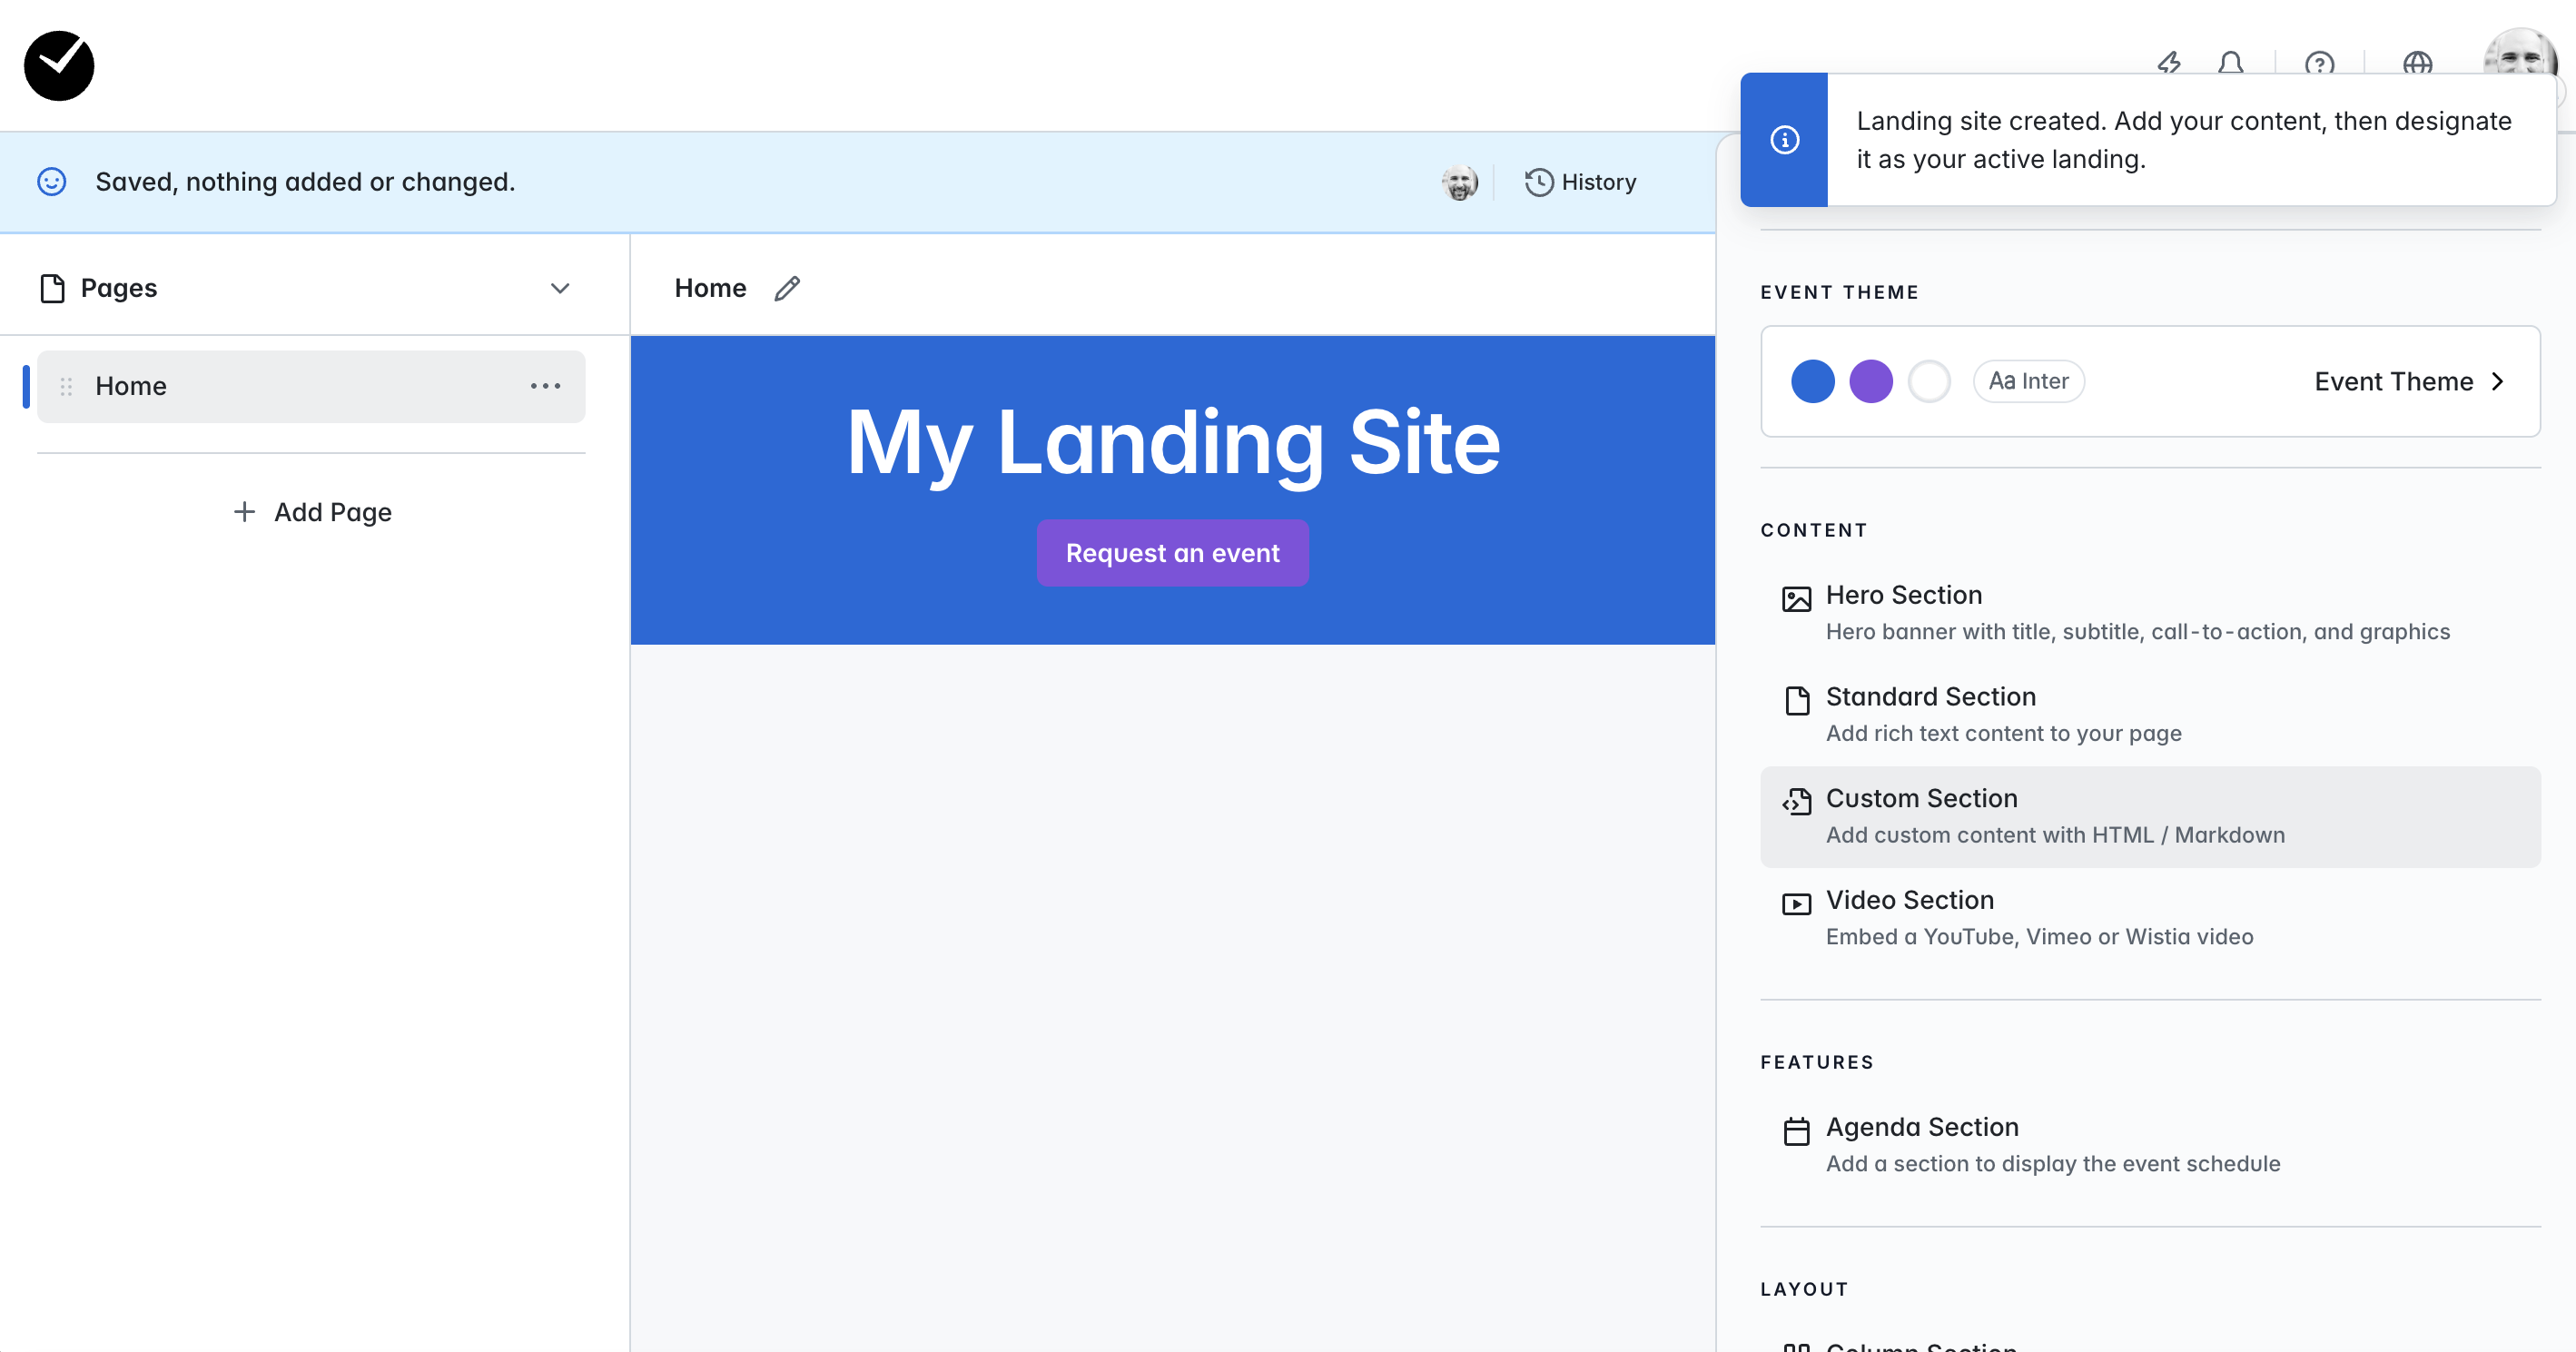
You can now begin configuring your Landing site as you wish. You will find that there are less options available here when compared to a regular event 'Website Editor', this is because the 'Landing' site does not accept registrations, so all registration-related options are removed.
When you are finished editing, click on the black getregistered logo at the top left of the page to return to your Organization Dashboard.
How do I manage my 'Landing' sites?
To begin managing your 'Landing' sites, navigate to the 'Landing' area:
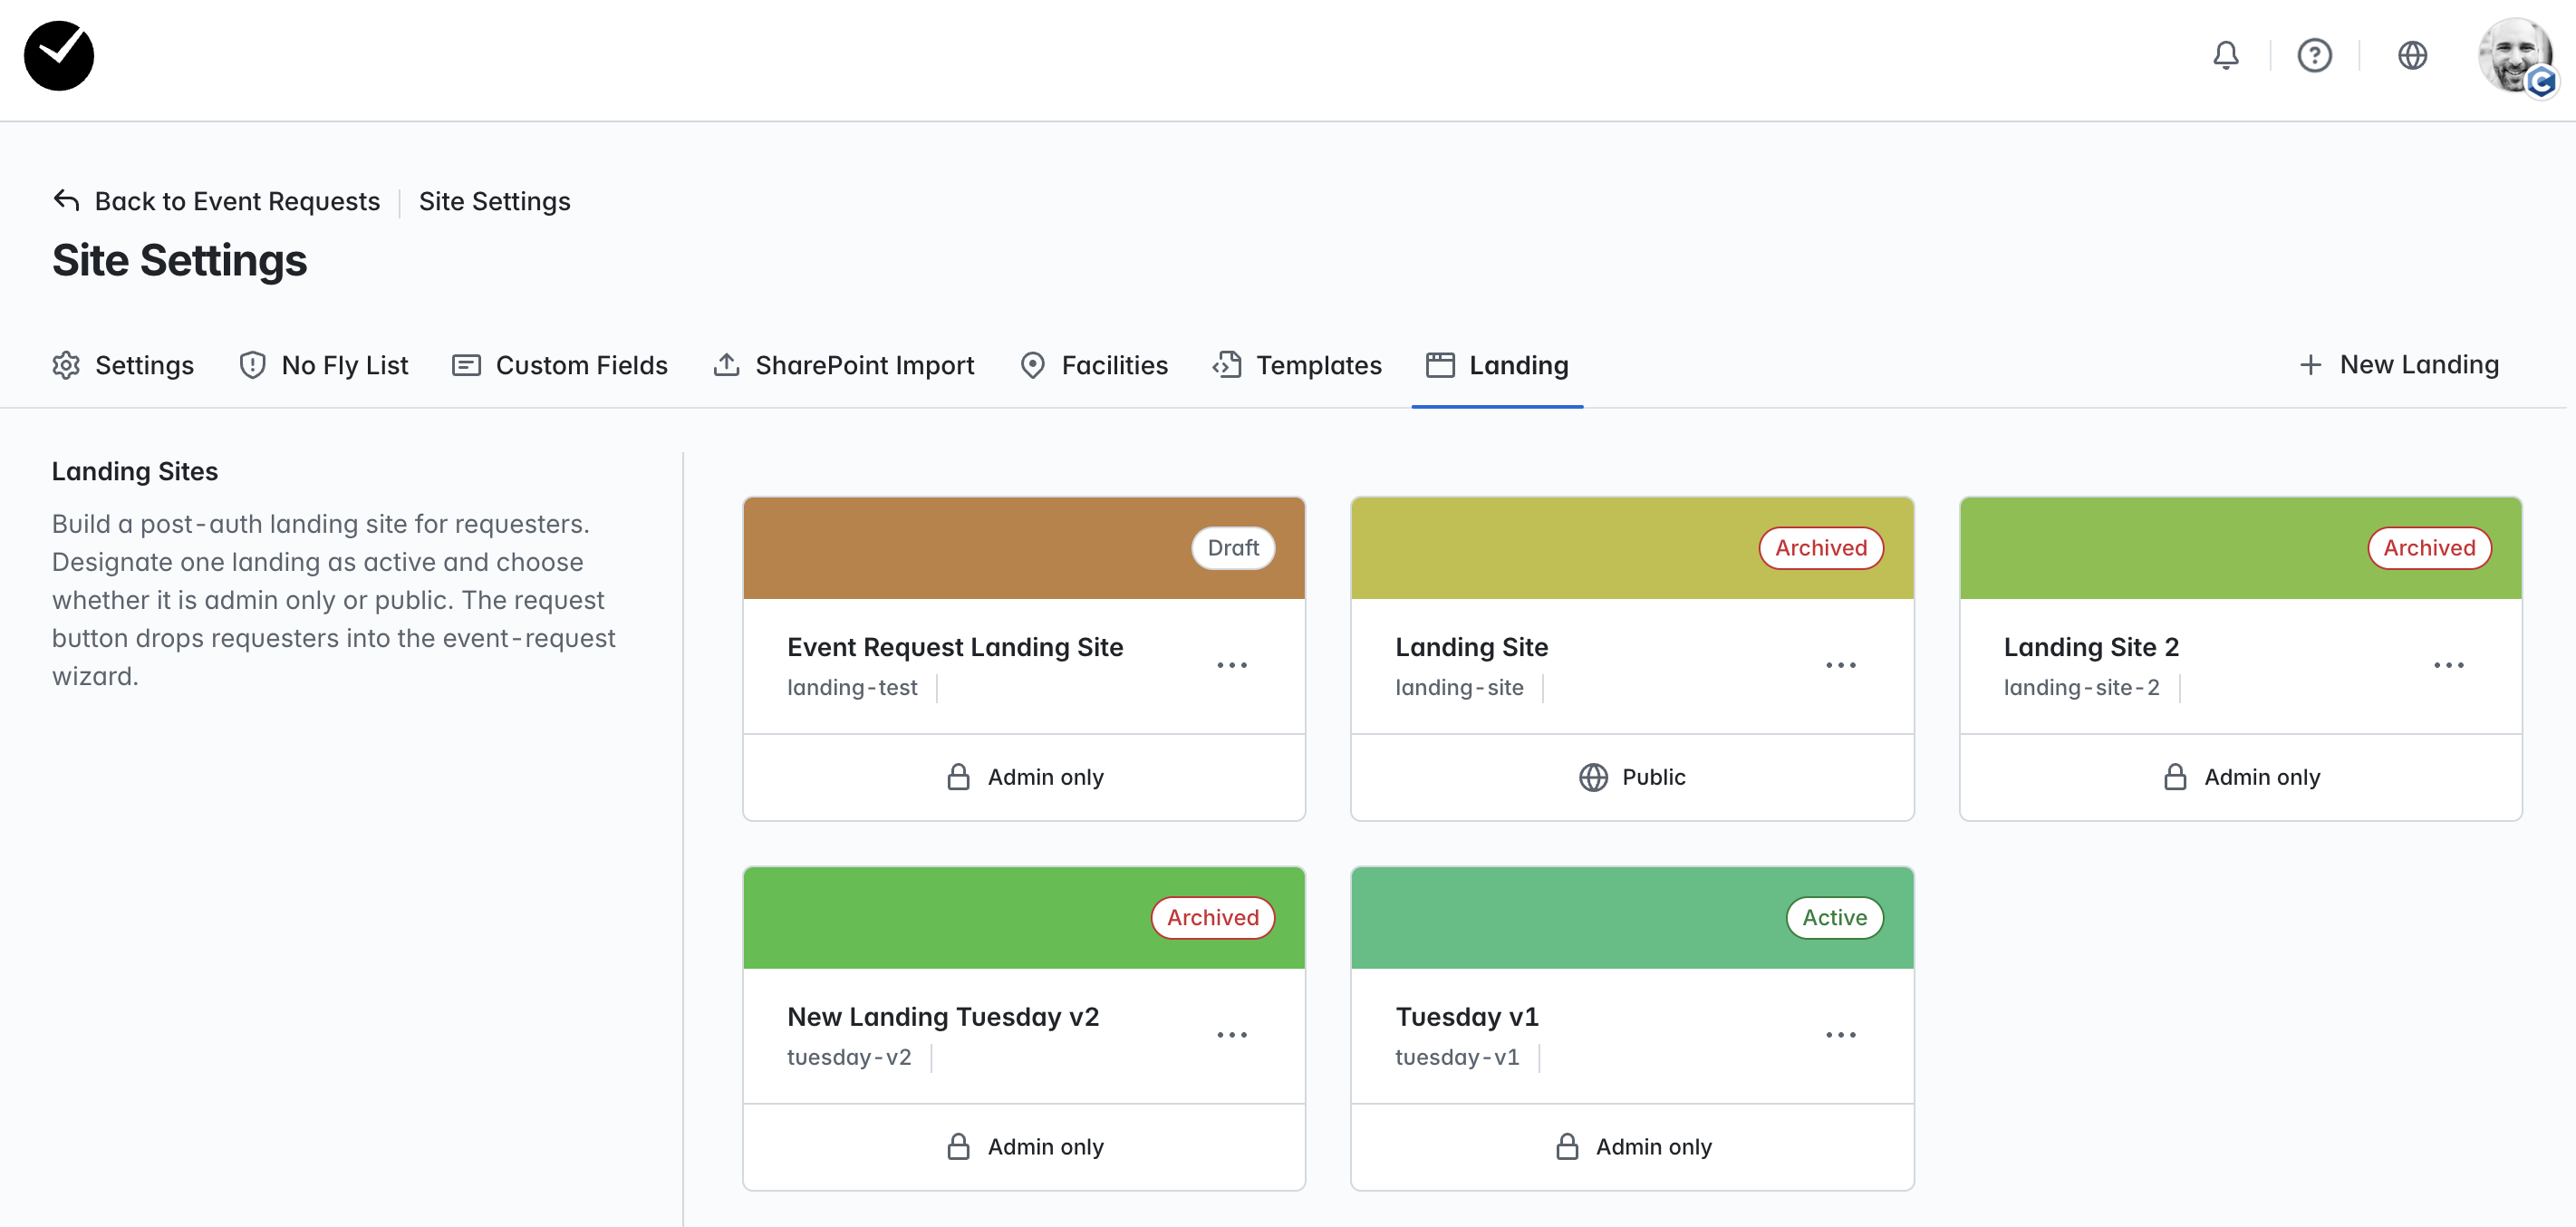
In this area, you will see all current 'Landing' sites, sorted alphabetically. Each tile will show the current status (Archived/Draft/Active) as well as the visibility of the landing sites publicly.
If you click on any tile, you will be taken directly to the Event Website Editor page, where you can make any amendments required. If you click on the 3 dots displayed on any tile, you will see further configuration options:
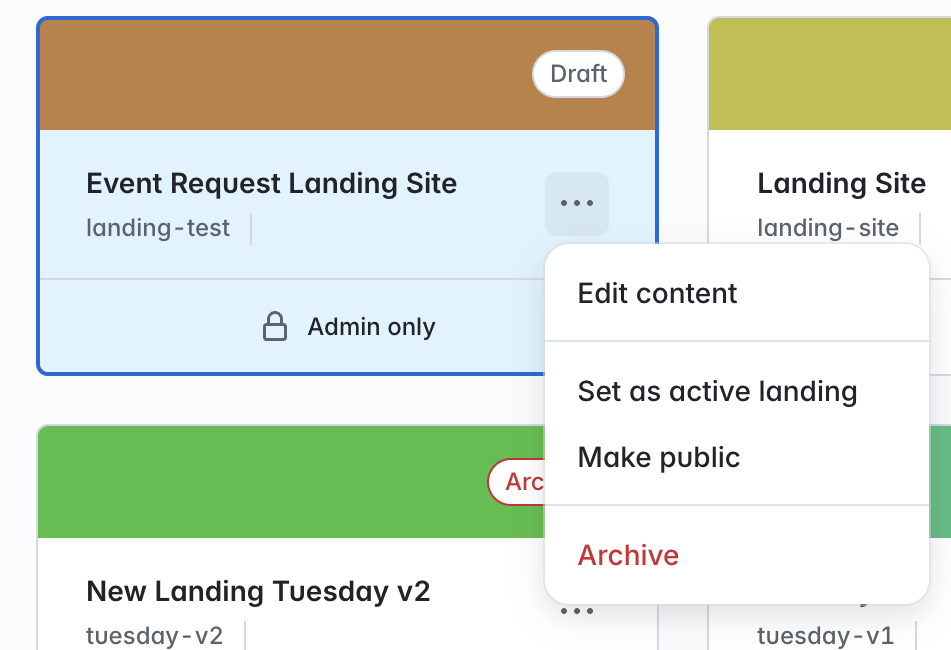
- Edit Content - directly edit the landing site content in the Event Website Editor.
- Set as active landing/Deactivate - allows you to toggle between setting the site as being active or disabled. Only one 'Landing' site can be active at a time, if a 'Landing' site is set to active while another is already active, the previously 'Active' site will be disabled.
- Make public/Make admin only - determines whether the event is accessible publicly, or can only be accessed by administrators.
All updates made in terms of visibility and availability from this tile are saved automatically.
How do I preview my 'Landing' site and manage event settings?
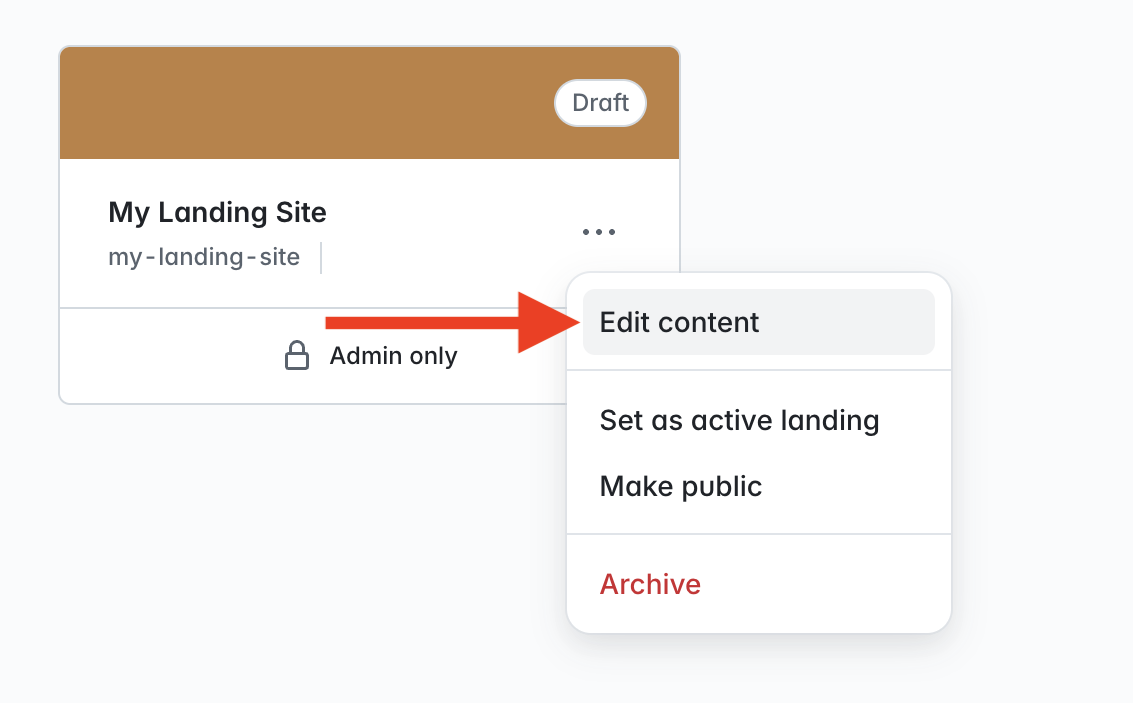
To access preview functionality and mark your landing site as active, select the 'Edit Content' option on the 'Landing' site tile:
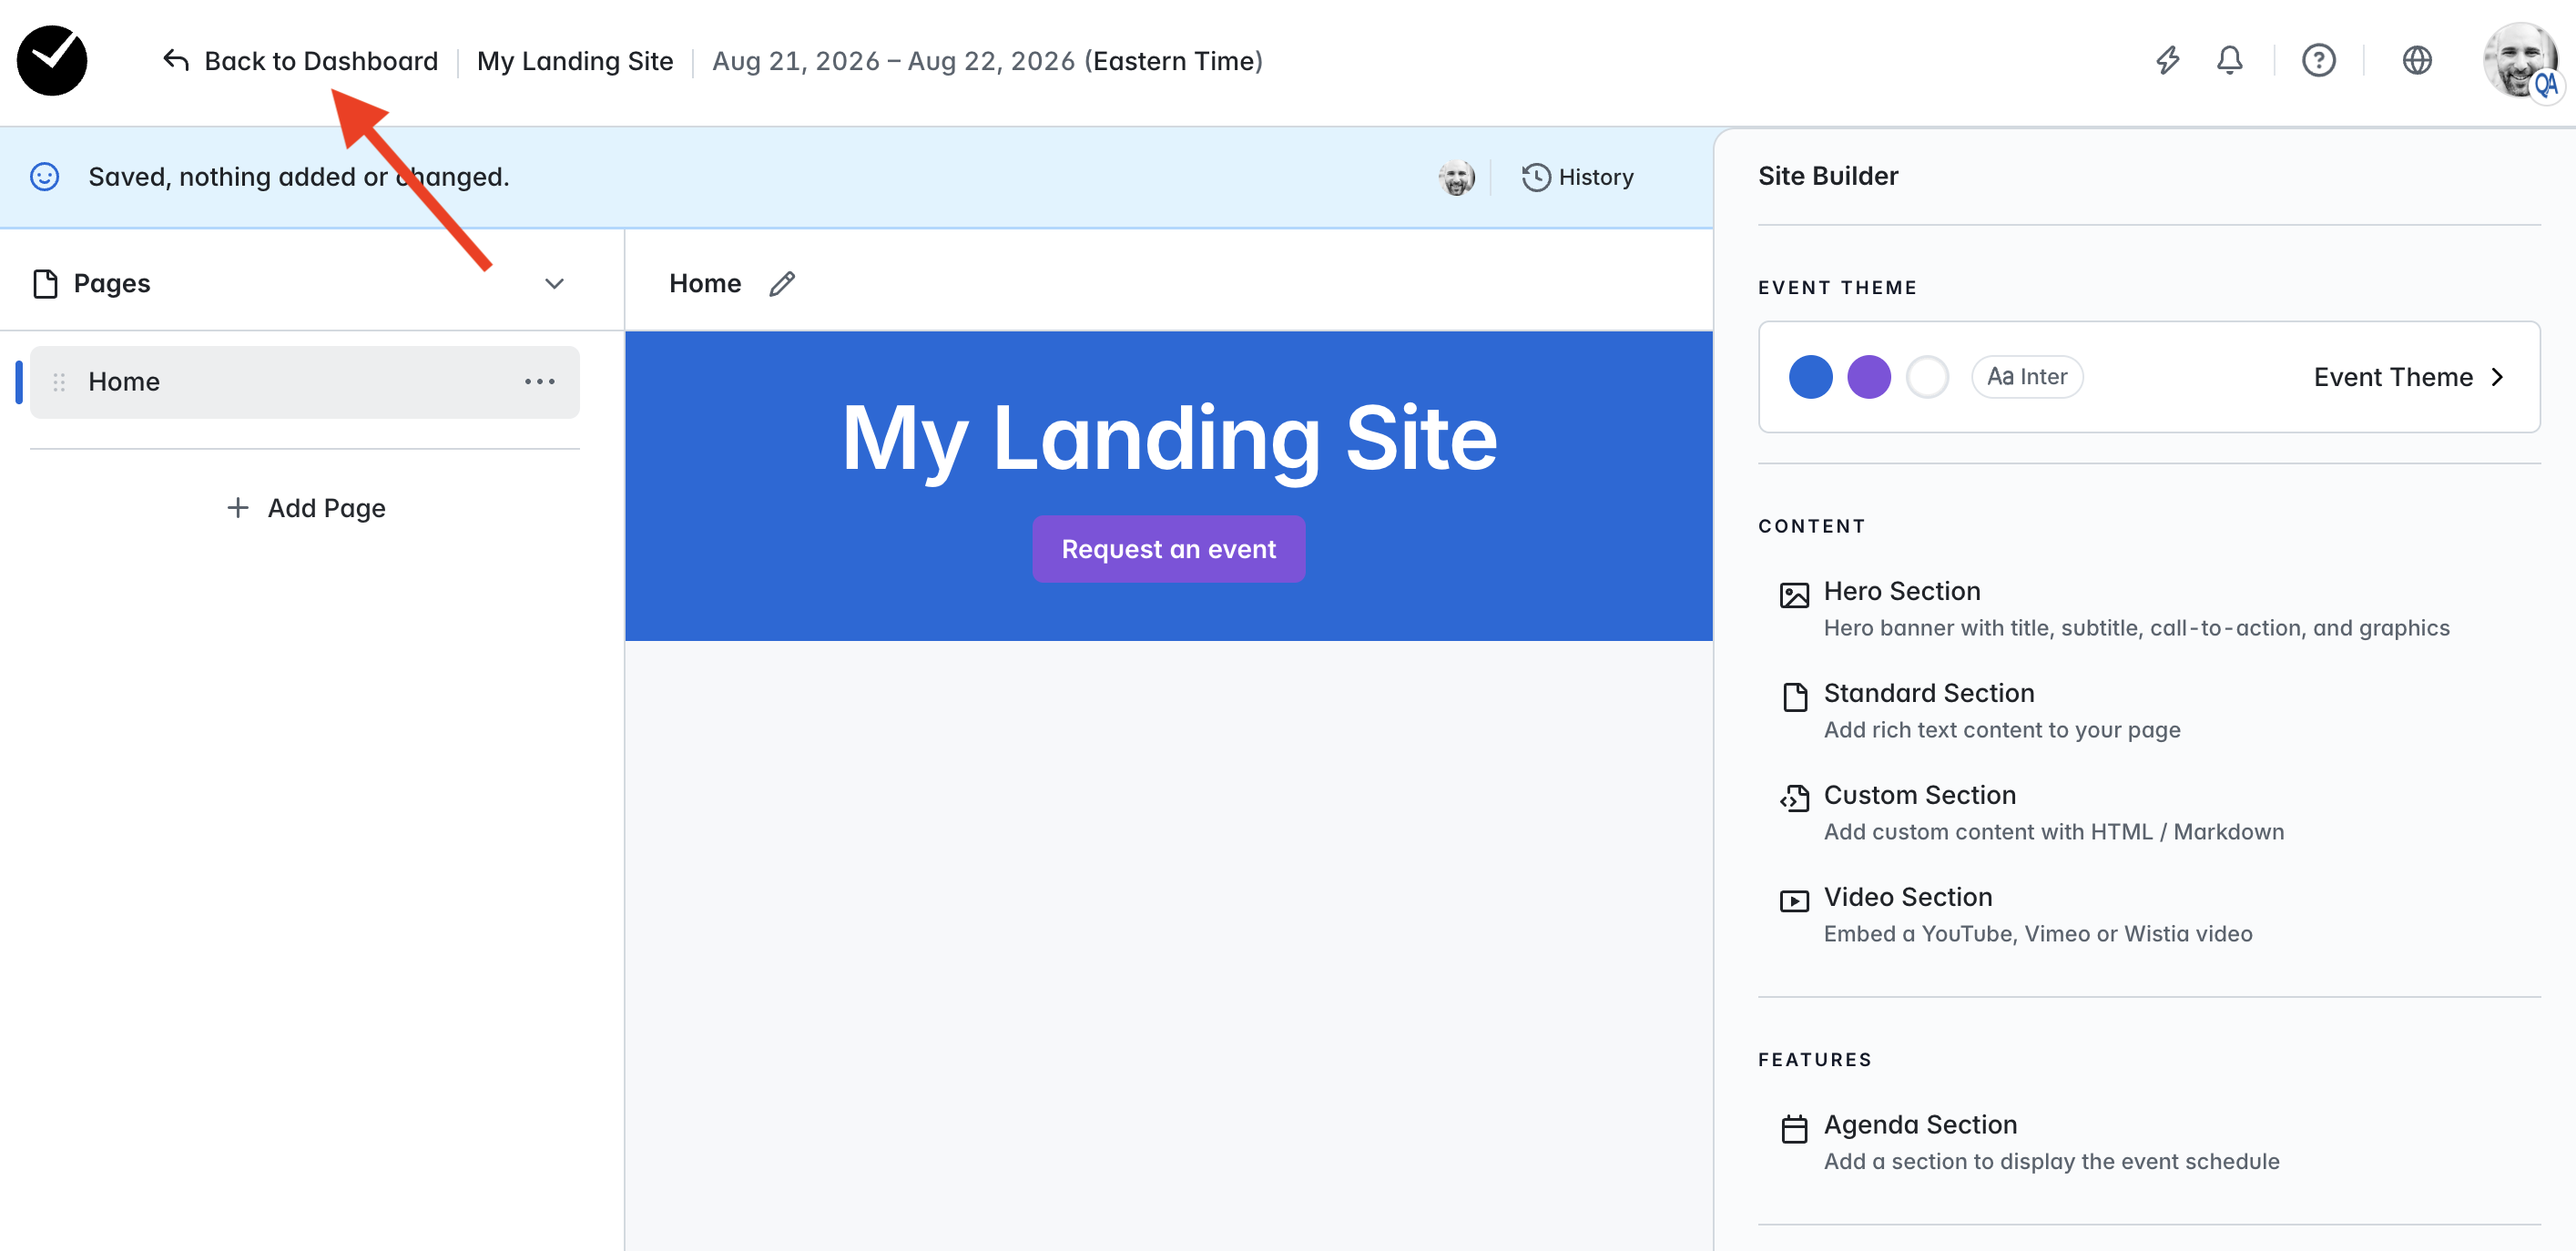
On the following page, click on the 'Back to Dashboard' button at the top left of the page:
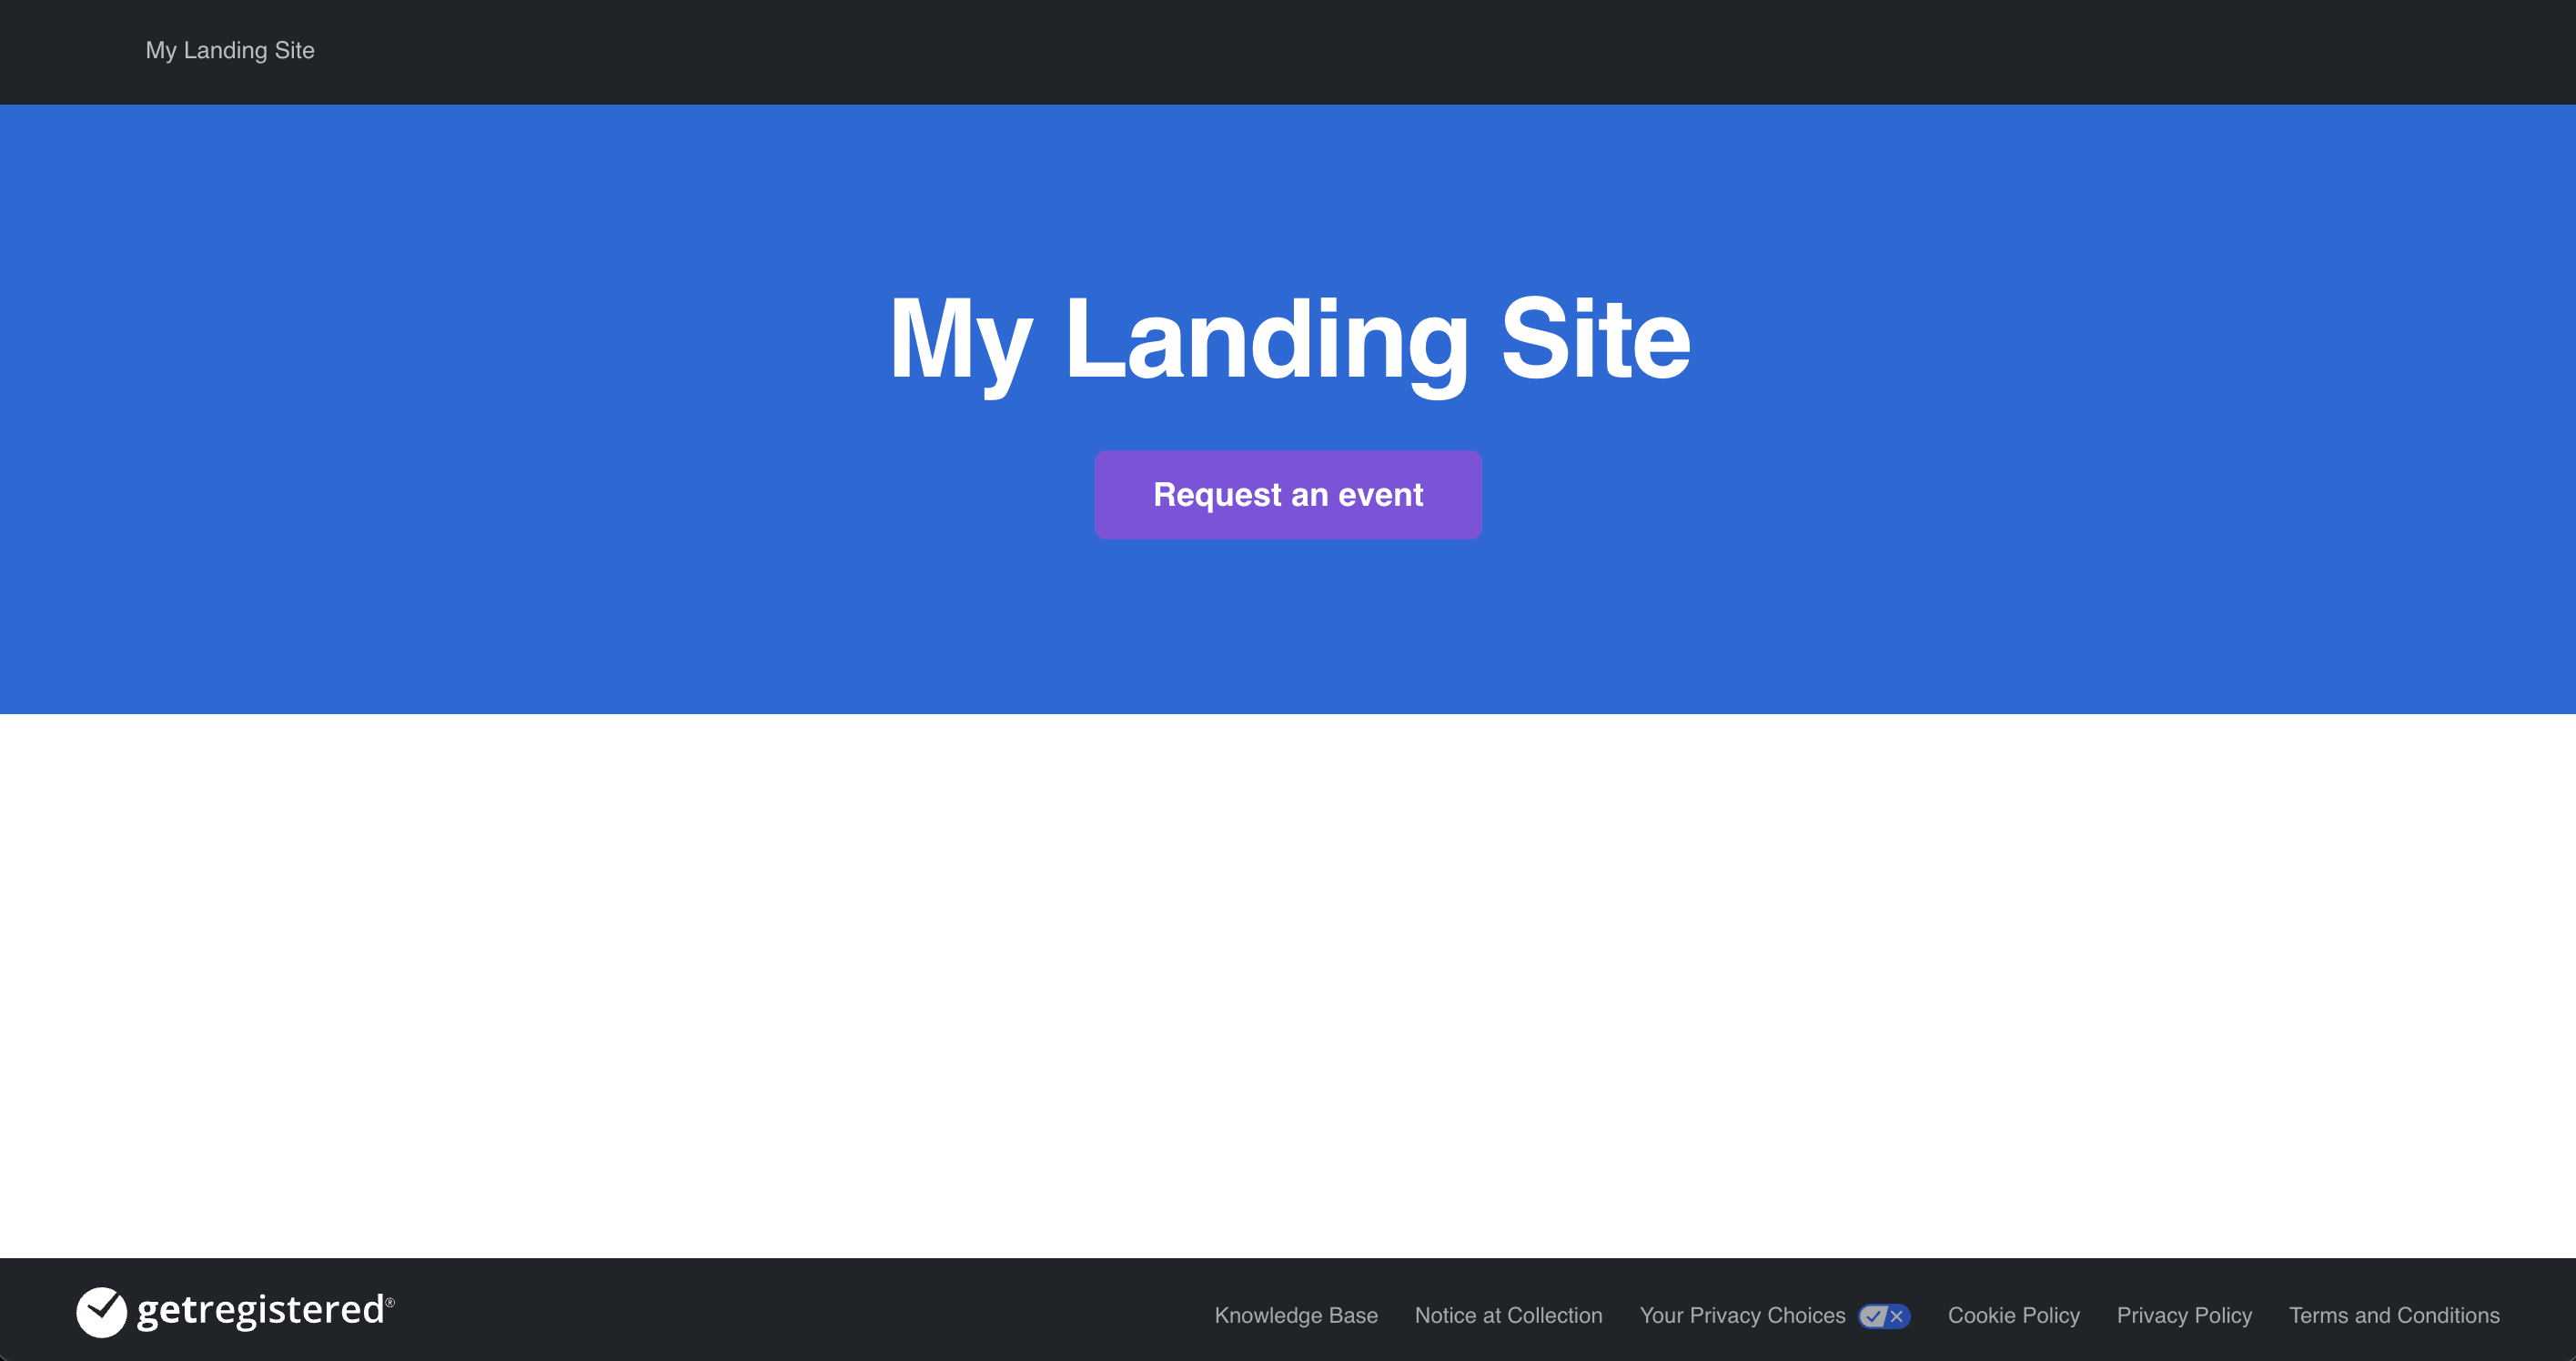
You will now be on the Event Dashboard for your 'Landing' site - you can easily preview the site by clicking on the 'Preview' link at the top of the page:

You can also configure some event settings by opening the Edit Event menu and selecting 'Event Settings':

From here, you can ensure your event is active/visible externally by deactivating the 'Preview Mode' option:

You can also enable translations for your 'Landing' site under the 'Localization' tab. Once translations are enabled, they can be managed under your 'Website Translations' tile on the Event Dashboard:
