What is the 'Schedule' feature and how can I use it in my event?
Note - the 'Schedule' feature must be enabled for your organization for you to be able to interact with it in your event. Please contact support if you would like to to have access to this feature in your organization.

The 'Schedule' feature allows you to keep track of attendees 'checking in' at a registration desk or meeting room, allowing you to easily collect information such as head counts or note who hasn't managed to make it to the meeting yet. By creating 'Checkpoints', you can begin building your event schedule, and create an attendee Agenda for your attendees.

Creating a Checkpoint is easy - just enter the 'Schedule' area by clicking the tile on your Event Dashboard and then select the 'New Checkpoint' button on the top right of the page.

From here, you'll be asked to provide some further information - it is mandatory that you create a name for your 'Checkpoint' and the date/time you want it to be set for. You can also add additional information about the checkpoint and also select if the checkpoint is an agenda item that can be viewed by attendees. For more information on building agendas, please refer to our article 'How do I create an agenda for my event?'. When you are happy to proceed, select the 'Create Checkpoint' button.

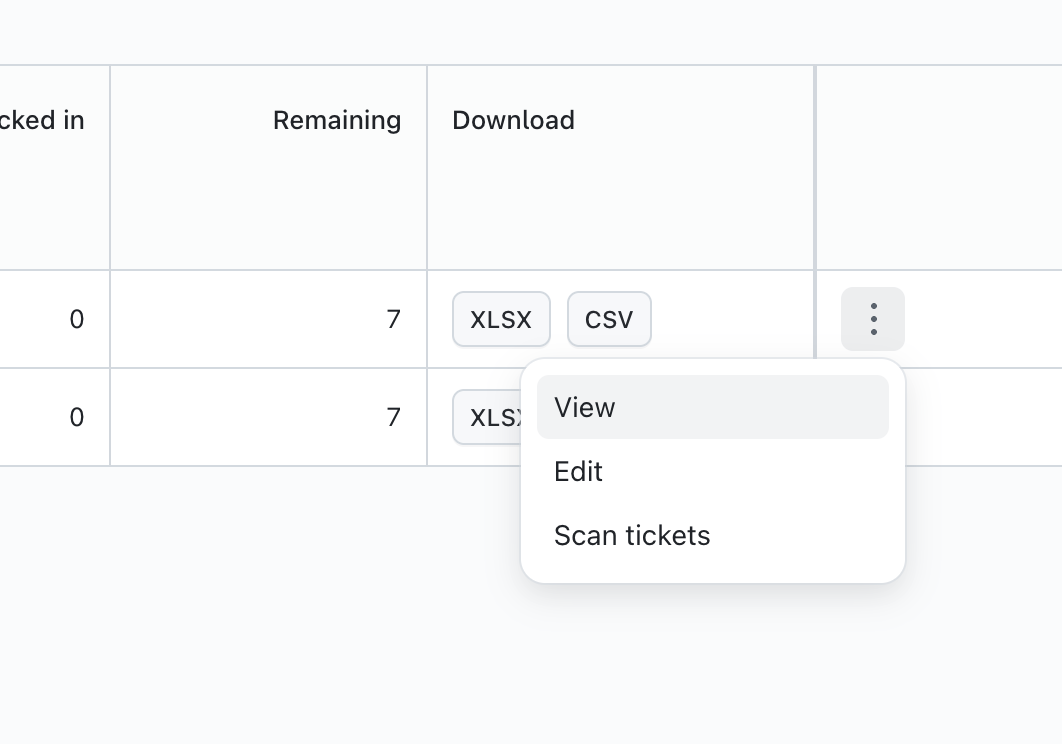
At this point, your checkpoint is now ready to be used. The Checkpoints feature provides you with the ability to check in attendees 'live' during your event - you can do this manually, or if you have QR Codes enabled for your event, click on the 'Check-in Scanner' button at the top of the page and use your device's camera to scan the attendee's QR code, or select the 'Scan Tickets' option under the 3 dots for the checkpoint you wish to manage. For more information on scanning QR codes in your event, please refer to this article.
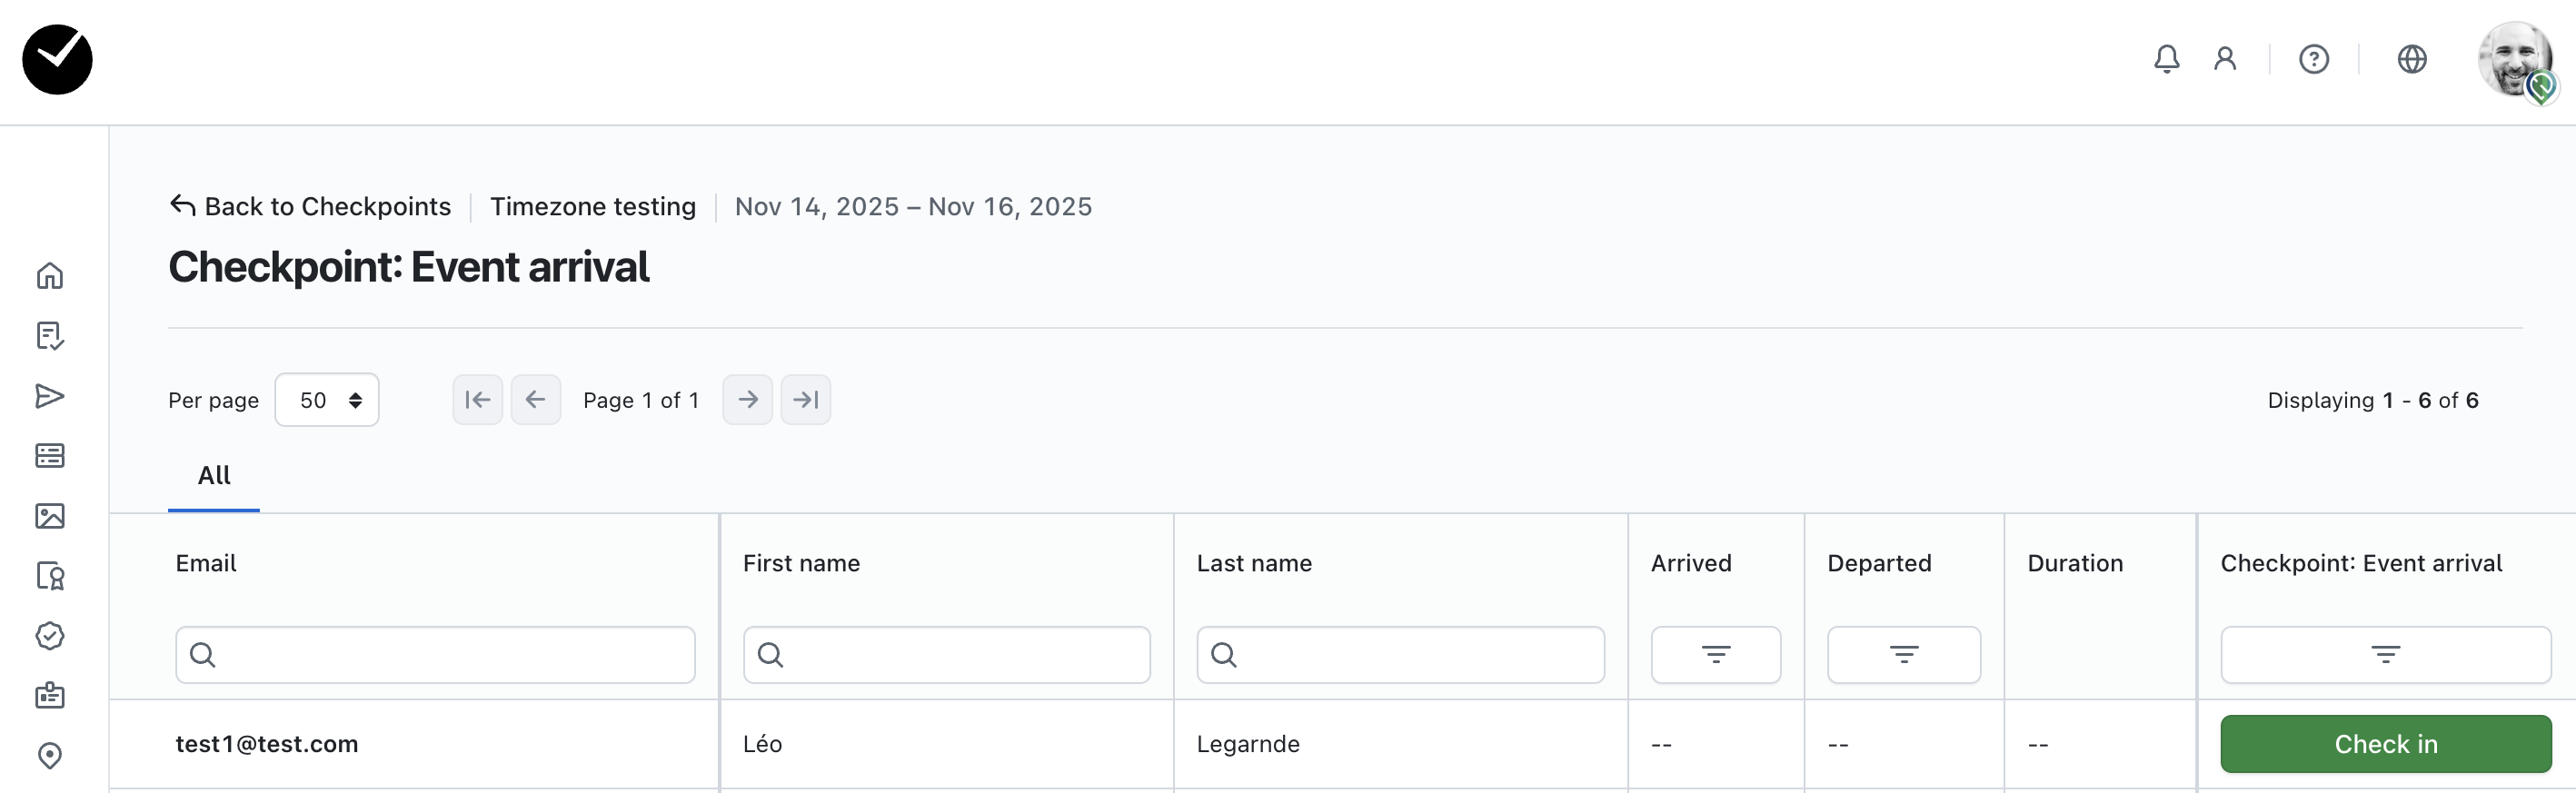
If you are checking in manually, click on the 'View' button on your 'Checkpoint'.
When the attendee arrives, click the 'Check In' button and they will be updated in the 'Checkpoints' index.
You can also check them out again if required by clicking on the 'Check Out' button - any changes in here will be reflected on the listing on the 'Checkpoints' page for quick reference.
You can download a CSV or XLSX file of this checkpoint (which contains all expected attendees and their 'Checkpoint' status), which you can use to print off for your event if you prefer to check in attendees traditionally, or just keep the data for your records post-event.
You also have the ability to edit your checkpoint - this is done by clicking on the 'Edit' button displayed adjacent with your checkpoint. In here, you can amend your Checkpoint name and date/time as required. You can delete any checkpoints that have been created by Event Users, the Event Arrival checkpoint however cannot as it is a default checkpoint. The option to delete will be displayed with the 'View' and 'Edit' buttons next to the checkpoint you wish to remove.
Using 'Checkins' in your reports
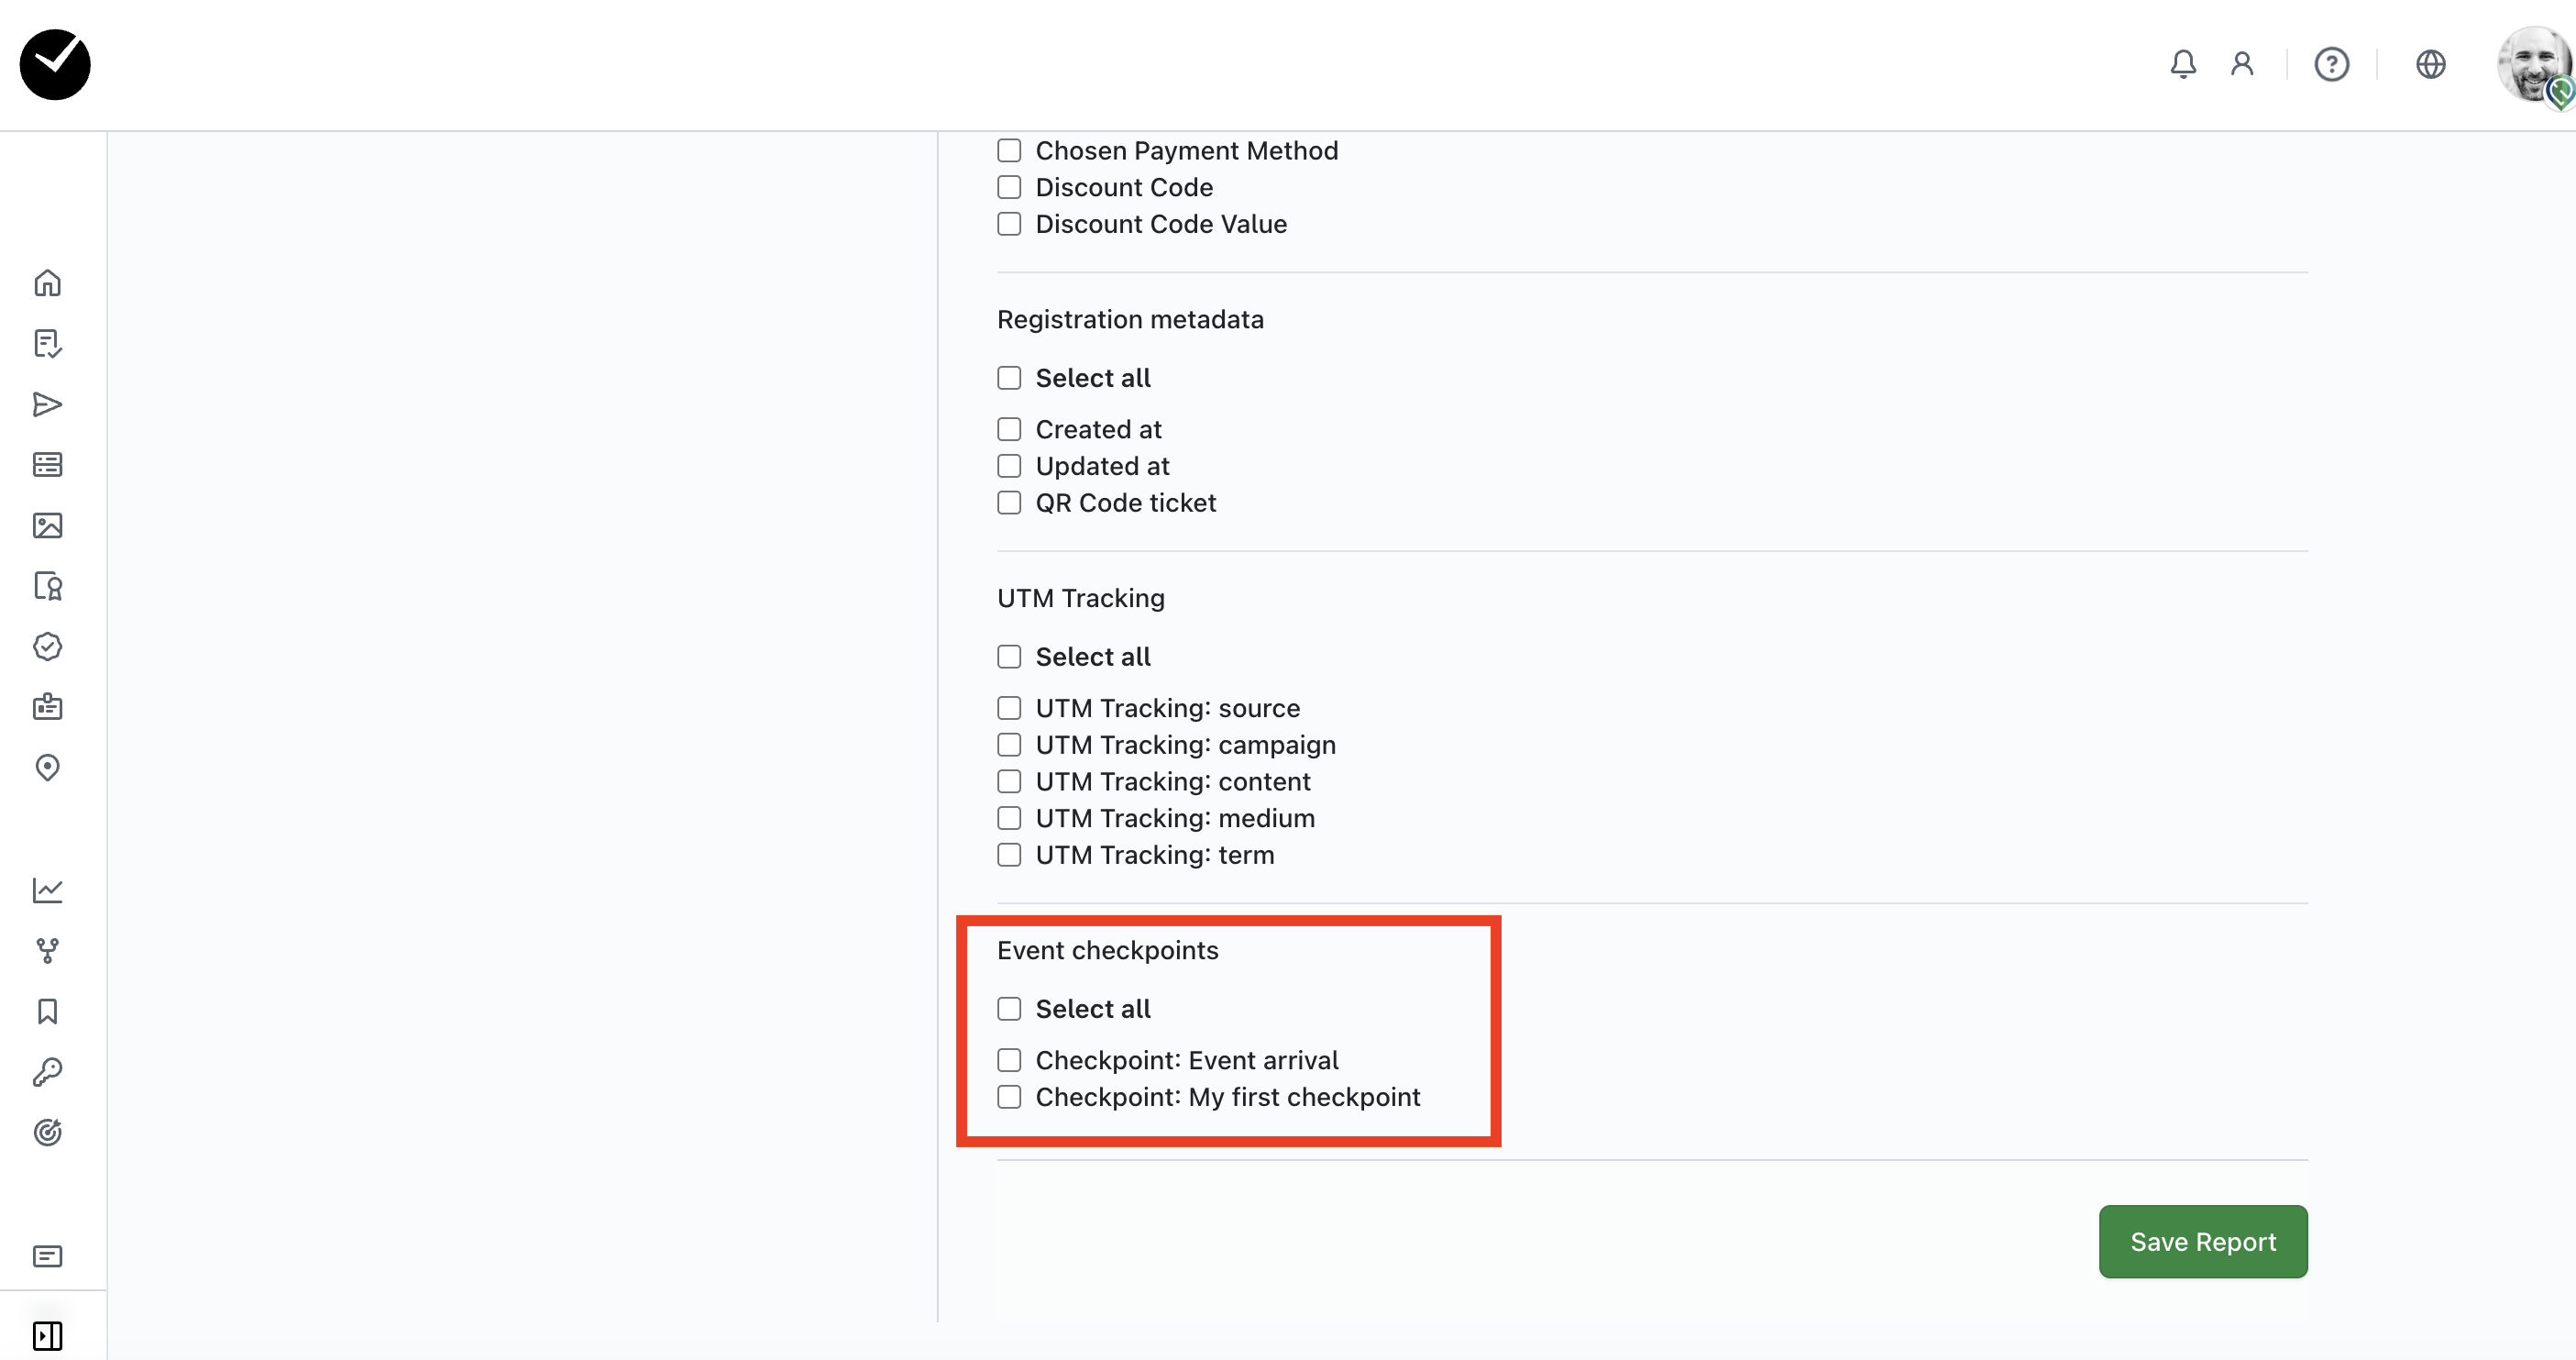
When you are creating or editing a report and have created checkpoints for your event in the 'Checkpoints' area, you will find the 'Event checkpoints' section displayed at the bottom of your report form.
Selecting these an option in here will allow you to manually check in attendees to these checkpoints on your report - you can then use your report to manage checkins for multiple activities at once, and easily keep track of who has arrived or is yet to arrive. When an attendee is checked in or out using a report, this will also be reflected in the related checkpoint contained in the 'Checkpoints' area.