.png)
How do I configure my organization's Event Requests form?
Note: To use the 'Event Requests' feature, it must be enabled for your organization first. Please contact support if you are interested in activating the feature for your organization.
Only administrators can configure an organization's Event Requests form.
How do I begin setting up my organization's Event Requests?
All configuration/settings for your Event Requests are located in your Event Requests area on the left hand column:

You can access individual areas directly (eg 'Custom Fields') by clicking on the option displayed, but all options are available to be viewed and interacted with in your 'Site Settings' area.
What is the Site Settings area?

As mentioned above, all your Event Request configuration options are available in your 'Site Settings' area and can be viewed/managed by selecting the appropriate tab. On landing in the 'Site Settings' area, you will see that the 'Settings' tab is selected by default (as shown in the screenshot above).
In this area, you will be able to configure the following basic settings for your organization's Event Requests:
- Daily Capacity - set a Daily Attendee Limit for your Event Requests, limiting the capacity that an event requestor can request for an event per day. An event requestor can submit a request that exceeds the daily capacity, but on submission for review, their request will be waitlisted and requires additional steps from the reviewer before it can be approved and converted to an event.
- Capacity Exceptions - allows you to raise or decrease the daily capacity for a specific date, which will override any amount set in your 'Daily Capacity'. As with the 'Daily Capacity' setting, an event requestor can submit a request that exceeds the capacity exception if their event request is contains a day matching the capacity exception date, but on submission for review, their request will be waitlisted and requires additional steps from the reviewer before it can be approved and converted to an event.
- Booking Hours - allows you to set a range of hours between which an event requestor can choose for their Event Request. Hours outside of this range will not be available for selection for event requestors when setting the Schedule for an event request.
- Per-Attendee Fee - allows you to set a flat fee per attendee for the requested event, which will be calculated and added to the event request invoice.
- Description Requirements - set the minimum amount of characters required to be entered for an event request 'Description'.
- Registration Step - when toggled, this adds a Registration step to the event request wizard. This may be required where the requester needs to request getregistered services for the meeting needs, eg: online registration, on-site badging, check-in, lead retrieval and the attendee app.
- Weekend Days - allows you include/exclude specific days as 'Weekend Days' for event requests, and notifies the requestor when a 'Weekend Day' has been selected as part of their request.
- Event Lead - allows you to enable/disable Event Leads for event requests. When enabled, an Event Lead can be assigned to an event to assist with live event management.
- Default Event Role - allows you to choose the user role given to the Event Requestor for the event if the request is accepted and converted. The default setting is 'Event Owner', which provides basic access to the user on conversion (access to Facilities and basic event settings within the event).
- Terms and Conditions - create a set of Terms and Conditions that must be accepted by the Event Requestor before submitting their Event Request. If left blank, no Terms and Conditions are applied to the Event Request.
- Venue Allocation Message - displays a custom banner message at the top of the 'Venue' tab when creating an Event Request, eg a general disclaimer. If left blank, a default message will be displayed.
- Catering Message - displays a custom banner message at the top of the 'Catering' tab when creating an Event Request, eg a general disclaimer. If left blank, a default message will be displayed.
- Add Blocked Date - allows to block out specific dates for Event Requests (eg public holidays) that will prevent Event Requestors from requesting the blocked dates for an event. This can be for all venues, or specific venues (default is all venues).
- Blocked Dates - this grid shows all 'Blocked Dates' for your organization, with the ability to sort, filter and remove where required.
Your other configuration options (in short) are as follows:
No Fly List
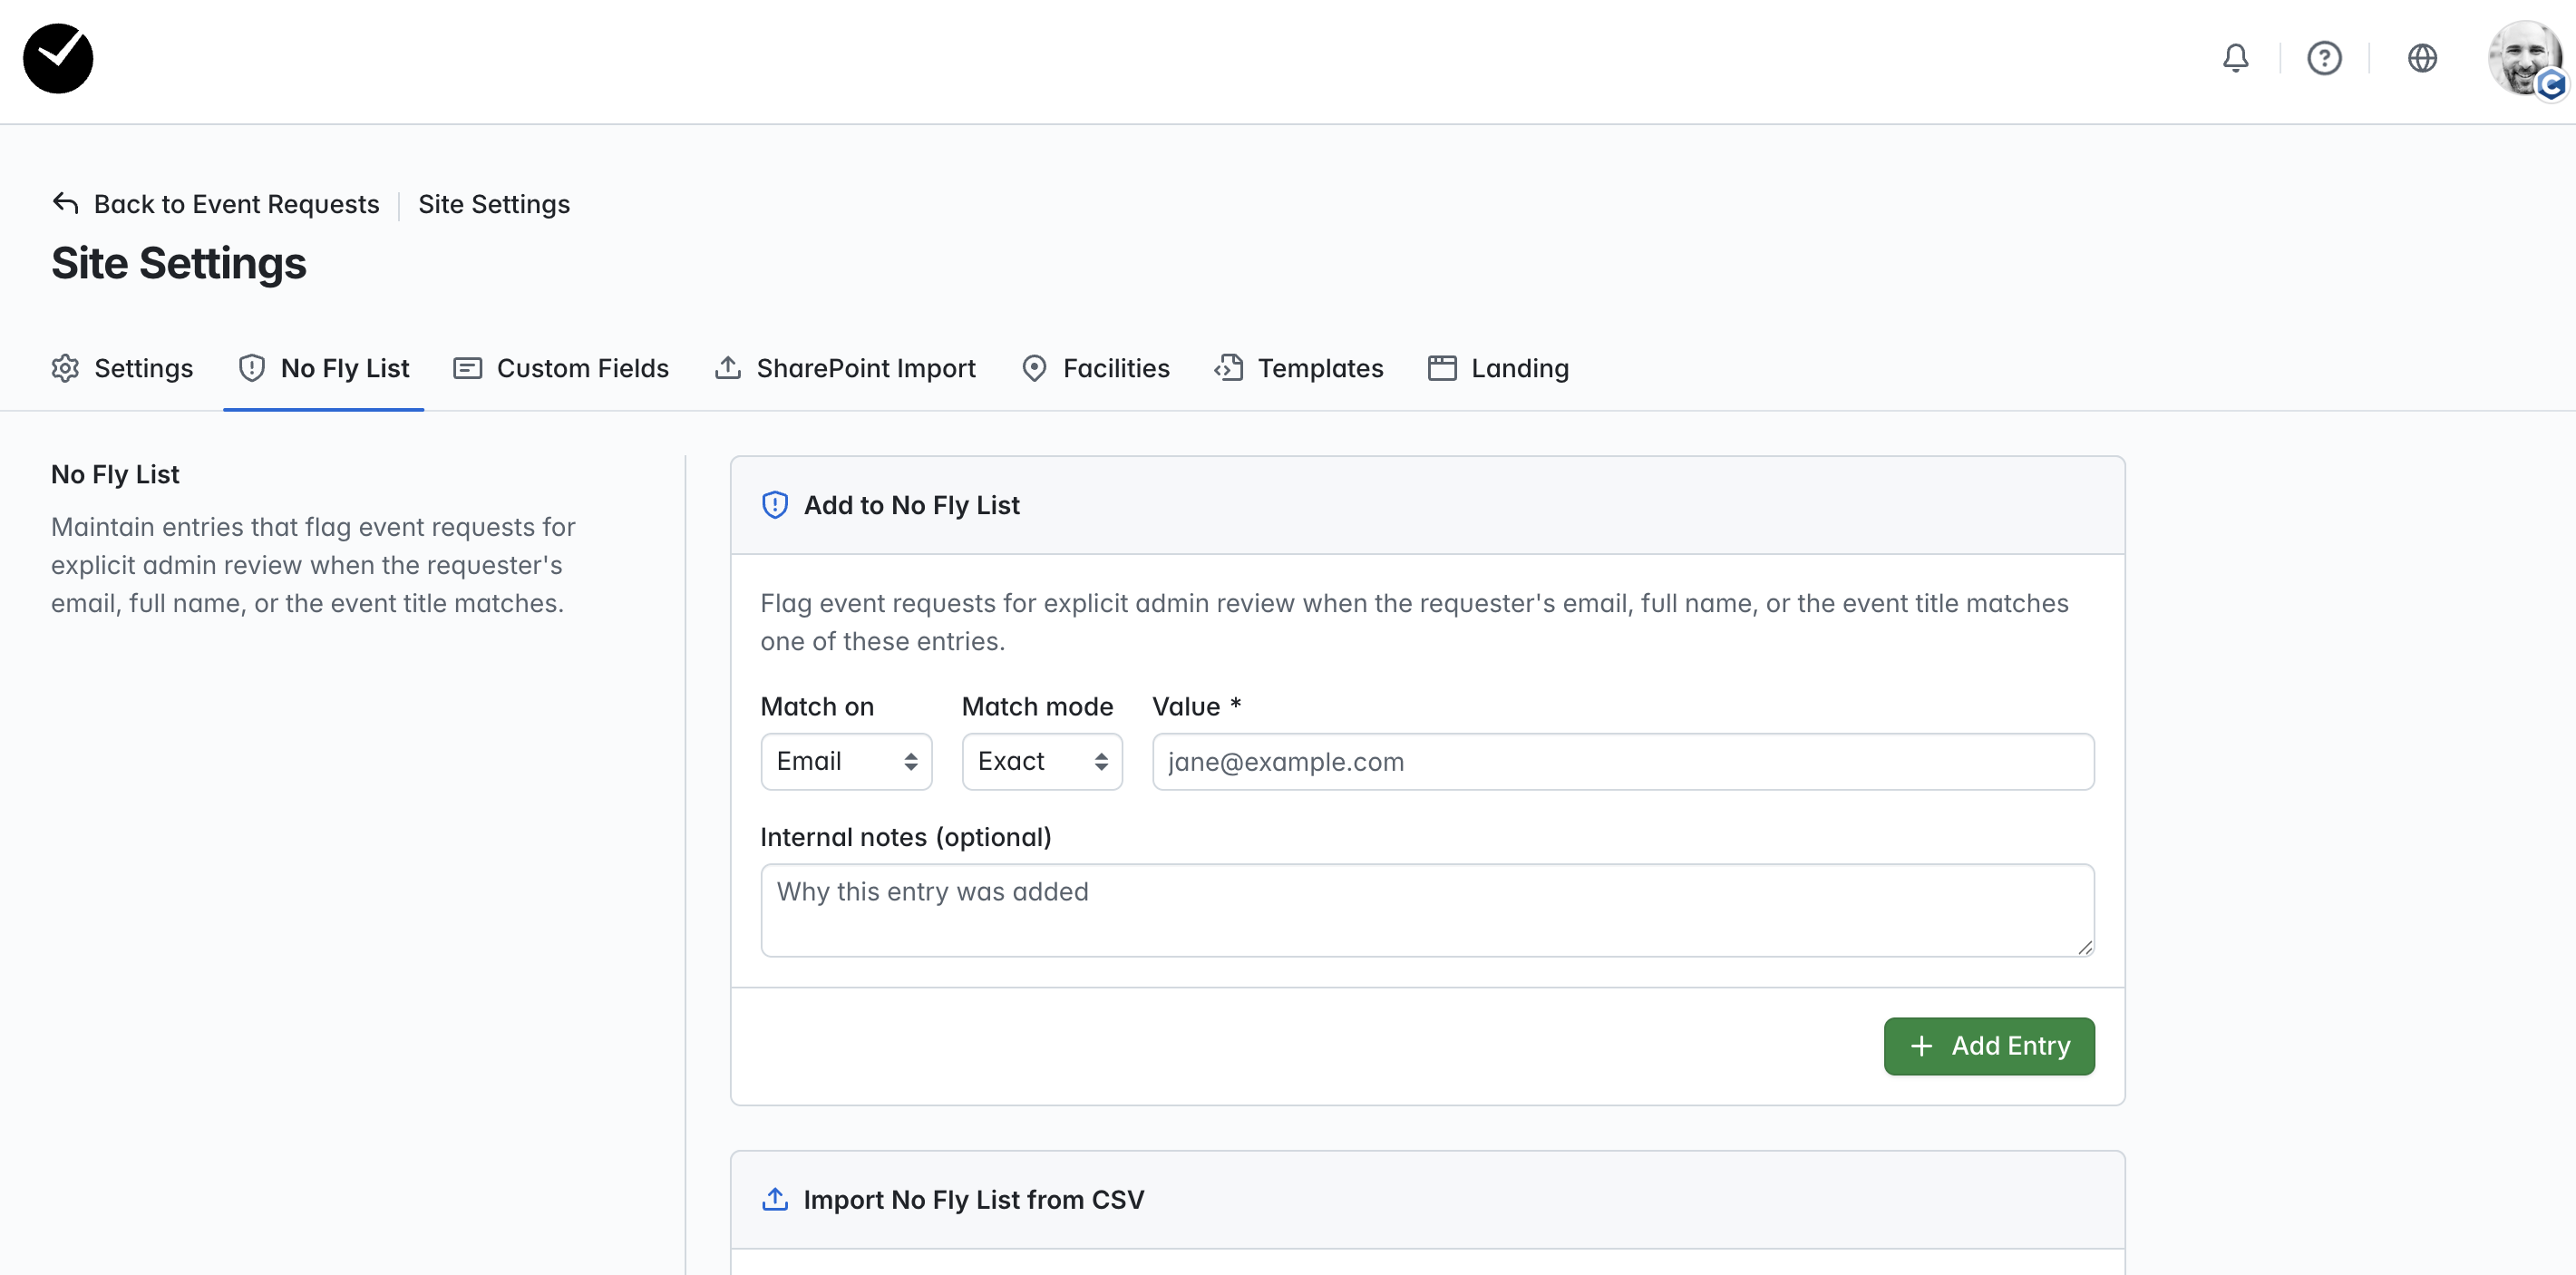
This area allows you to flag specific Event Requests by Event Title, or the email address/full name of a specific Event Requestor. Any event requests or users added to the No Fly List will require a full admin audit when a related Event Request is submitted. For more information on using the No Fly List feature, see article What is the 'No Fly List' feature.
Custom Fields
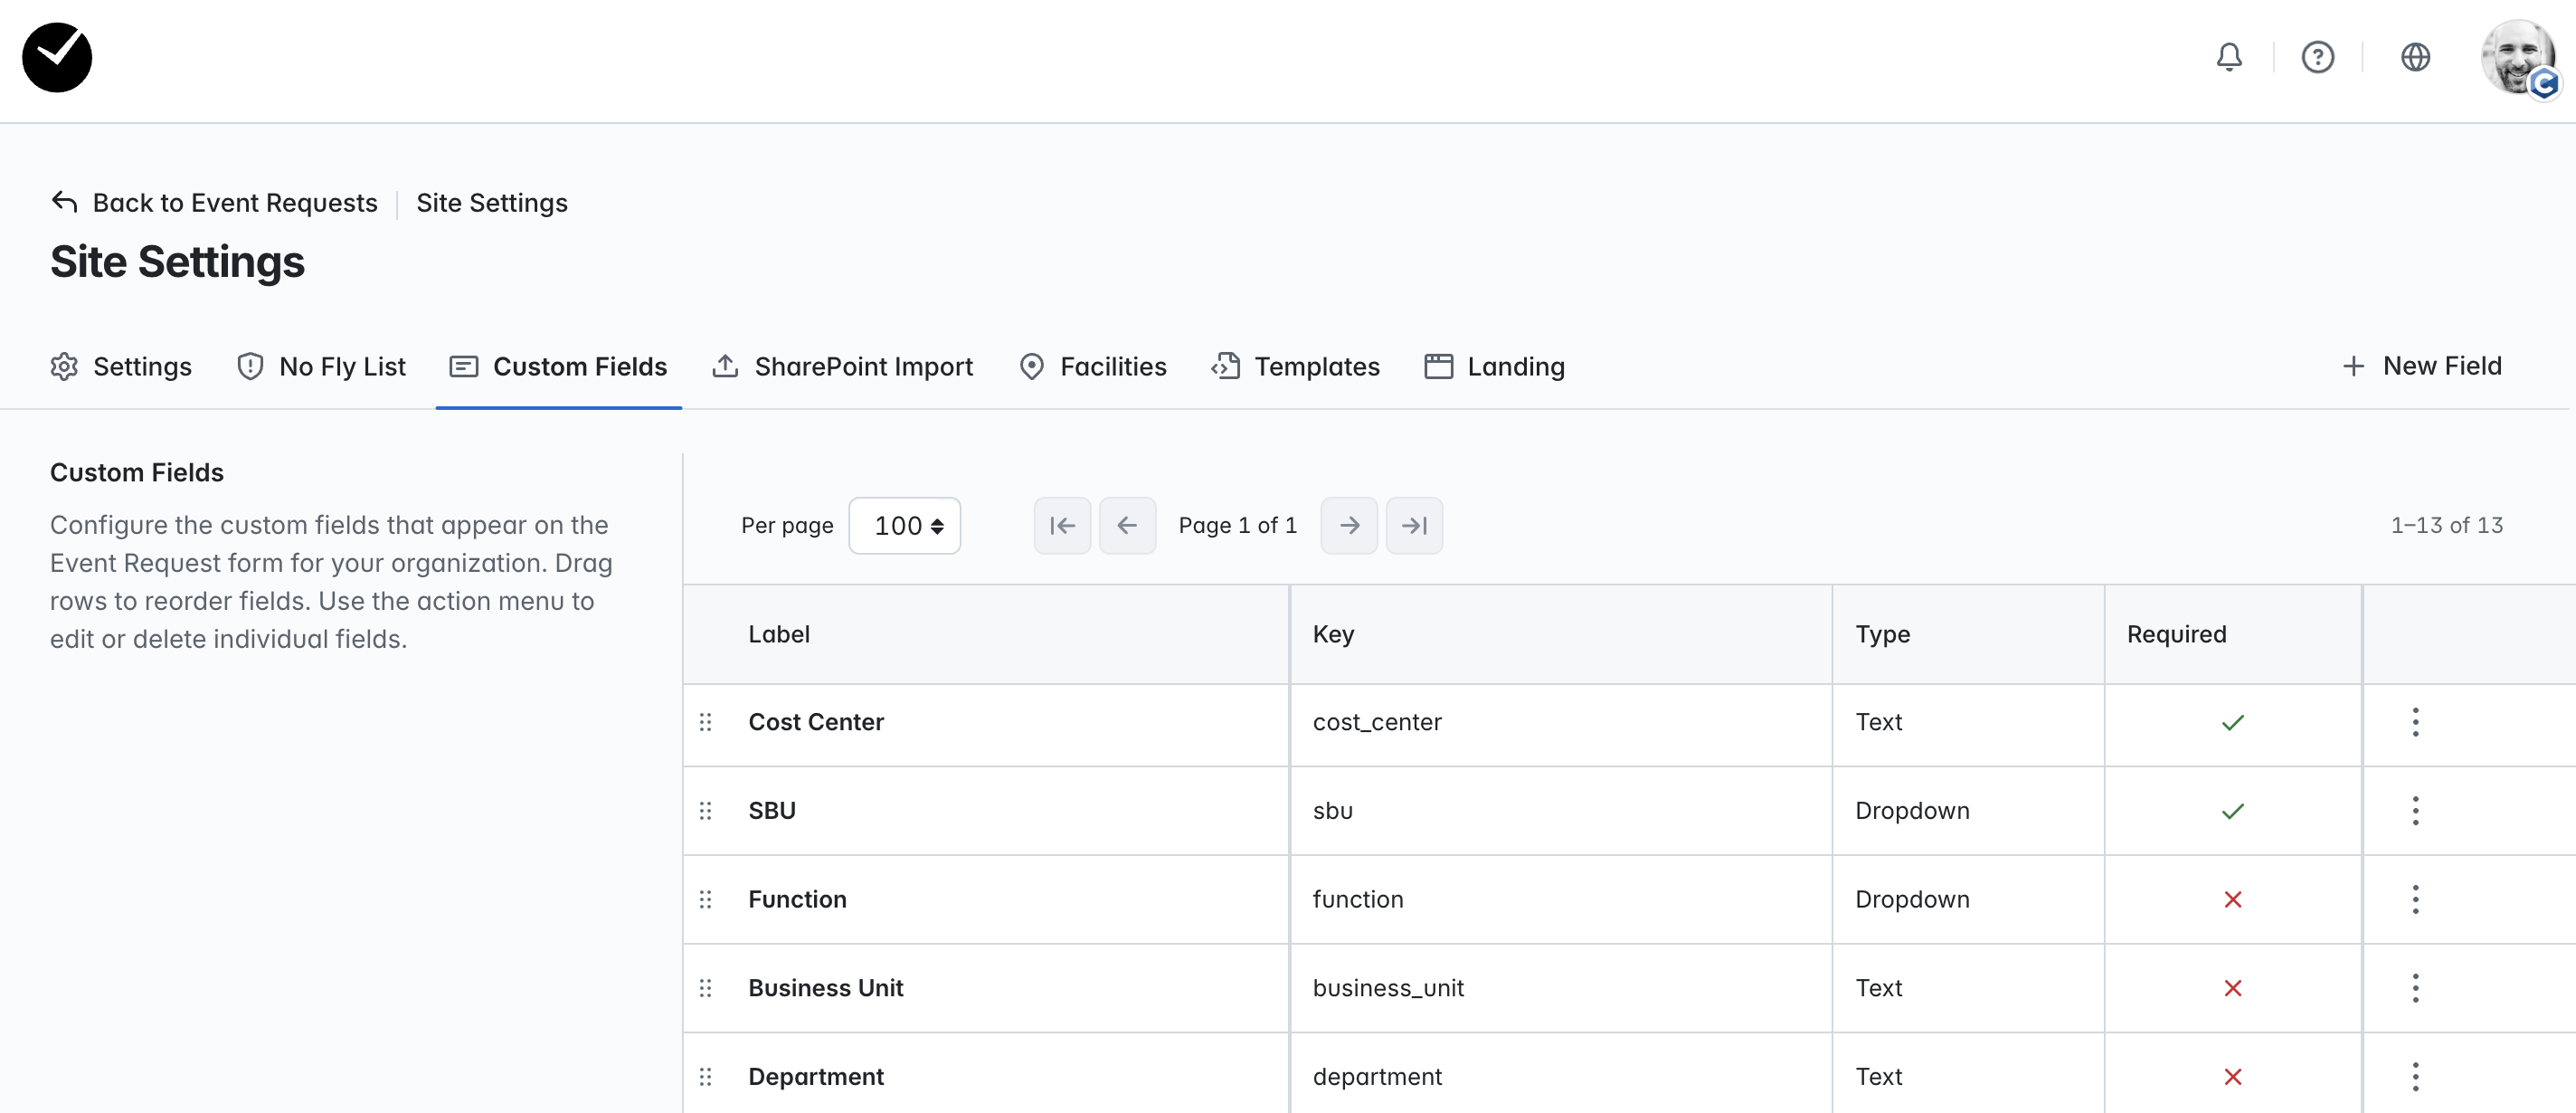
This area is where you will configure your the form on the initial page displayed when creating an Event Request (Event Details page). You can create as many or as few fields as you wish and specify the type of field displayed, as well as determine if they are a required for the Event Request to be able to be submitted. For more information on setting up custom fields, see article How do I create and configure Custom Fields for Event Requests.
Sharepoint Import
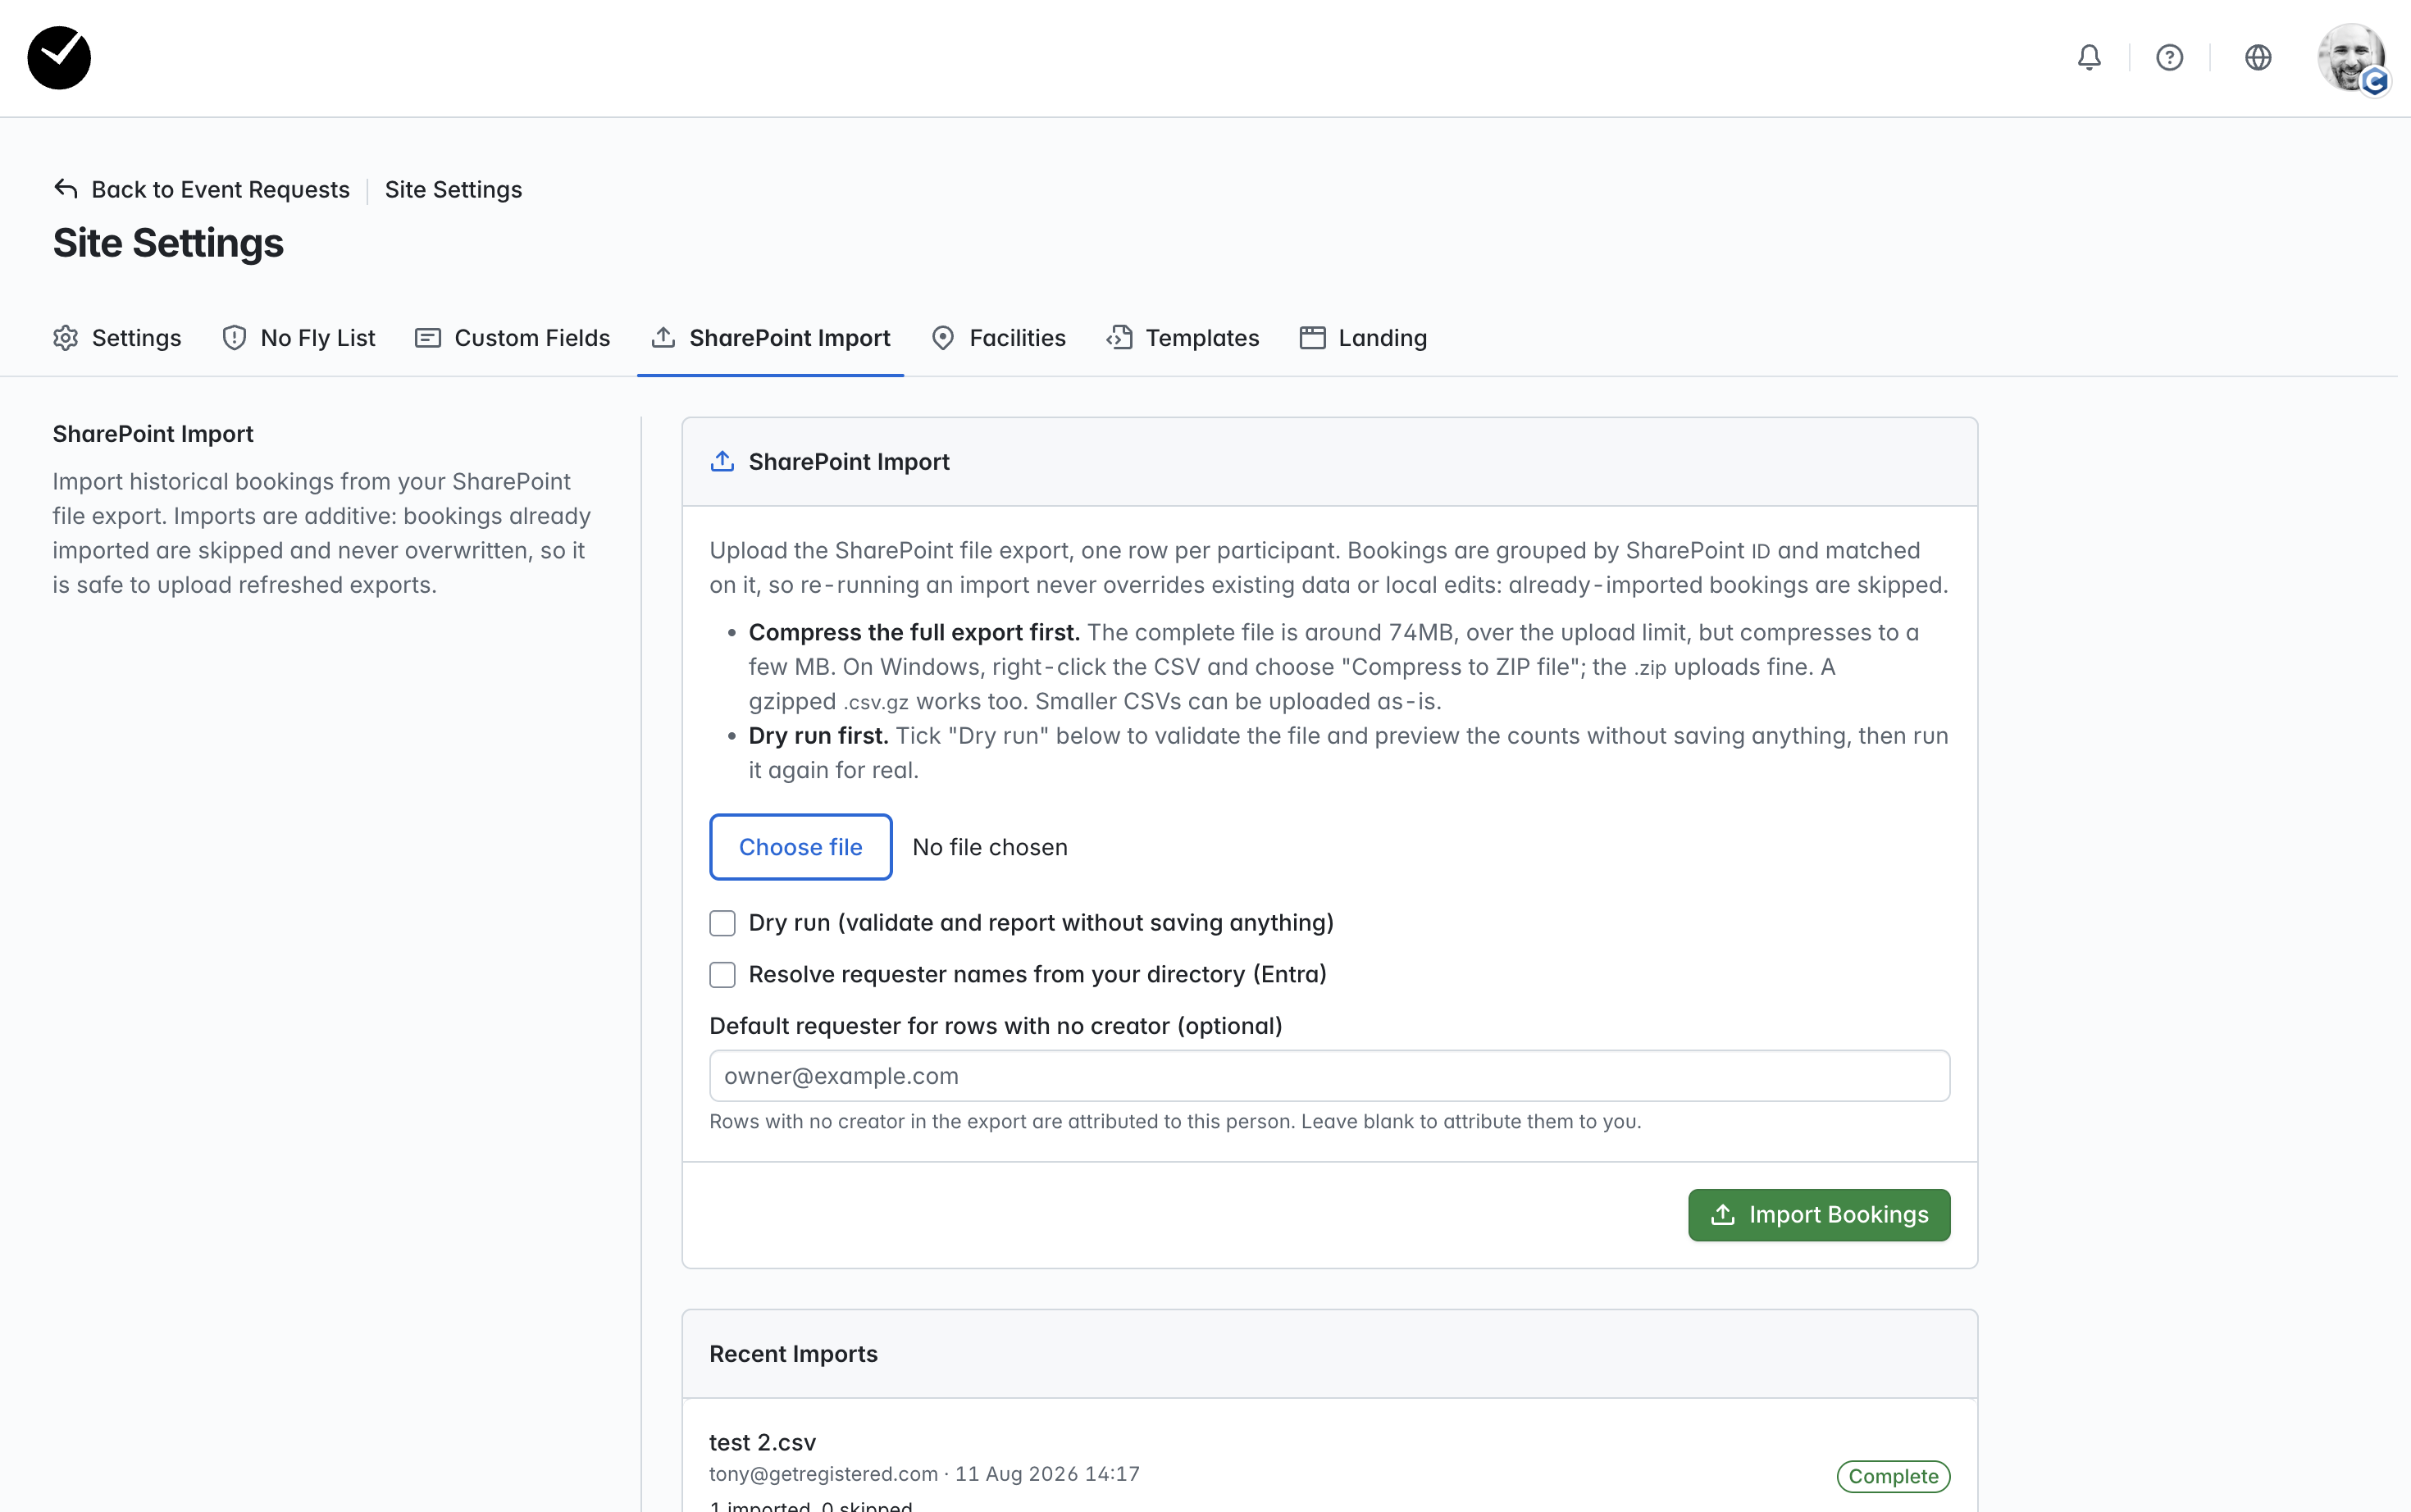
This area allows you to import Event Requests in the form of a Sharepoint file. When imported successfully, all Event Requests data in the file will be imported to your organization. For more information on using the Sharepoint Import feature, see article Can I import a list of Event Requests to my organization?.
Facilities
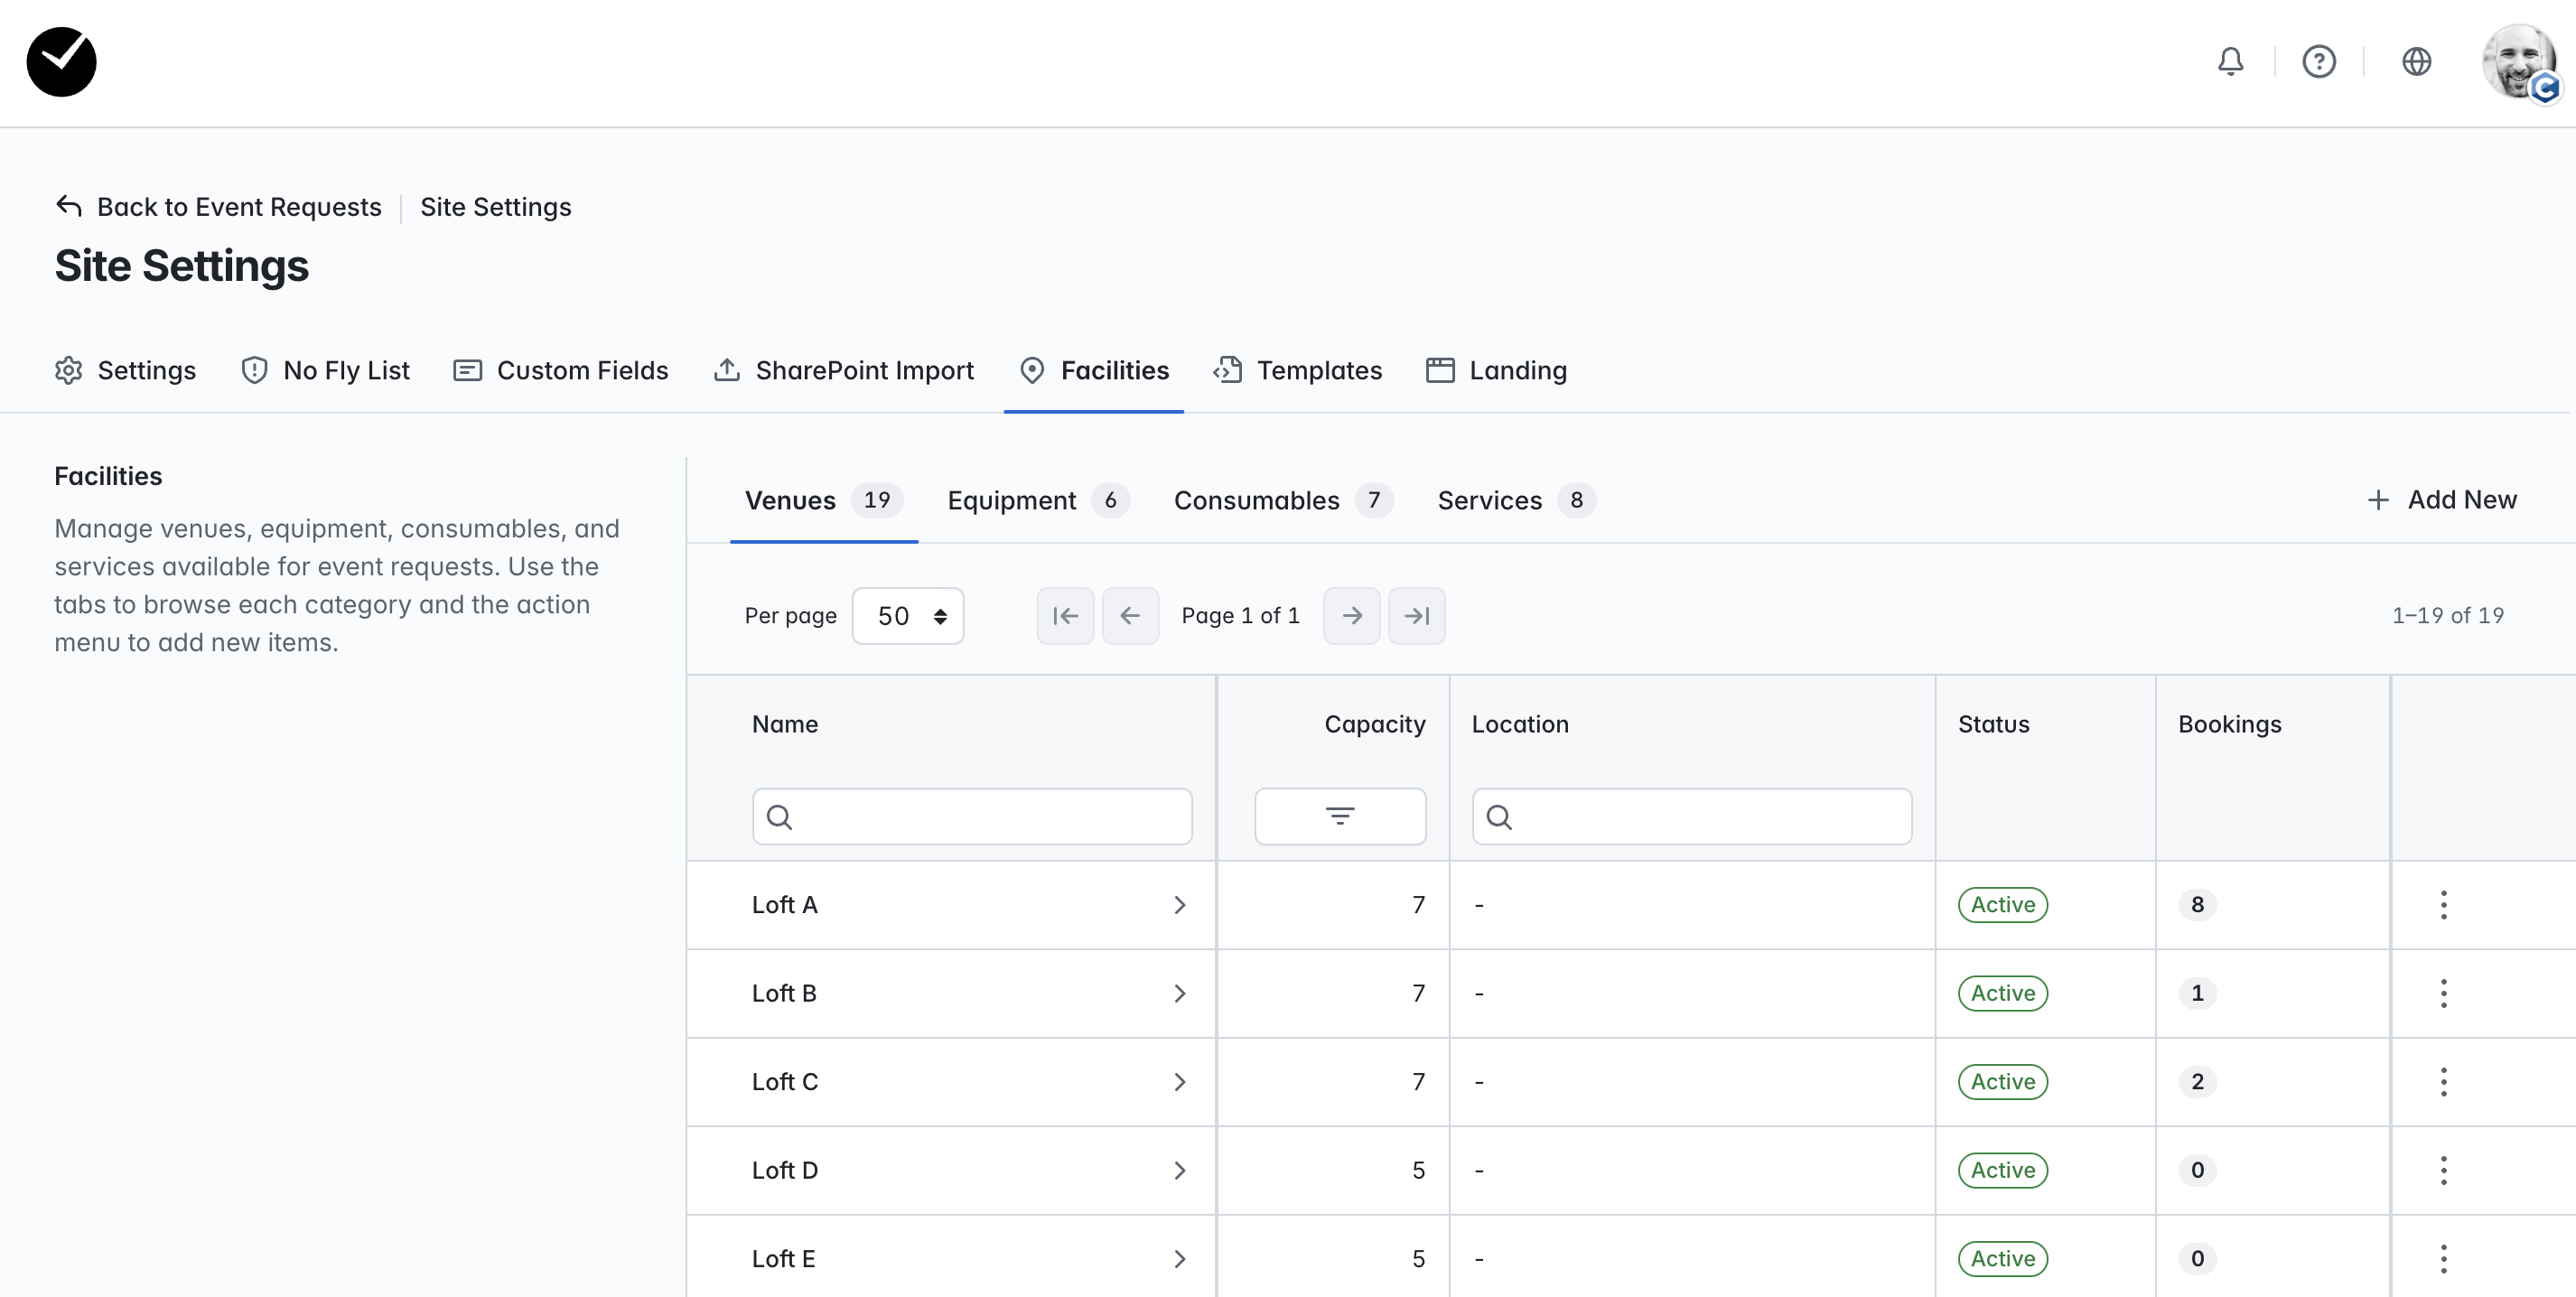
The 'Facilities' area allows you to configure the facilities that are open to be requested by the Event Requestor for an event. These would be things such as your available 'Venues', 'Equipment' that can be booked for the venue and other services. You can add as few or as many 'Facilities' as you wish, for more information on using the 'Facilities' area, see article How do I create and configure Facilities for Event Requests?.
Templates
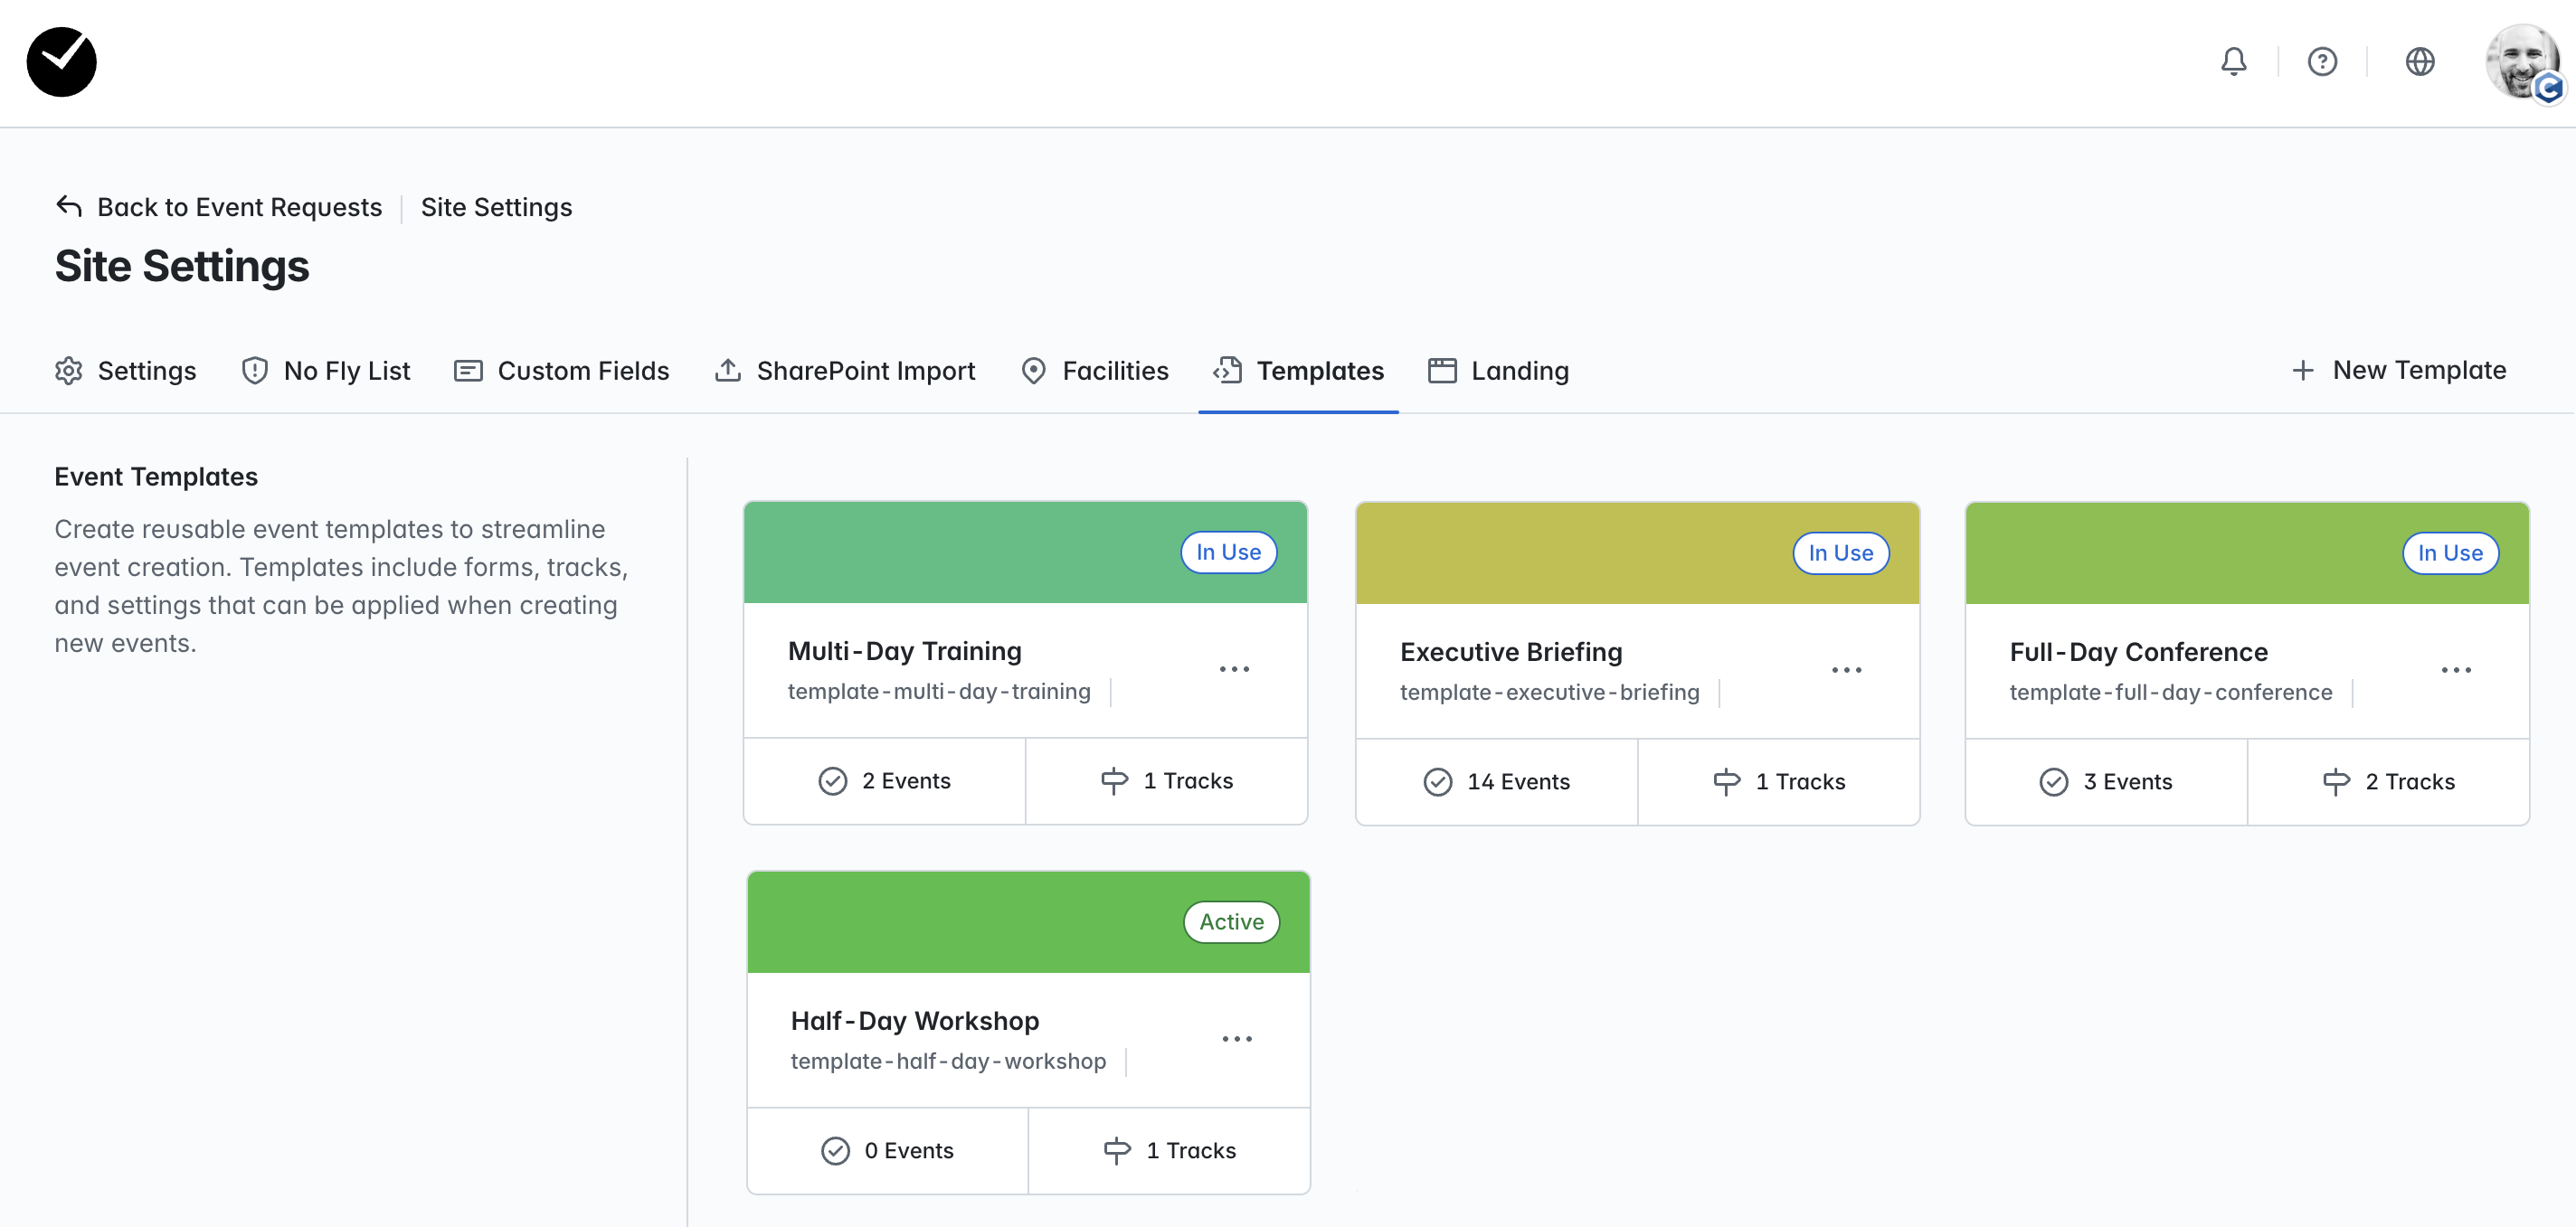
In the 'Templates' area, you can create event 'templates' that can be used when an event request is converted to an event. This can save you a lot of time when converting event requests, providing a standard configuration for different event scenarios. For more information on how to create event templates, see article How do I create and configure event Templates for Event Requests?.
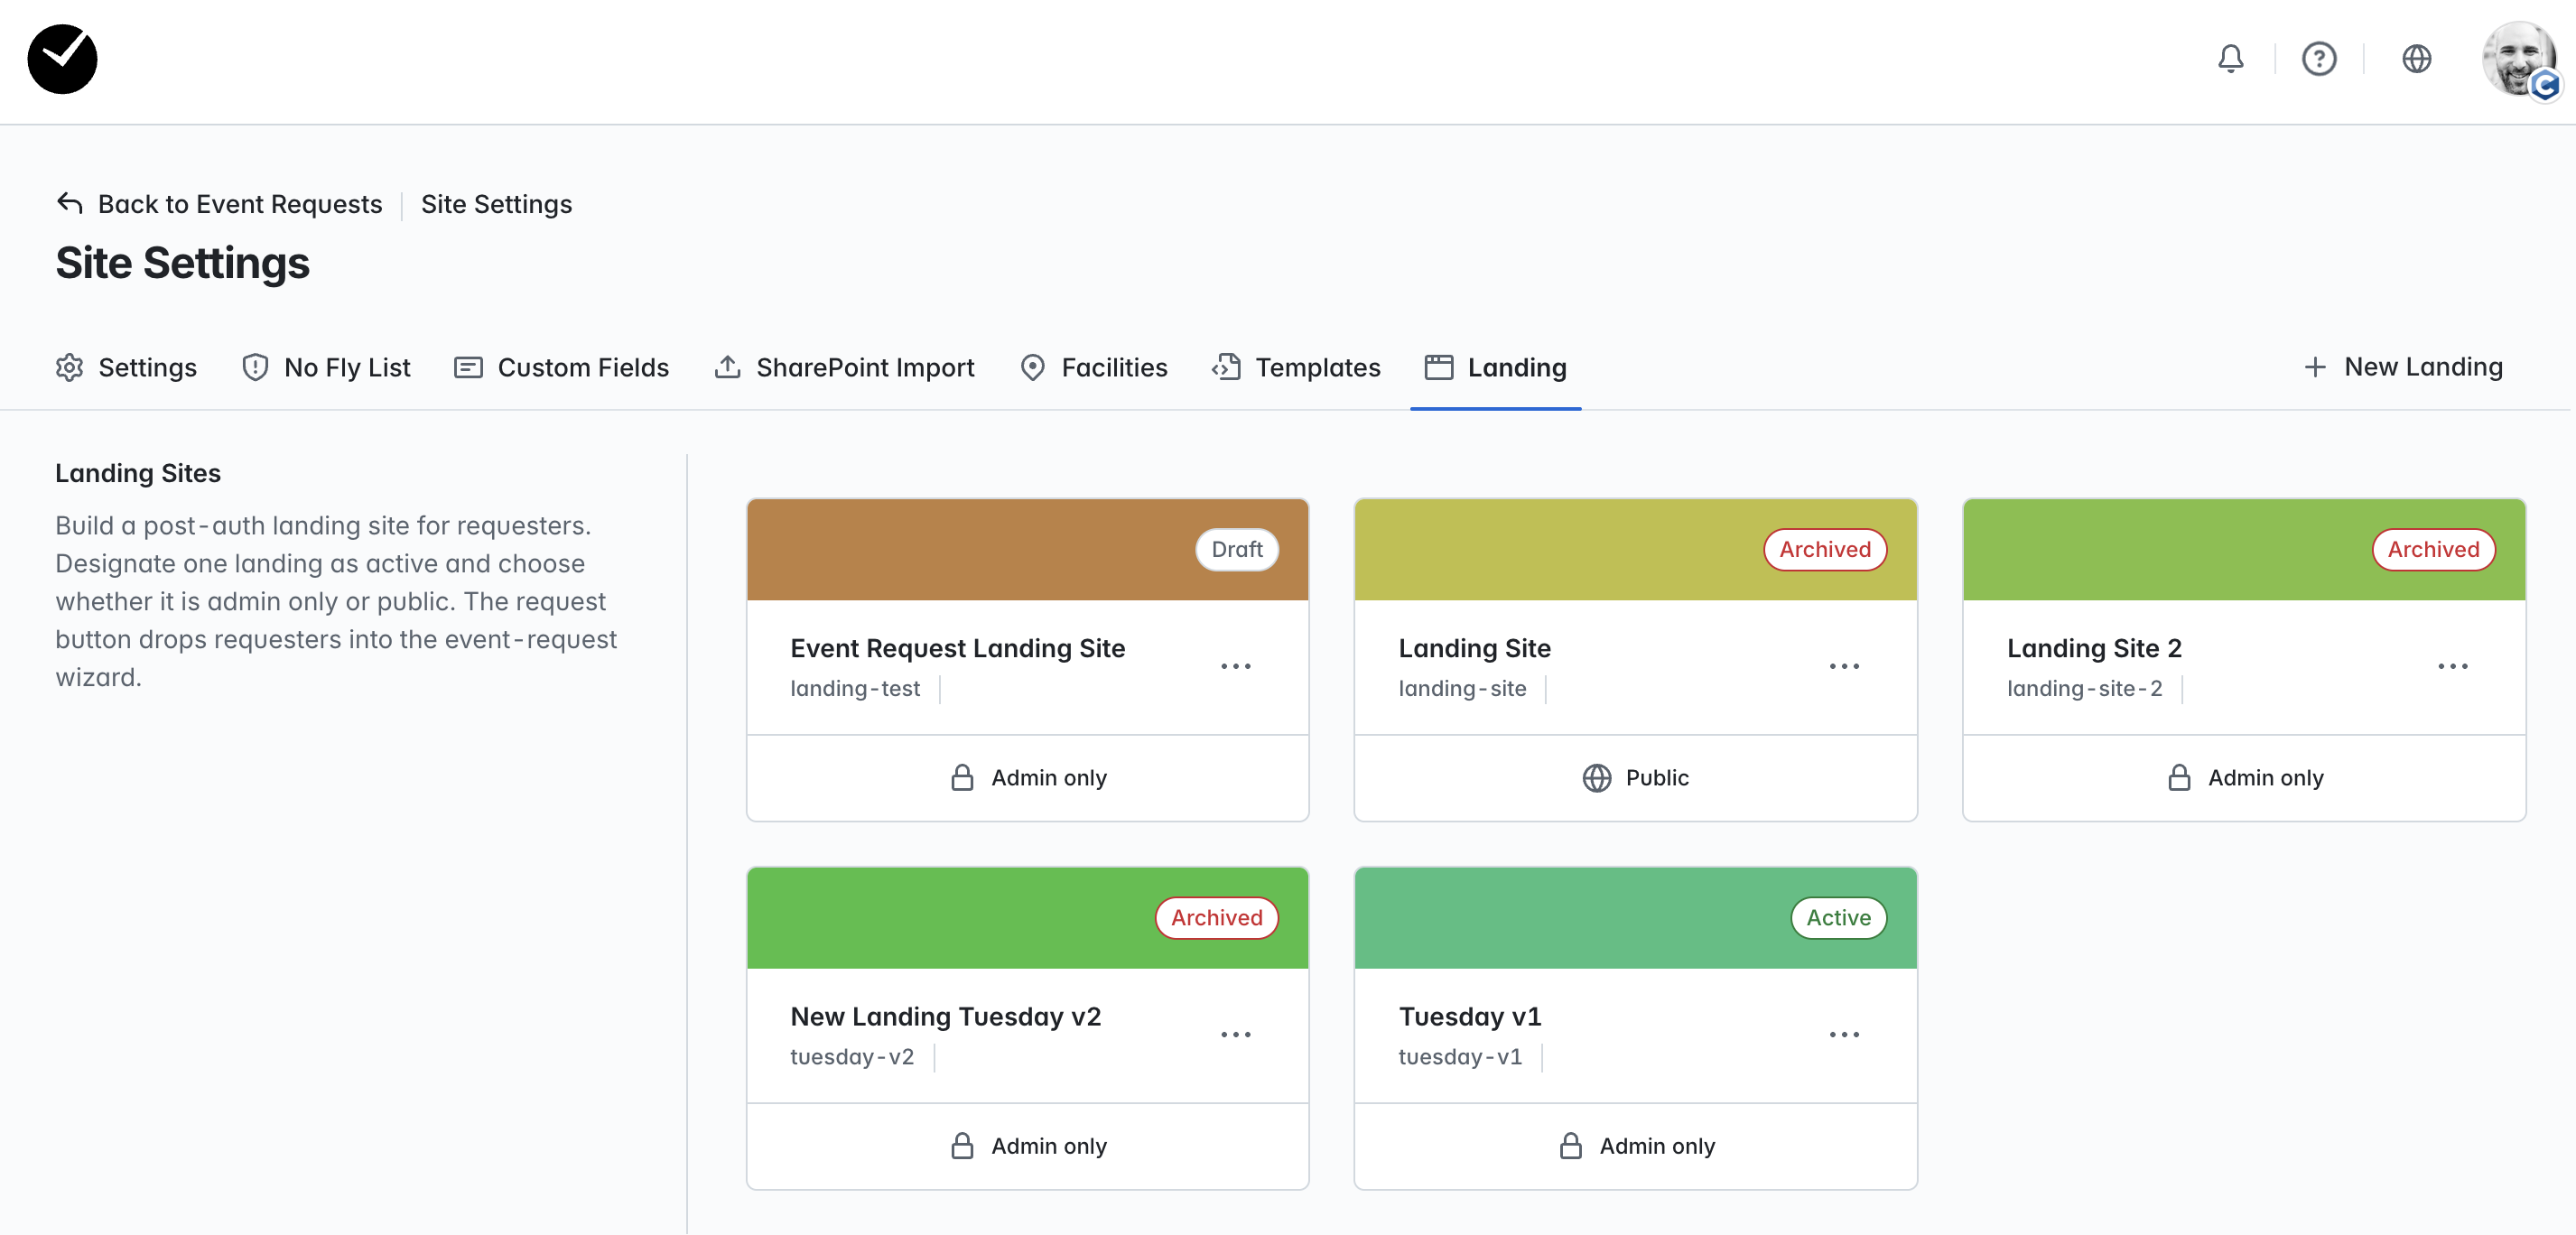
Landing
The 'Landing' area allows you to create a bespoke 'Landing' site for Event Requestors, so that they don't have to navigate through your Admin Area in getregistered to create new Event Requests. By providing an Event Requestor a link to your 'Landing' site, they will still need to log in to access, but will follow a simpler flow to generate an Event Request for your organization. For more information on using the 'Landing' feature, see article What is the 'Landing' feature?.